Over water[edit]
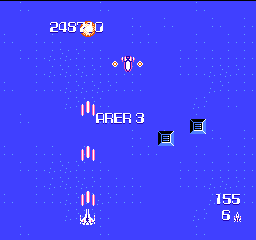
The 3rd Area begins with the Zanac flying over a beautiful sea. The scrolling effect is lovely to watch. You will notice an increase in the amount of attacks that you will receive from turrets and other ground targets on this stage, so pay attention to more than just the aerial enemies.
Also new to this stage will be the Back Degids. Like the normal Degids, these ships appear in halves, and join together when they reach your height along the screen. However, these Degids will approach from the rear instead of in front. The strategy for dealing with these is the same; continue to move up and down to lure them into merging while you position yourself safely away from where they will join, blasting one or both halves in the process.
1st fairy[edit]
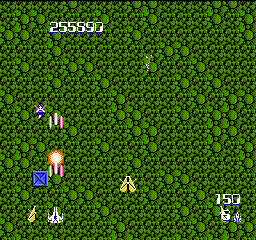
Eventually, you will leave the water, and begin flying over some woods. If you remain on the left side of the screen, you will have an opportunity to blast away at a blue square known as a Terrier. If you shoot this enough, a blue fairy known as Rio will appear. If you grab the fairy right away, it will act just like an Enemy Eraser, and destroy every enemy and bullet present on the screen. The fairy will then turn red and stick with your ship until you reach the next fortress. Once you fully arrive at the fortress, Rio will use her power to instantly annihilate the fortress. She will then fly off while you receive your bonus.
Alternatively, you may wait to collect the fairy and attempt to save her for a more difficult fortress than the next one coming up. She will slowly float up the screen as all bonus items do until she has gone beyond the top of the screen. Since she won't remain on the screen forever, if you wish to save her for a later fortress, it is best to shoot the Terrier and make her appear as low along the screen as possible, since this will give you more time to collect her.
Terriers are found on a few other stages, but unlike this one, they will all be slightly hidden behind the background, and far less visible, requiring that you know where it is in advance if you wish to make Rio appear on future stages.
1st Fortress[edit]
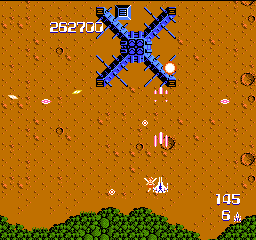
- Core components: 1 Combo Core
- Time Limit: 50 seconds
- Bonus: 10,000 points
The first fortress is composed of a single Combo Core. These cores fire Leads out in five directions at a time. It is surrounded by four Light Bar firing Turret 4s, which are not difficult to defeat, but only the core matters in this battle. Focus your fire on it to be done with the fortress quickly, and watch out for its fire if you don't have a weapon that can destroy Leads.
Eye Eye[edit]
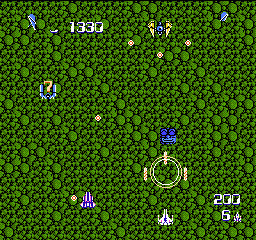
Your first encounter with this enigmatic statue occurs after the first fortress of Area 3. The Eye Eye is a special statue indeed, as it is one of the easiest methods of obtaining the Super Guns, and should not be missed. Be prepared for its appearance and fire at it as soon as you can see it. Once you shoot it, your standard and special weapons will be automatically upgraded. Additionally, if you continue to shoot at it, and hit it with a great number of shots, you can earn 300,000 bonus points. Don't miss this opportunity.
Enemy aggression[edit]
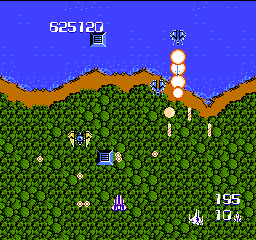
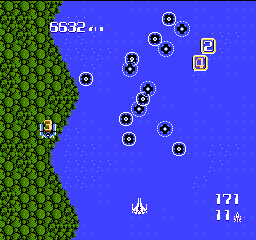
You will encounter far more aggressive enemies as you continue. One of the most formidable is the Mortar (or Takuwashi) ship which can fire a continuous stream of Sig missiles at the Zanac. They frequently appear as you are leaving the woods and returning to the water. A fast gun and a strong special weapon can make short work of them, but if you possess neither, you will have to play a little more carefully, and fight them by pulling them over laterally, firing up at them so that you hit them before they line up and fire missiles back down at you.
A little later on, you will encounter an entire flock of Gizas. These strong round objects aren't very threatening, but they can soak up a ton of damage before they are destroyed. And since they flood the screen, they create a minor barrier to any of the enemies that you attempt to shoot at, at the top of the screen. Special Weapons like Tile 7 can be especially effective at bypassing this limitation. Clear the Gizas as quickly as possible, and don't let them overwhelm you. Screen-clearing items in this section will end Giza flood prematurely.
2nd Fortress[edit]
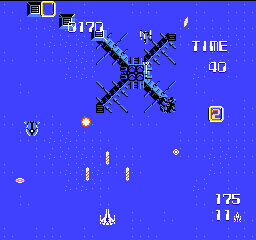
- Core components: 1 Combo Core
- Time Limit: 40 seconds
- Bonus: 10,000 points
Ironically, the second fortress is identical to the first fortress, except that the battle takes place over water, and you are given less time to defeat it. Once again, concentrate primarily on the single core to eliminate it as quickly as possible.
Box flood[edit]
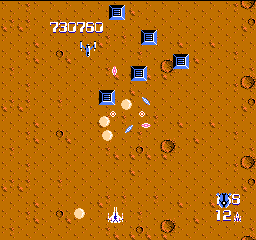
After defeating the second fortress, it is not uncommon to encounter a flood of Boxes. These Boxes have all the properties of regular Boxes, there's simply more of them. If for some reason, you have no obtained the Super Guns yet (especially by shooting the Eye Eye earlier), then this may be your next best chance. Start out by uncovering a Power Chip, or better yet, a Special Weapon Tile. Use the invulnerability that you get from that, and begin crashing into other Boxes. With any luck, your invulnerability will hold out long enough for you to find yet another Power Chip, extending your invulnerability even longer. If you can keep this up, you will eventually earn the Super Gun. Once you earn it, or if you already have it, do not put yourself in any further risk, and simply destroy the Boxes normally.
3rd Fortress[edit]
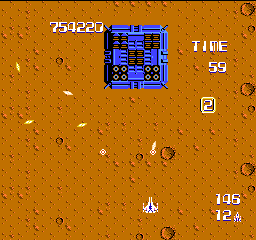
- Core components: 2 Slit Cores, 3 Panel Cores
- Time Limit: 60 seconds
- Bonus: 20,000 points
A rain of Boxes will most likely continue through the start of your battle with the third fortress, which is composed of five cores, tightly packed over a small area. At this time, the Boxes will stop feeling like bonuses, and more like shields that are protecting the Fortress. If you have Super Guns and a strong Special Weapon, you will likely make short work of the fortress in very little time. However, if you do not, you must attempt to weave in and out of the Boxes' ways and take shots at the cores when you are afforded a chance to, while avoiding their fire.
Warp Ball[edit]
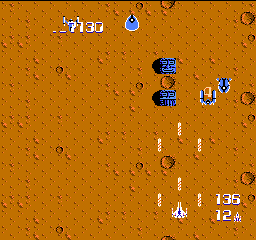
Just like the last stage, the rare Type 2 Icon is positioned almost immediately behind a normal Type 1 Icon. And like all the other stages before, it comes only seconds before the final fortress is about to appear, making it less worthwhile to use the Enemy Eraser turned Warp Ball to escape off to the 4th Area. You will only be cheating yourself out of the lowered aggression level that accompanies a defeated fortress. Instead, collect the Enemy Eraser that departs from the Icon before it becomes a Warp Ball, and prepare yourself for the final fortress of this area.
Final Fortress[edit]
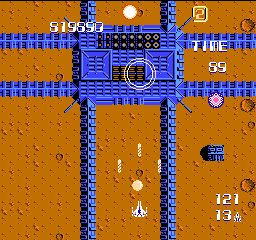
- Core components: 4 Slit Cores, 2 Panel Cores
- Time Limit: 90 seconds
- Bonus: 30,000 points
All of the cores of this fortress shoot Light Bars and Sigs, and none shoot Leads, so you should have an easy time defeating the cores since there won't be any bullets to dodge that you can't destroy. At the same time, the cores on this fortress are slightly spread out, so you'll have to watch your sides a little better.
There is a Type 1 Icon situated below the fortress. You can use this to create an Enemy Eraser and touch the eraser to clear the screen, if the action gets a little too intense. Furthermore, since this Icon will remain on the screen for a good amount of time, you can blast away at it until it grants you 100,000 bonus points for destroying it.