Getting to Baluba Shrine from Gaza Woods is no problem since you've done it once already on the way to the King's Grave. But escaping Gauss Town can be a bit tricky. You need to create a new tunnel to escape from that area. Walk back and forth across the pathway created by the two arrows, as indicated on the walkthrough page. Once you walk along the right angle path, a tunnel will appear which will deposit you right above the shrine.
Room 1[edit]
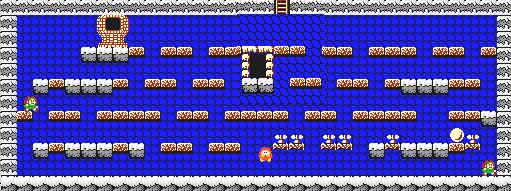
The very first room contains a hut where the merchant within will sell a Magic Key to you for 50 gold pieces. You only need to purchase this key if you intend to exit the ruin, which you only need to do if you've happened to enter the ruin with less than 5 pieces of the completed Aura Star. 50 gold is a pretty steep price, but you can help yourself by selling off a gold statue to the merchant for 30 gold. Collect the Demon Seal from the lower right corner.
Room 2[edit]
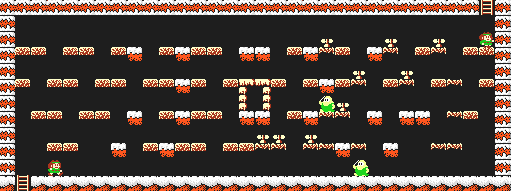
This room is not particularly challenging. A few flying enemies will appear, but for the most part, you will face regular ground enemies. The chest in the upper right corner contains parchment, and you'll have a hard time avoiding it when you climb to the escape ladder.
Room 3[edit]
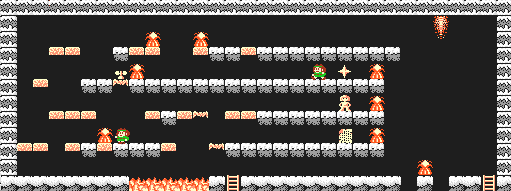
This is a tricky fire room to maneuver around. Take any opportunity that you can find to destroy the fire objects that block your way, in order to ensure your safety. The top treasure chest contains an extra life. Watch out for the rising fireball on the far right side.
Room 4[edit]
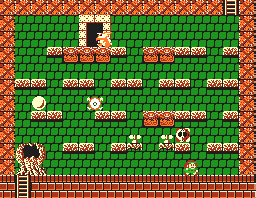
Be careful around the flying enemies that will appear here. You can collect another Demon Seal from the left side of the room.
Room 5[edit]
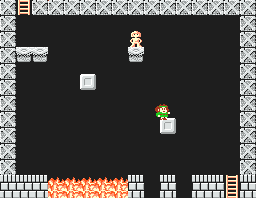
Stay near the top to cross this simple fire room.
Room 6[edit]
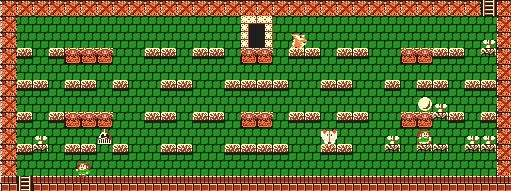
This straightforward enemy room provides a couple of opportunities to quickly dispatch the enemies, including the Demon Seal which can be obtained from the right side of the room, and the invincibility helmet on the left side which will allow you to crash into the enemies for a limited period of time.
Room 7[edit]
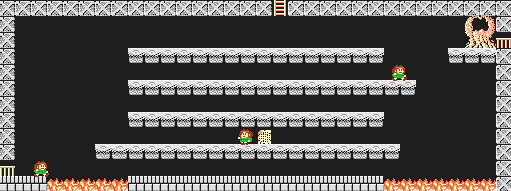
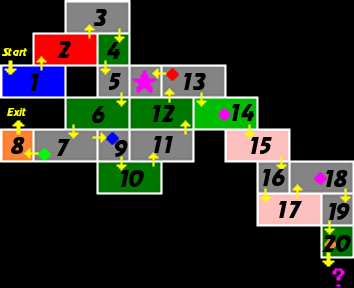
For such a big fire room, there is very little to investigate. The treasure chest on the bottom contains parchment. To the left, you will find the route to the ruin exit. To the right, you will find the path that leads deeper into the ruin. Unless you are missing one or more of the Aura Star pieces, continue to the right.
Room 8[edit]
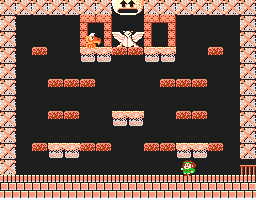
Use this room if you need to escape back to the outside, in order to return to other ruins to collect Aura Star pieces.
Room 9[edit]
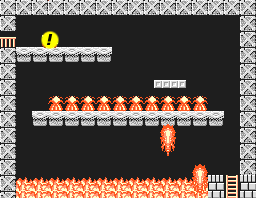
When you first enter this room, it will appear impossible to overcome. The trick is to find the secret location where you must jump four times, in order to make a floating platform appear. Once it shows up, carefully time your jump so that you don't get hit by the two rising fireballs.
Room 10[edit]
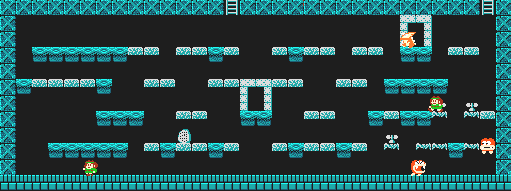
With two enemy generators separated from one another, you will have to watch them both carefully to determine which nearby platforms provide the best strategic advantage. Quickly head to the escape in the upper right corner when the coast is clear.
Room 11[edit]
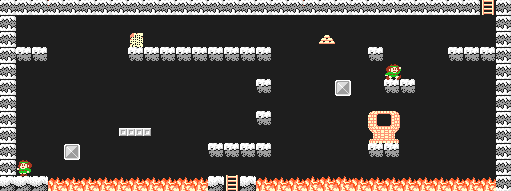
When you enter this room, focus on the right as there is very little of interest to the left. The floating block is easiest to reach when you are high up, and the block is closer to the lava and rising. Use it to reach the high platforms and escape the room.
Room 12[edit]
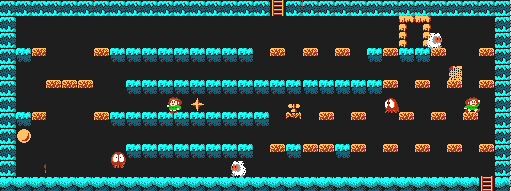
Single platforms, flying enemies and a lot of unusable terrain will make this room a little difficult to clear. There is an extra life in the treasure chest in the center of the room.
Room 13[edit]
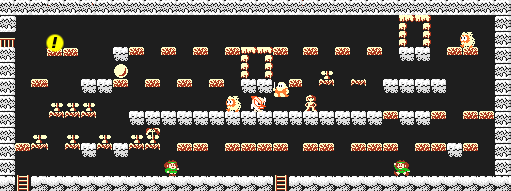
Room 13 is an important room to remember. You will need to return to this room once you have collected both wands. When you have them, return here, and jump five times off the platform indicated by the yellow "!". This will grant you access to the secret chamber in which the princess is being held.
Secret Room[edit]
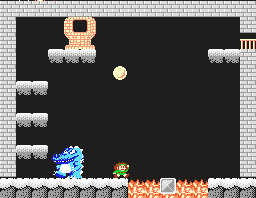
From the entrance, you must leap over to the floating block, and jump off before it hits the lava. You will have no choice but to get a little close to the demon guarding the floor and jump over his head to reach the stack of platforms on the left. Use the platforms to climb up to the hut entrance, where you will find the princess. If you have collected all of the star pieces and wands, talk to her, and she will join you (her face will appear to the right of the star). Then return to room 18 and continue to make your way to the final room of the ruin.
Room 14[edit]
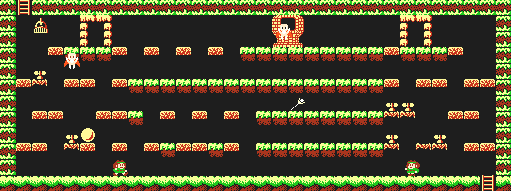
This is the first room in which you will find one of the princess' magical wands. Collect it from the treasure chest in the middle. Each wand will take up one of the six item slots that you have available, so make sure you have enough space to hold them. There are slightly more attack opportunities on the left side of the room, as well as a Demon Seal and invincibility helmet.
Room 15[edit]
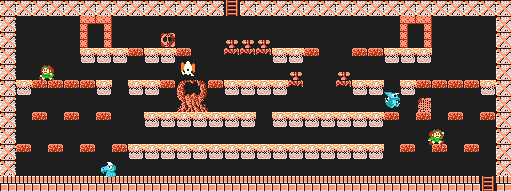
This can be a fairly tough room, with enemies divided by the unusable terrain in the middle of the room. If you have a couple of Demon Seals in stock, it's not a bad idea to begin using some of them up now, in order to assist you with making the exits appear.
Room 16[edit]
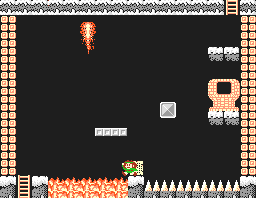
This fire room may be small, but it can cost you a life if you're not careful. Wait for a fireball to rise out of the lava before approaching the floating platform.
Room 17[edit]
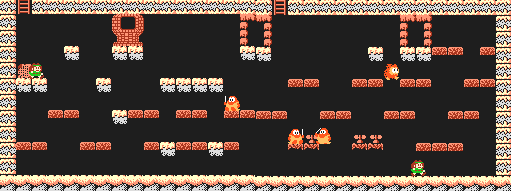
This is a comparatively easy enemy room. There are many attack opportunities, and the enemies will appear quite quickly. In fact, they move quickly too, so you will have to step up your reaction speed.
Room 18[edit]
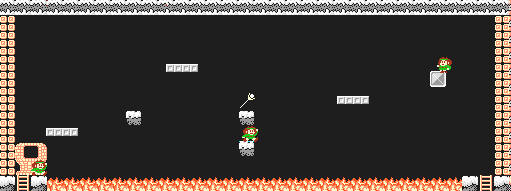
This room contains the second magic wand. To reach the moving platforms, you will have to perform high jumps as you leap forward. Reach the treasure in the middle to collect the wand, and then begin returning to room 13 to access the secret chamber of the princess.
Room 19[edit]
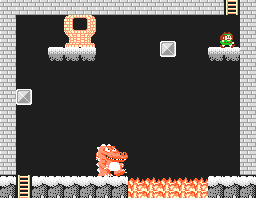
This final fire room has a few odd features. For one thing, it contains a demon that is normally not seen outside of secret chambers. Avoid him as you would any other. For another, if you enter the hut, and talk with the man inside, he will ask you a question. If you respond with yes, he will instantly transport you back to the very beginning of the game and you will start the entire game over. Ignore the hut and proceed to the ladder below.
Room 20[edit]
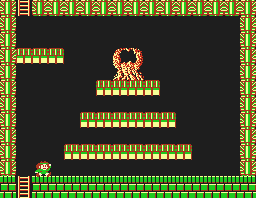
In this final room, you must jump five times just to the right of the ladder that will appear in the lower left corner. If you have rescued the princess, head down the ladder to witness the end of the game. Congratulations.