To reach the King's Grave from Gaza Woods, you must perform two steps. First, you must walk to the tree to the far right from the woods ruins entrance. Doing so will cause a new tunnel to appear that will take you to the area around Baluba Shrine. When you get to the shrine, stand slightly south west of the entrance to trigger an earthquake (check the map on the walkthrough page for the precise location). The earthquake will cause a tree to the north to disappear, granting you access to the desert beyond. Enter the desert to access the pyramid.
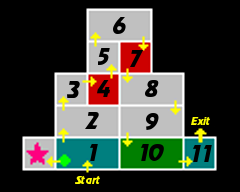
Just as the second ruin was a little longer than the first, the third ruin is longer still. But there aren't any special tricks to it, and it is generally straightforward. The good news is that this ruin contains a lot more enemy free rooms. The bad news is that many of the jumping tasks in this ruin are a bit harder.
Room 1[edit]
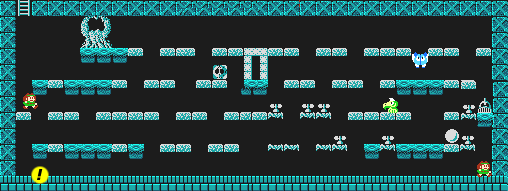
This is the room from which you will access the secret room of the Aura Star piece once you return here with the necklace, which is found in the 5th ruin. When you have it, jump three times around the yellow "!" mark to enter the room to the left. For now, run to the right and make the helmet appear. Collect it for temporary invincibility that will help you clear the room faster.
Secret Room[edit]
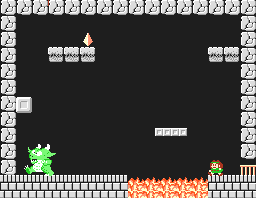
Slightly trickier than before, you must use the moving platform to cross over the bed of lava. You will need to perform a high jump in order to reach the platform on which the star piece is contained. Stay clear of the demon below and watch out for the fireballs.
Room 2[edit]
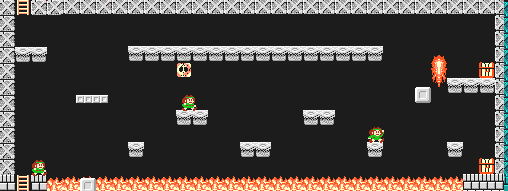
This is a fire room with no enemies. The three treasure chests in this room all contain valuable items. The one on the top contains a gold statue which you can pick up to secure the wealth you need to purchase a magic key in the fourth ruin. The two on the right contains the magic key for this ruin, as well as an extra life below it.
Room 3[edit]
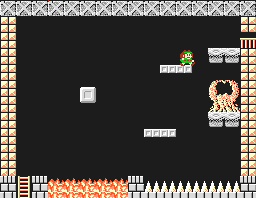
This is really a simple jumping challenge. Wait for the left block to begin rising out of the fire before jumping on it, or you will get burned. You can skip the lower platform and jump right to the higher one unless you plan on visiting the hut.
Room 4[edit]
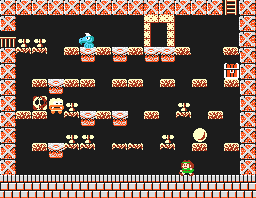
Single platforms arranged as they are in this room can present a bit of a challenge if you're not familiar with the strategies needed to defeat enemies in this situation. You will have to stand on a platform that you hope is next to a platform that the enemy will land on. If it appears at any time than an enemy is about to land on top of you, get off immediately and try again.
Room 5[edit]
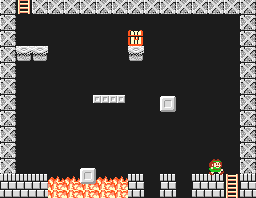
The block in the lava is essentially useless. Jumping on to the right block can be a little tricky, as you must perform a high jump, and the block doesn't get very close to the ground. Jump to the moving platform or the treasure chest to reach the escape at the top.
Room 6[edit]
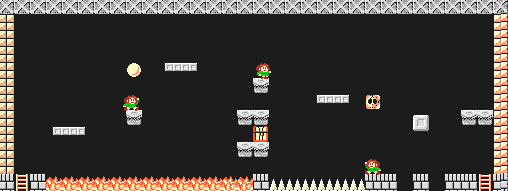
Another jumping room, this one is fairly easy compared to the ones you traversed through earlier. And it provides you with an opportunity to collect another Demon Seal if you need one.
Room 7[edit]
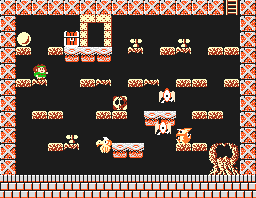
The two most useful items are found in the upper left corner of the room, next to the enemy generator. This can make them rather risky to attempt collecting. Make sure that no enemies are about to appear if you try to collect that extra life. You must also deal with the floating enemies that start to appear. Floating enemies are twice as difficult to fight. For one thing, they can attack you by dropping down and firing an arrow at you which boomerangs back up to them. For another, they rarely stay low enough to the ground long enough for you to attack them. Floating enemies usually pick a row and stay in it for a long time, but they will slightly alter their height from time to time.
Room 8[edit]
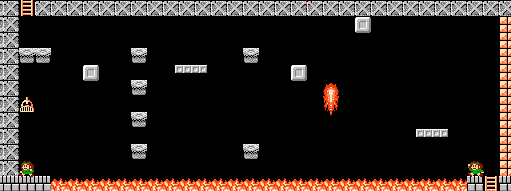
This is another fairly straightforward fire room. Ignore the helmet on the left side as it's more trouble to collect than it's worth and it won't provide you any real benefit since there are no enemies. Ride the first block to the top of the screen and make your way across to the right.
Room 9[edit]
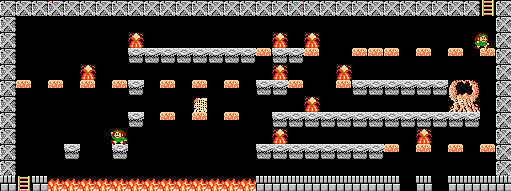
In this room, you will find the sacred treasure of the Bracelet, needed for the second ruin secret entrance. Unfortunately, it is kept in the top treasure chest which can be a little difficult to safely reach. It's safest to make your way along the bottom until you are near the lower chest. Then use the platform to the upper right to begin clearing out the fire objects until you can safely reach the top platform and collect the bracelet.
Room 10[edit]
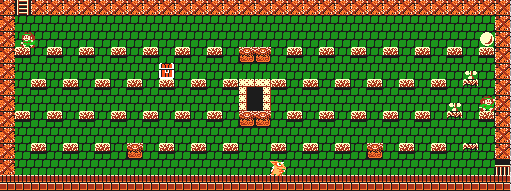
If the single platforms weren't bad enough, you also have to deal with enemies that float. When trying to remove them, you need to be ready to jump when they drop, but you must also stay prepared to leave the platform if they start hovering too close to you.
Room 11[edit]
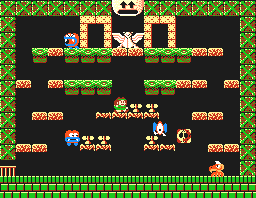
If you missed the Magic Key, you'll have to travel all the way back to room 2 to pick it up. As long as you have it, kill the ten enemies in this room and escape to the outside world.