This fairly straightforward mission is primarily air combat, and was the only campaign mission to be featured in the game's demo.
Primary Objectives
- The USS St. Louis, USS Gambier Bay, and USS Kalinin Bay must survive.
- Destroy the airfield.
- Destroy all three shipyards.
- Sink the Musashi.
Secondary Objectives
- Destroy all coastal guns and heavy AA.
Hidden Objectives
- Destroy all fortresses.
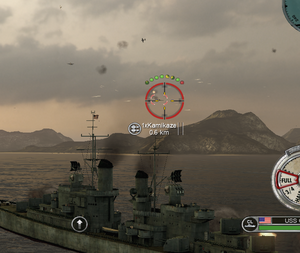
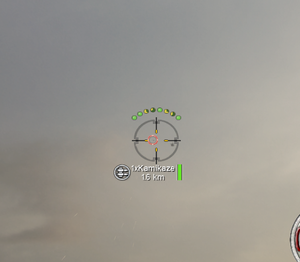
The mission unveils the power of the Japanese kamikazes for the first time - several of them ram the USS Ommaney Bay, sinking it in short order. Your objective is to defend the remaining carriers from kamikaze attacks. This is quite easy as the Atlanta-class is unrivalled in anti-air power. You also have your TacMap - use it when you're not engaging kamikazes to find your next target. Your radar works too but the island's airbase begins launching Zeros. These Zeros will do battle with Hellcats launched from the carriers you're protecting, and will appear on your radar just like any other plane. Your TacMap, therefore, will be your best tool at finding targets.
Overall, you'll have to endure several waves of kamikazes, but they don't come in very large groups, so you can easily focus your fire and destroy them individually. Try to attack them at as far a range as possible; even if you shoot down a kamikaze, it can still cause heavy damage if its carcass lands on one of your ships. Solid use of the TacMap will get your forces through, potentially with no damage. If you manage to shoot down all kamikazes and prevent any of them from harming your carriers, you'll obtain the Zero Damage achievement.
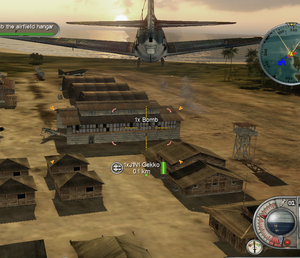
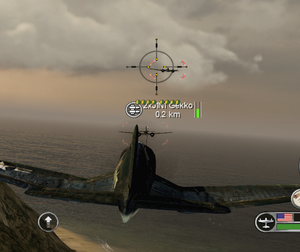
As you creep closer to the airfield, you'll fall under attack from J1N1 Gekkos. These planes are more of a nuisance than anything, as they attempt to strafe you with their machine guns. Their primary purpose, however, is to distract you from the kamikazes. Ignore the Gekkos and let your targeting AI take care of them; your primary objective is to destroy the kamikazes. Also inbound from your ship's starboard side will be several Betties carrying both bombs and torpedoes. Needless to say these planes must not get near your escort carriers, but they are considerably slower than kamikazes. If things end up being a little too much for you, open your Naval Supplies and use the Autoloader supply to make all your guns fire at an astonishing rate. This will be the only time you'll use a ship in the mission, so make use of it while you can.
Once your carrier force enters striking distance of the airfield, your control shifts away from your Atlanta class to a squad of SB2C Helldivers. Your next objective is a simple one; destroy the airfield. It is extremely close and lightly defended, as its CAP is duelling fighters from your carrier. This section of the mission requires no finesse; destroy the enemy airfield with bombs to continue. Shoot down any enemy planes attempting to take off if you can, but focus on the airfield first and foremost.
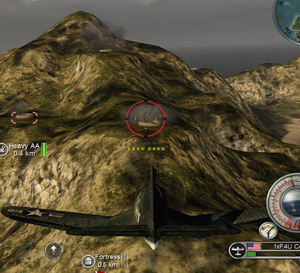
Destroying the airfield shifts your focus again to a squadron of rocket Corsairs. Your mission now is to destroy the enemy shipyards. These will constantly spawn Gyoraitei patrol boats until you neutralize them. Fortunately this is rather easy, as the Gyoraiteis are vulnerable to machine gun fire. Destroy them with machine guns and then their shipyards with rockets, but save one shipyard in order to accomplish the game's secondary and hidden objectives. This can lead to an extremely lengthy mission, as there are twenty to thirty anti-aircraft emplacements, plus a coastal gun or two near the airfield. Further complicating the situation is how these emplacements are sometimes shielded by hills and must be approached from the right angle. To make things somewhat easier, go into your game options and remove all foliage. The islands are well covered with trees, and they only make aiming at these gun emplacements harder. Take your time and be thorough if you want to achieve the gold medal.
Before destroying the final shipyard, also be sure to neutralize the enemy fortresses. These targets are large but impervious to machine gun fire - volleys of rockets are the way to go here. Begin unloading all your rockets at the fortresses and put them out of commission. Most of your time throughout the mission will likely be flying around and waiting for your rockets to reload. Patience pays well here.
When you're ready, destroy the final shipyard to continue.
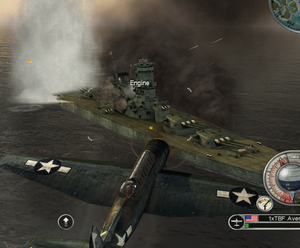
Your fleet gains a new adversary - the Yamato-class battleship Musashi. It is escorted by a single Fubuki-class destroyer - the Usugumo - which will be an easy threat to eliminate. Now your control shifts to a group of Avengers, but you will still have access to the other planes you used previously. Have anything and everything you have hit the Musashi - all of them respawn and this is the last mission, so give it everything you have. While torpedoing the Musashi is the main way of sinking this leviathan, your dive bombers can still cause considerable damage: far more so than in Midway. To make things easier, destroy the Musashi's escort as well. Sink it to complete the mission.