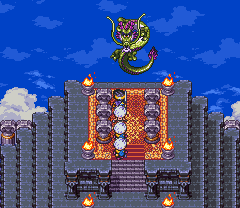
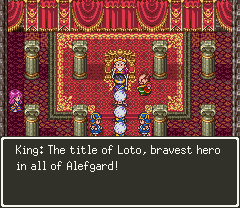
After you defeat Zoma in his Castle and escape to the Cave north of Ludatorm, exit the Cave and you will hear a rumble which tells you the hole to the World above closed: now you can only cast Return to the five towns in Alefgard. Not only this: with the death of Zoma the light returned to the dark Alefgard. Return to Ludatorm and get hailed as a hero there. Talk with the King and he will tell you what you already knew: The Hole to the World above has closed and the light has returned thanks to Zoma's Death. Then he gives you the title of the hero, Erdrick (Loto in the GBC version). The credits will then roll over the screen until the text "To be continued in Dragon Quest I-II" appears.
Reset the game and try to reload your savestate: you will see the hero title "Loto" appears next to your name. Now that you are given the title, you can go to the Sky World, that is the bonus dungeon. In the Sky World you can obtain more treasures, but also meet new and stronger monsters. The last step in the Sky World is the wish filled by God Dragon/Divinegon once you defeat him.
The Sky World dungeon[edit]
Access the Sky World[edit]
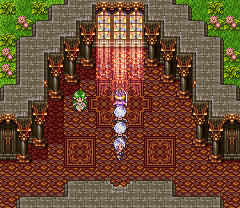
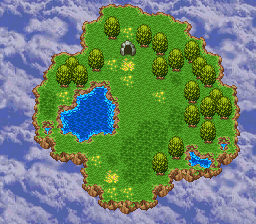
Return to Dragon Queen Castle to the place where you found the Small Medal. Go in the sunlight and all around you will get distorted and you will appear on a small Heaven isle with a cave which is the Bonus Dungeon.
The bonus dungeon[edit]
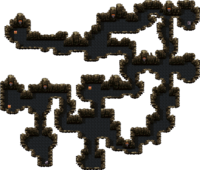
In the Bonus Dungeon new monsters never seen before will appears along with some known monsters. Dark Troll, Evil Crab, Ramia, Gate Guard, DemonSword, Baramevil, Mtl Wyvern, Devil Wiz are new monsters. Baramevil is the only one who drops a Mystic Nut, but if you want to hoard seeds and maximize your attributes, then you'd be better off going for Wisdom Seeds instead. King Hydra is also a common Monster in this dungeon.
When you enter it you will probably get the feeling you know this dungeon, and you're right: this part is from Necrogond Cave, as well as every other level of the Bonus Dungeon is taken from other places. You will recognize a lot of places as you walk through the dungeon.
Anyway, go north then west for a chest which contains a Mimic. You may as well ignore it and go east until you find a path going north. There is another chest with a ![]() STRseed /
STRseed / ![]() Strength Seed inside. Grab it then go east, north and then west all the way. The chest at the dead end contains a
Strength Seed inside. Grab it then go east, north and then west all the way. The chest at the dead end contains a ![]() Bounce
Bounce ![]() /
/ ![]() Staff of Reflection. Now go east to the stairs to the next level.
Staff of Reflection. Now go east to the stairs to the next level.
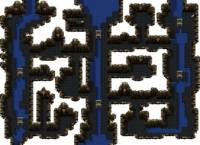
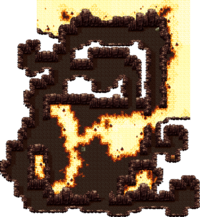
Just like in the Necrogond Cave you need to find the right way to the next stairs below, but there are no treasures on this level. The next level is from Orochi Cave. Just like there, a treasure chest can be found at the same place. It holds a unique item that you thought was lost it in the volcano: it's the ![]() Gaia
Gaia ![]() /
/ ![]() Gaia Sword!
Gaia Sword!
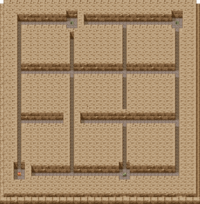
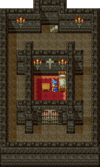
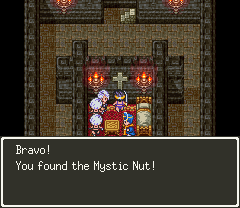
A level deeper you find yourself in the pyramid, where two different stairs exist. Take the right stairs to a room where a priest lives. Under the cross is a ![]() MysticNut /
MysticNut / ![]() Mystic Nut hidden. Go back up and go to the treasure chest southwest: it has a
Mystic Nut hidden. Go back up and go to the treasure chest southwest: it has a ![]() TinyMedal /
TinyMedal / ![]() Small Medal. Now take the left stairs downstairs to the next level.
Small Medal. Now take the left stairs downstairs to the next level.
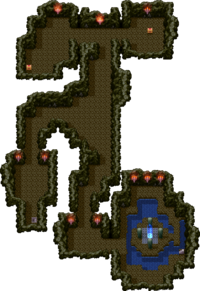
This one has a HP/MP recover spot just like the Dream Cave near Noaniels. This is an ideal spot to train yourself to higher levels, as the boss is quite tough. Go west then north ignoring the west path for the moment. At the end go get ![]() Sorrow
Sorrow ![]() /
/ ![]() Sorrow Shield and
Sorrow Shield and ![]() TinyMedal /
TinyMedal / ![]() Small Medal from the two chests. Now go back and take the west path.
Small Medal from the two chests. Now go back and take the west path.

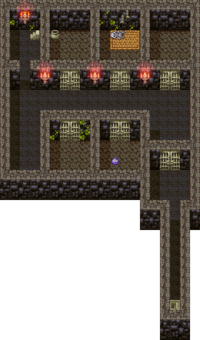
In the next level search two treasures with the help of the "Seek Out" spell. You will find ![]() STRseed /
STRseed / ![]() Strength Seed and
Strength Seed and ![]() LifeAcorn /
LifeAcorn / ![]() Life Nut near the statues. This is the bottom, now you start climbing stairs up. In the Samanosa Jail there are also two treasures, one in the pot and the other right to the corpse; they are a
Life Nut near the statues. This is the bottom, now you start climbing stairs up. In the Samanosa Jail there are also two treasures, one in the pot and the other right to the corpse; they are a ![]() TinyMedal /
TinyMedal / ![]() Small Medal and a
Small Medal and a ![]() Hero
Hero ![]() /
/ ![]() Hero Guide.
Hero Guide.
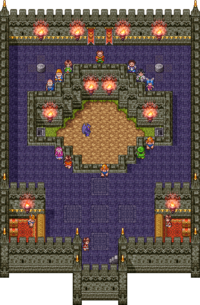
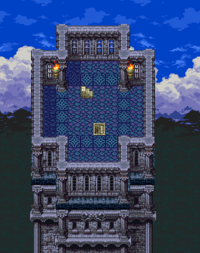
You will pop up in an arena. You've only been outside of the battle arenas to bet on monsters, but now you're battling a monster in the arena yourself. The audience outside the arena tells you good luck while the monster, a Baramevil, asks you, why you so weak are. You can battle him if you want, or ignore and walk around him and continue on. There is a ![]() Token /
Token / ![]() Pachisi Ticket hidden in the ground near the monster. After the monster, there is a small and monster-free floor from the lighthouse. Going down the stairs brings you finally to Zenithia.
Pachisi Ticket hidden in the ground near the monster. After the monster, there is a small and monster-free floor from the lighthouse. Going down the stairs brings you finally to Zenithia.
Zenithia[edit]
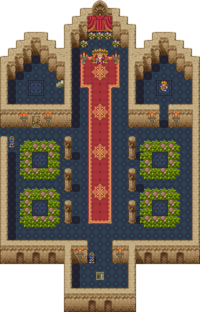
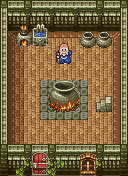
After reaching Zenithia, add it to the Return-List so you don't need to walk through the entire dungeon again. The King welcomes you to Zenithia, introduces himself as King Zenith, and tells you that the God Dragon/Divinegon will grant any wish you choose. The Bard in the right room will give you three riddles to solve. The Bard is in the top right corner. The staircase at the bottom leads to the Old Man.
Once you're done in Zenithia, go downstairs and talk with the old man. He will ask you if you want to meet the God Dragon/Divinegon and offer you medicine from the boiler. Check both pots for a ![]() TinyMedal /
TinyMedal / ![]() Small Medal and a
Small Medal and a ![]() Flee
Flee ![]() /
/ ![]() Flee Ring.
Flee Ring.
Riddle #1[edit]
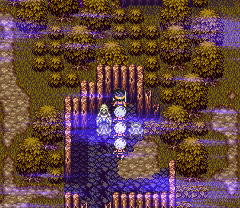
A town lies in ruins, and something shines beneath the cross.
This can only mean Tedanki, so jump off the Castle, go to Tedanki, and search there during the day under the Cross for a ![]() Beast
Beast ![]() /
/ ![]() Beast Claw. It's stronger than the Dragon Claw, but only Wizard and Thief classes can use it.
Beast Claw. It's stronger than the Dragon Claw, but only Wizard and Thief classes can use it.
Riddle #2[edit]
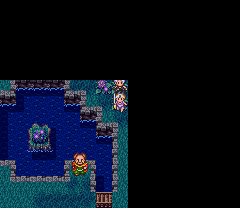
A town, surrounded by darkness. Something sleeps in the flowers...
There are only five towns in Alefgard and though others towns also have flowers, the correct town is Mercado. Go in the middle building and search under the second flower from the top for a ![]() Dark
Dark ![]() /
/ ![]() Dark Outfit.
Dark Outfit.
Riddle #3[edit]
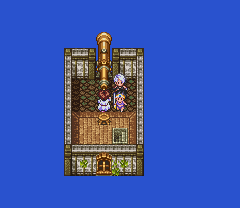
Find the one who looks at the stars without ever glancing down.
This can only be a telescope: where can you find one? Of course in Luzami! So go there and search right besides the man behind the telescope for a ![]() SageRock /
SageRock / ![]() Sage's Stone. After you return to the Bard, he will conclude that you are smart and he will give you some info regarding Small Medals, such as how many are left to be found.
Sage's Stone. After you return to the Bard, he will conclude that you are smart and he will give you some info regarding Small Medals, such as how many are left to be found.
Divinegon Tower[edit]
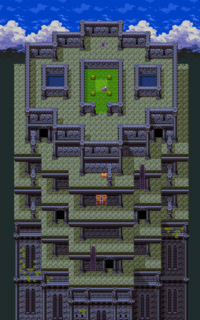
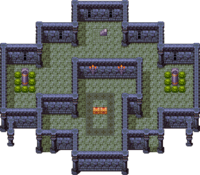
Exit the room and you will find yourself at the bottom from a tower you've never seen before. At the top of this tower lives the legendary Dragon. Climb up the ladder and go left inside to find two treasure chests containing a ![]() TinyMedal /
TinyMedal / ![]() Small Medal and a
Small Medal and a ![]() Ruby
Ruby ![]() /
/ ![]() Ruby Ring. Walk back outside, go right and inside the other door.
Ruby Ring. Walk back outside, go right and inside the other door.
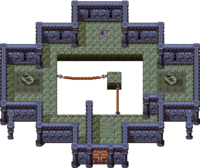
Walk through the room and go upstairs. On the second floor you have to walk over the ropes twice to reach the exit, so beware not to fall down or you have to do it all over again.
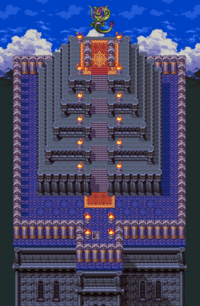
Exit the tower, go left, climb the stairs and re-enter.
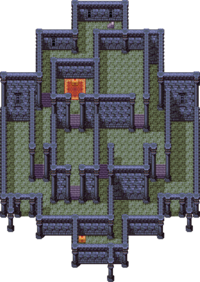
Go left and get the ![]() TinyMedal /
TinyMedal / ![]() Small Medal: it's the last one and with this you should have all the 110 small medals you can find in the game. Go up and ignore the north stairs, it only leads to a empty room, and go down the other stairs.
Small Medal: it's the last one and with this you should have all the 110 small medals you can find in the game. Go up and ignore the north stairs, it only leads to a empty room, and go down the other stairs.
Now go north to get ![]() LUCKShoes /
LUCKShoes / ![]() Lucky Shoes from the chest. Go back south and outside. In the chest outside is the strongest weapon, a
Lucky Shoes from the chest. Go back south and outside. In the chest outside is the strongest weapon, a ![]() Wreck
Wreck ![]() /
/ ![]() Wrecking Flail, that can attack every enemy too. Go back inside and go north to the stairs.
Wrecking Flail, that can attack every enemy too. Go back inside and go north to the stairs.
You are now on the last floor. There is nothing important to grab in this big room, so just go to the stairs which bring you to the roof, where God Dragon/Divinegon awaits you.

