Crystal Palace[edit]
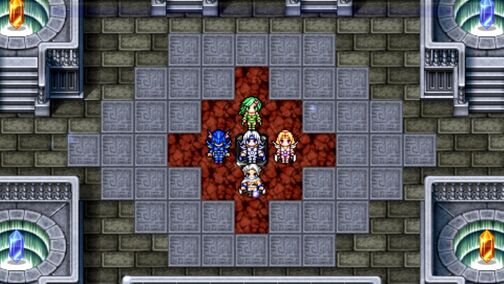
Go through the Lunar Path once again, following it as before until you reach the Crystal Palace. This time, go behind the platform where you met Fusoya, to the door in the back. In this crystal room, there is a tile in the center; stand on the tile and you will be transported to the Lunar Subterrane.
Lunar Subterrane[edit]
| Area Info: | ||
|---|---|---|
|
| |
If you need to heal, swap items, or restock, feel free to use Teleport to return to the Lunar Surface and re-enter the Crystal Palace to use the panels.
The Flan Princess can drop Pink Tails at a 0.39% chance. The easiest way to farm them is to bring Sirens with you and keep using them until it drops. The Pink Tails can be traded to the man on Adamant Isle Grotto for Adamant Armor, the strongest heavy armor in the game.
Try to avoid using any magic for regular fights, to save on buying Ethers. You'll need all the MP you can spare for the bosses.
B1[edit]
Once you enter, head north to a fork, turn east, and go through a secret path in the wall, to find a chest guarded by two Armored Fiends, containing the Black Garb for Edge. Head back through the path, this time heading west at the fork to reach a panel that will teleport you to B2.
B2[edit]
Head north, and open a chest guarded by two Dark Sages and two Moonmaidens, to get the Sage's Staff for Rosa. It is weaker than the Yoichi Bow + Arrows, but it gives a massive boost to her Spirit, so the best use of it is for boss fights, where you will need lots of healing, swapping between the two just beforehand. Afterwards, head southwest around the cave to reach another panel, this time taking you to B3.
B3[edit]
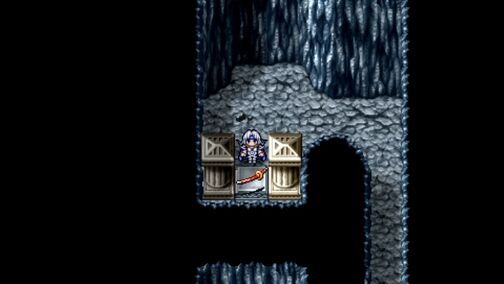
Before moving, groupcast Float. Fully heal yourself with Hi-Potions, and Ethers if you need some, then head right and up, and examine the sword to enter a boss fight.
Boss: White Dragon (Pale Dim)[edit]
| Boss Info: |
|---|
|
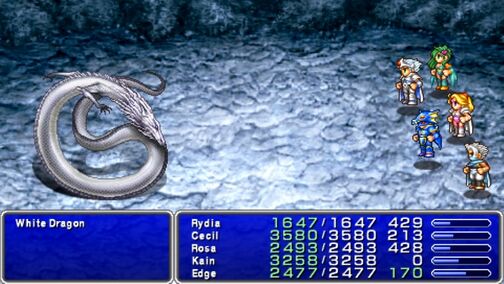
This guy is a real pushover. The scariest thing about the White Dragon is it uses Maelstrom sometimes, sending the whole party into single digit health.
Whatever you do, do not attack it physically. If you do, it counters by using Slow on you. Summon magic makes it counter with Earthquake, so always be floating to dodge it.
Simply have Rosa use Haste on Rydia, then switch to groupcasting Curaja, and have Rydia summon Bahamut while everyone else defends or uses items if necessary.
Once you defeat it, you will be rewarded with the first legendary katana, Murasame, for Edge. Replace it with the Moonring Blade, then Teleport out of the dungeon, heal in the Crystal Palace, and return to B1.
Trip Two[edit]
Head south from the entrance, and go through the door down to B2.
B2[edit]
In this room, go east to find a hidden path in the wall. Go north, collecting the chest with the Flame Whip for Rydia along the way. Continue north along the hidden path, and you will eventually reach another door in the northwest corner. Pick up the chest west of it containing a Dragon Shield for Kain, and continue through the door to B3.
B3[edit]
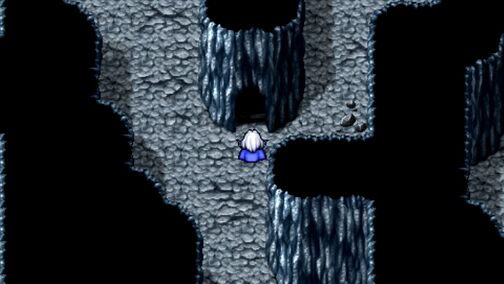
In the next room, head down from where you enter, and pass the door towards the dead-end. Head east through a hidden passage to pick up the Dragon Helm for Kain, then continue east through another passage to reach a room containing the Dragon Mail and Dragon Gloves as well. Backtrack to the door you passed, and head down to B4.
B4[edit]
Head east to a fork, passing the stairs for now. Open the chest to the right to get Artemis Arrows x10 for Rosa, then return and head down the stairs. At this fork, head west to get an Elixir, and then head east through the door to access a different part of B4.
| Enemy Info: |
|---|
|
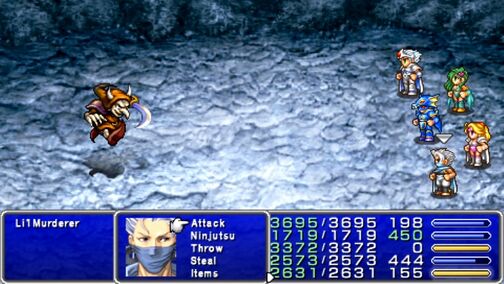
If you wish to fight Li'l Murderer, you can use Sirens on this specific area of this floor to do it. Be warned though, even though it says it is weak to Lightning, it will actually go berserk if you attack with Lightning, and deal massive damage. Otherwise, it will repeatedly use Libra on itself, trying to taunt you into striking it with Lightning.
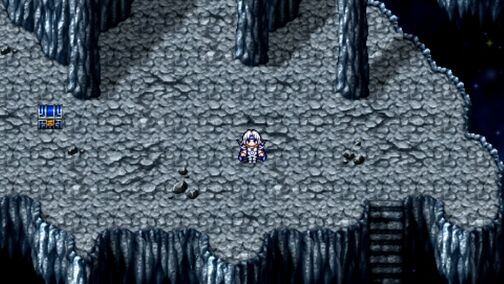
Head north to find a chest with a White Fang, then head west and south to pick up an X-Potion and exit to another part of B4. From here, heal up and open the chest to your west to find it guarded by a Behemoth.
Mini-Boss: Behemoth[edit]
| Enemy Info: |
|---|
|
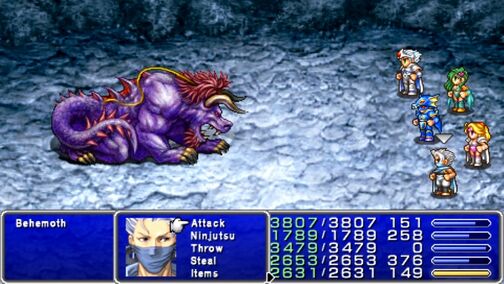
If you haven't obtained Bahamut (although you should've done that before even entering this area), this will be your first encounter with a Behemoth. If you have, the strategy is no different here, except that this time you have Kain instead of Fusoya. The key part about them is that for every attack you make on the Behemoth, it will retaliate. So attacking with anyone's weapons would be foolish, as its attacks are quite strong.
The easiest way to beat these are to start off by having Edge use Mirage, and having Rosa apply Blink to the entire party. Once everyone is Blinked, unleash hell on it. Have Rosa use Berserk on Edge, Kain, and Cecil, and Rydia use Bahamut or whatever -aga spell she can. At some point it might use Maelstrom, which is a party-wide version of Tornado, so just use Curaja from Rosa on the whole party if this happens. If someone dies, have Rosa use Arise on them. Eventually it will go down, and you will get a Stardust Rod for Rydia as a reward for beating it. Head down the stairs to the east to B5.
B5[edit]
This room is massive, so if you are running low on healing supplies or inventory space, don't be afraid to Teleport out and pick up some more before returning.
First, head south and west past the door to find a chest guarded by a Red Dragon and a Blue Dragon. For the Blue Dragon, summon Bahamut and attack normally, and for the Red Dragon use Blizzaga and attack normally. Afterwards, you will recieve a Crystal Shield for Cecil. Head into the door to enter another area of B5.
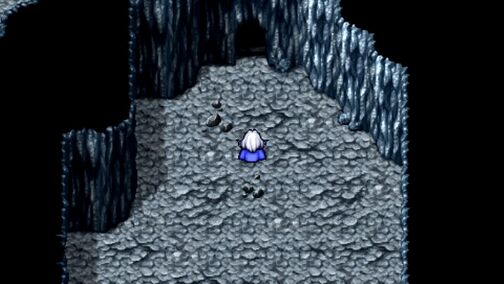
Head north to a dead-end, and then turn east through the wall, grabbing the Protect Ring. This ring will greatly increase defenses, as well as provide resistance to all three elements, so while you can equip it to anyone, Rydia or Rosa would be your best choice. Continue east through another secret path, reaching a room with a fork. North will take you to B6, so head south, finding another chest guarded by another Behemoth. Same strategy as before, beating this one rewards you with the Crystal Mail for Cecil. Head back inside and exit north to another area of B5.
Head northeast to find a chest guarded by two Red Dragons, containing the Crystal Gloves for Cecil. Head west and go through the second doorway, heading north to a fork. Take the west path and head south to open a chest containing a White Robe for Rosa. Head north and through the door to reach another area of B5.
Go west and north to find a chest guarded by a Dinozombie and a Dark Sage, containing a Crystal Helm for Cecil. From here, head all the way east past the first door, and enter the second one to find a chest with a Red Fang.
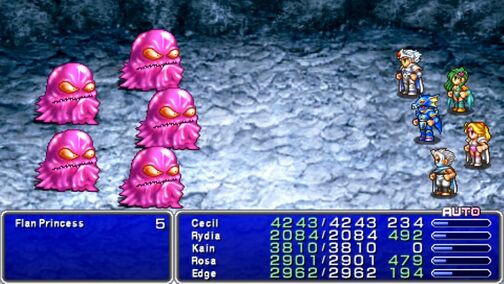
In this room you can use Sirens to fight the Flan Princess and attempt to get a Pink Tail. However, it is advised you don't do this until you have reached the save point coming up soon.
Mini-Boss: Flan Princess (PinkPuff)[edit]
| Enemy Info: |
|---|
|
For how difficult these fellas are, they're almost a mini-boss in their own right. To start out, have Rydia summon Bahamut, while Edge uses Blitz, and have Rosa use Haste on Rydia first, and then the rest of the party. At some point she will start casting Berserk on the party, which can be removed with Rosa's Dispel if it hits Rydia, otherwise everyone else is fine. If all of your members go Berserk, it will probably be a Game Over. If Cecil is wearing Crystal Armor, or anyone is wearing a Ribbon, they will be immune to Berserk, so you can still run away if you need to. With some luck, it will eventually drop a Pink Tail.
Exit this room, and head south to reach B6.
B6[edit]
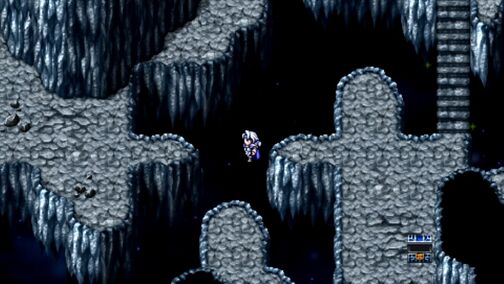
Head south and open the east and west chests for a Fuma Shuriken and Artemis Arrows x10. You will see two parallel bridges, take the left one to find a chest containing a Cottage, and then head left across an invisible bridge. Head as far left as possible then go up and right through the wall to a hidden set of stairs leading to another area of B6.
The chest to the south contains a Golden Apple. Head east towards a grey panel, and step on it to reach another area of B6. Follow the path upwards to another panel, taking you to B5.
B5[edit]
Head north to reach a chest guarded by a Behemoth, containing a second Protect Ring. Equip it on either Rydia or Rosa, whoever doesn't have one. Head north one more time to reach another panel, taking you to another part of B5, containing a save point. By now you should have around 1 million Gil, so Teleport out, and make your way back to the Lunar Whale to make a trip to Hummingway's Abode and store some items at the Fat Chocobo. From this point on, you'll only be using Elixirs during battle in emergencies, and Hi-Potions and Ethers outside of battle for maintenance, so stock up on as much as you can. To avoid making this trip again for a while, pick up a couple Gysahl Whistles as well.
Third Trip[edit]
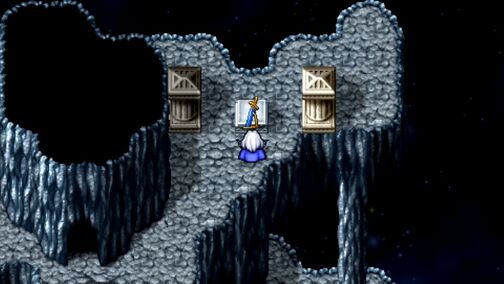
Make your way back to the save point, and prepare yourself for an incredibly difficult boss. For this fight especially, set your battle speed as low as possible, and make sure you are at least level 55. If you need some more levels, grind in the lower floors, especially against Flan Princess and any dragon enemies. When you are ready, head south from the save point and examine the sword for the next boss fight.
Boss: Dark Bahamut (Wyvern)[edit]
| Boss Info: |
|---|
|
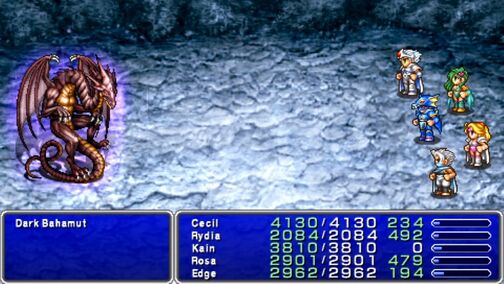
Dark Bahamut begins the battle with a Megaflare attack that often kills most of the party, and then casts Reflect on itself and starts bouncing Flare off of it at the party. Avoid using summons on Dark Bahamut, as he counters with more Megaflares. Immediately have Rosa casting Curaja every round. Cecil, Kain, and Edge can all attack normally, as long as no revival is needed. If it is at all avoidable, do not interrupt Rosa's healing to revive, instead use Phoenix Downs from one of these three. Instead of summoning, have Rydia cast Quake, since that bypasses Dark Bahamut's reflect. This might be a long battle, so just be patient and focus on keeping everyone alive.
Alternate Strategy: Have Rydia on healing duty with Asura, and then have Rosa set up Reflect on a party member, and bounce Holy spells off of them. Have one of the fighters assist Rydia's healing if needed.
Once you defeat Dark Bahamut, you will be rewarded with the legendary blade Ragnarok for Cecil. Now, go back to the room with the invisible bridge, and head up to the two bridges.
B6[edit]
This time take the bridge on the right, and go through the door around the path. Take the left path at the fork to find a chest guarded by three Moonmaidens and a Dark Sage, containing a Minerva Bustier for Rydia. Sure, Rosa can equip it too, but she already got the White Robe earlier. Take the right path this time and go through the door to reach B7.
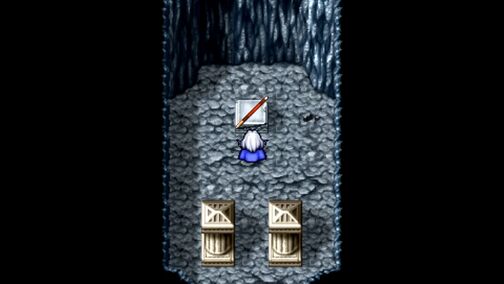
Head south until you see three doors. The first door on the left is another save point, so go heal and save, because another boss is coming up very soon. Once you are ready, enter the center door this time, and examine the lance to fight the next boss.
Boss: Plague Horror (Plague)[edit]
| Boss Info: |
|---|
|
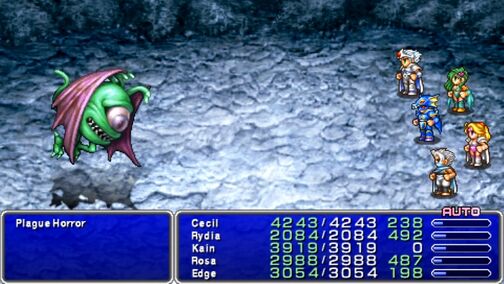
Plague Horror can be difficult to defeat, due to starting the fight by casting Doom on the whole party. You have to defeat it before your timer runs out. Since Plague Horror is a flying enemy, Edge's Shurikens and Boomerang weapons, Rosa's arrows, and Kain's spears all do extra damage. This fight is no real threat as long as you hit hard and fast.
Alternatively, you can exploit the AI. Any time a character has no countdown, Plague Horror recasts the group Doom, resetting everybody's countdown to 10. Therefore, you can kill and revive a fragile character like Rydia over and over to force Plague Horror to repeatedly refresh everybody's countdown timer.
For winning, you get the legendary spear, Holy Lance, for Kain.
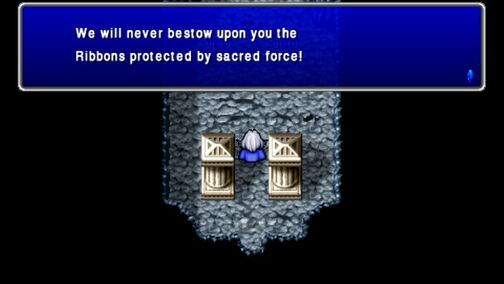
Head back to the save point, heal and save, and then enter the third door. Approach the chests for the next boss fight.
Boss: Lunasaurs[edit]
| Boss Info: |
|---|
|
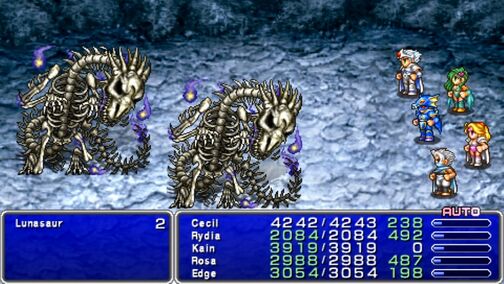
The two Lunasaurs are not too difficult to defeat. They start the fight with reflect, and will bounce Bio off of each other to attack the party. If you use magic on them, they will heal themselves, but Rydia's Bahamut is pretty effective, as it is far stronger than the heal. They are weak to Holy, so have Cecil and Kain attack normally. Edge should be attacking as well, when not healing.
Defeating these two will reward you with two Ribbons, which look very nice on Rosa and Rydia. With all of this done, head back to the save point to heal and save, and prepare for the final weapon guardian.
The enemies in the next area are all as strong as bosses themselves, so Teleporting to the surface to make one last restock trip is highly advised.
Outside the caves, head all the way to the right. Go all the way around the room until you reach the staircase. Go down the stairs to reach B8.
Lunar Core[edit]
| Area Info: |
|---|
|
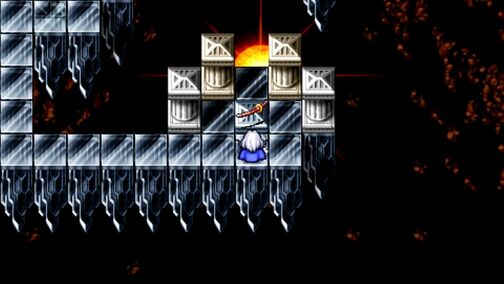
The west is a dead-end, so head east and down the stairs, then head west, pick up the Fuma Shuriken from the chest, and head down more stairs. Head east again until you come to a fork, and then head south first to fight the final guardian.
Boss: Ogopogo[edit]
| Boss Info: |
|---|
|
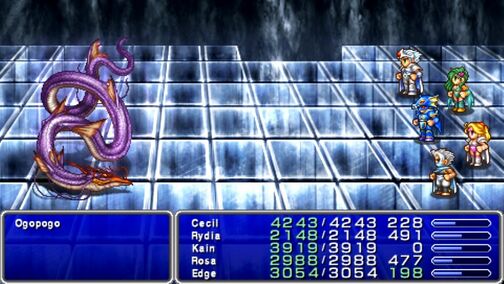
Have Rosa cast Curaja on the party every round, and have Rydia summon Asura every round. Have Cecil, Kain, and Edge attacking normally, with Edge and Kain using Elixirs on whoever needs it.
When it uses Deluge, Frost Blast, or Whirl, they will hit hard, and even worse, they will also hit twice.
After beating it, you will get the final legendary weapon, the katana Masamune for Edge. Now that there is nothing left except for the final boss, head back to the save point, heal up, and make your way to the center of the moon. The enemies here are all as strong as bosses themselves, so they will each have their own documentation here.
Deathmask (EvilMask)[edit]
| Enemy Info: |
|---|
|
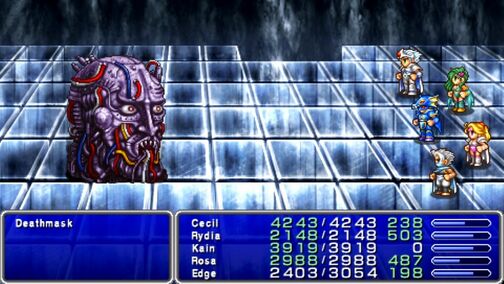
To start the fight, it will cast reflect on everyone, including itself, and then reflect Holy, Bio, and Flare off of itself, so have Rosa reflect Slow to minimize damage, and then reflect Haste off of it to speed up your party. Cecil should be attacking, Kain should be Jumping, Rydia should be casting Bahamut, while Rosa and Edge should be on healing duty.
Zemus's Breath (Breath)[edit]
| Enemy Info: |
|---|
|
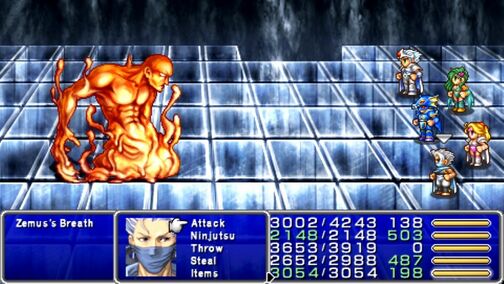
Don't use any magic and just attack normally. All it does is use Libra, so just turn on auto-battle to take them out.
If you use a Siren on B11, these guys are a great source for Gil and Exp, since they pose no threat to you.
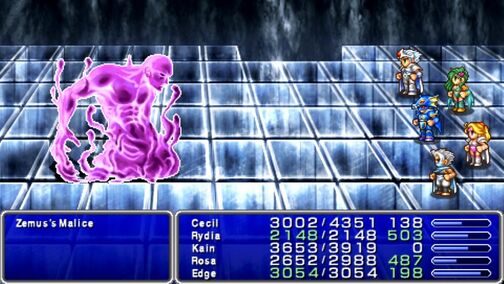
Zemus's Malice (Mind)[edit]
| Enemy Info: |
|---|
|
You can't defeat it through physical attacks, so have Rydia cast Flare or Bahamut, and Rosa cast Holy. Let the other three keep everyone healthy with items.
From the fork, head north and head down the stairs.
B9[edit]
Head down these stairs, go east to pick up an Elixir from the chest, and continue down the stairs. Head west, go down another set of stairs, then head east to find a Gysahl Whistle in the chest. Keep heading east and step on the panel to reach B10.
B10[edit]
Head west, down the stairs, then east, down more stairs, pick up the Fuma Shuriken from the chest, then go west for another Fuma Shuriken in a chest. From here, head east and step on the panel to reach B11.
B11[edit]
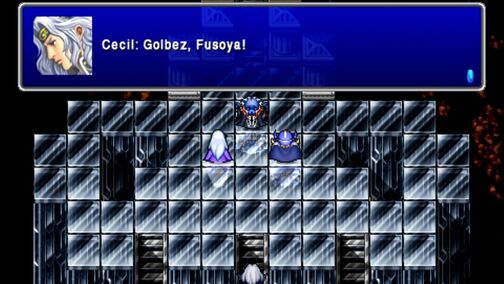
Head west, go down the stairs, then go east and down some more stairs. Head west one more time, and step on the grey panel to enter a room where you will find Fusoya and Golbez fighting Zemus.
Boss: Zemus[edit]
| Boss Info: |
|---|
|
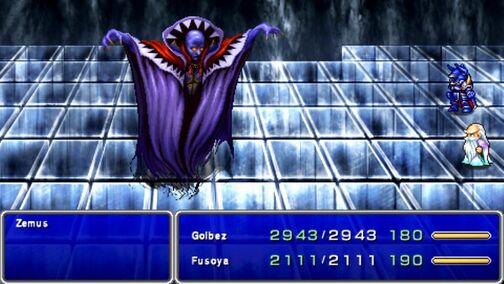
As you enter, Golbez and Fusoya engage Zemus in battle. It appears that they have defeated him, but he transforms and defeats both of them handily. Back in Mysidia, the Elder senses you are in danger, and tells everyone to start praying for your victory.
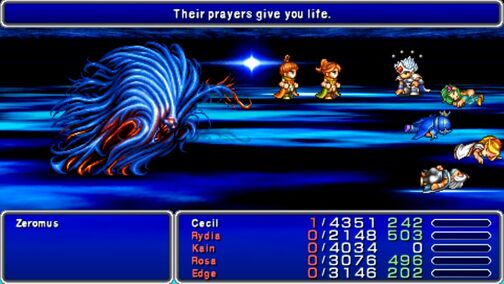
Suddenly, your friends from earlier appear, and begin to heal you, allowing you to recover to fight Zemus yourself. Now you will face the final boss.
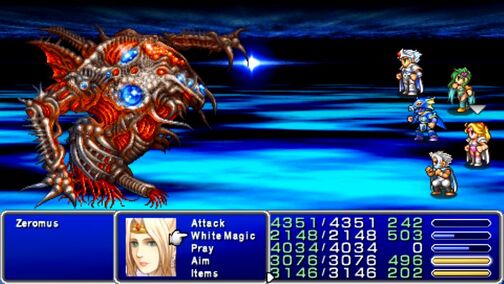
Final Boss: Zeromus[edit]
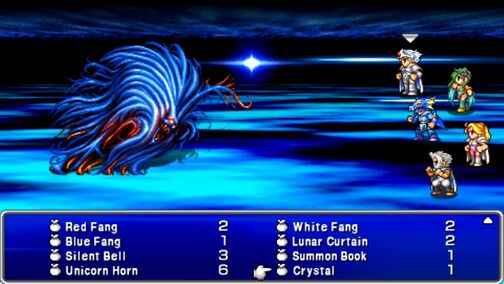
The first thing you must do is have Cecil use the Crystal (available from the Item menu) on Zemus. At this point he will transform once more into Zeromus, and you will be ready to attack.
| Boss Info: |
|---|
|
Zeromus's favorite attack is Big Bang, which hits your whole party for around 600-2800 damage at level 55, and he loves it so much he'll even show it to you twice in a row sometimes.
He also has powerful counterattacks. Flare, Bahamut, Holy, and any magic will result in him using Flare or Whirl on one of your party members, either bringing them to near death, or killing outright. He will also use Bio every now and then, but that's hardly a threat.
Don't bother with Haste or Protect either, he will negate them with Black Hole before you even get a turn.
With that all said, you have two methods to kill him.
The Fast Method is to have Rosa cast Holy and heal with Curaja when needed, Rydia cast Flare and Asura when needed, Edge throwing Shurikens or Fuma Shurikens, and Kain and Cecil should be attacking normally and using Elixirs and Phoenix Downs when needed.
The Safe Method is to have Rosa and Rydia healing with Curaja and Asura, and have the other three attacking normally (or throwing Shuriken) and using Phoenix Downs and Elixirs as necessary.
End[edit]
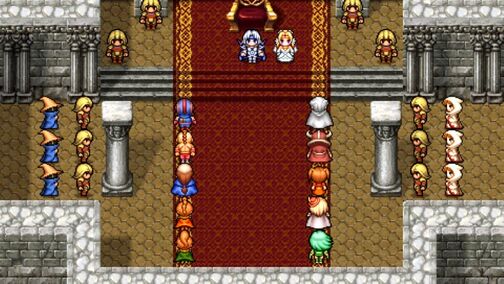
At this point you will see all the people from the game once again as they come to Cecil and Rosa's Wedding. You finished the game. Congratulations!
