Narshe[edit]
| Name | HP | Gil | Experience | Rage | Lore |
|---|---|---|---|---|---|
| 001 Guard | 40 | 48 | 48 | Yes | No |
| 002 Lobo | 27 | 30 | 37 | Yes | No |
| 003 Vomammoth | 115 | 90 | 50 | Yes | No |
| 004 Were-Rat | 24 | 22 | 21 | Yes | No |
| 005 Vaporite | 15 | 29 | 23 | Yes | No |
| 006 Repo Man | 35 | 25 | 25 | Yes | No |
| 276 Whelk (shell) | 50,000 | N/A | N/A | Yes | No |
| 277 Whelk (head) | 1,600 | N/A | N/A | No | No |
| 278 Guard Leader | 420 | 350 | N/A | Yes | No |
South Narshe[edit]
- There's pretty much only one path at this point, just head north.
| Formation | Avoidable |
|---|---|
| Guard × 2 | No |
| Lobo | Yes |
| Lobo × 2 -> Guard × 2 | Yes |
| Lobo × 2, Guard (Forced Pincer) | No |
You may want to start out by opening up the field menu and modifying your configuration settings. Particularly, you may want to set whether the game will memorize the cursor location of your last attack on the battle screen, or reset it to default every turn, and modify the battle and message speeds to your taste. If you're new to this game, you should take some time to familiarize yourself with all the menus. You may want to move your characters to the back row because right now all of your attacks are magical and most of the enemies' attacks are physical.
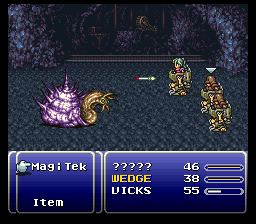
The unnamed character will have a great deal of firepower to select from. The TekMissile is the most powerful attack in her arsenal against a single foe, but the Bio Blaster is capable of damaging the entire enemy party at once. Vicks and Wedge are limited to a selection of a few different single-enemy attacks which produce the same damage, only with different elemental attributes. If you find at any point that you're getting seriously hurt, use the Heal Beam MagiTek, currently available to all your characters. However, that's not likely to happen until the boss battle, because the enemies at this point are quite weak. Enjoy the free ride, and take your time getting used to the game mechanics.
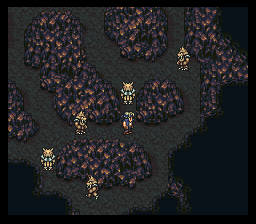
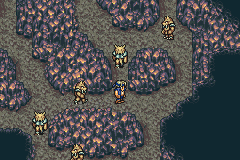
If you try to head South, Vicks and Wedge will just order you to turn around, so go North into the town. At this point in the game, you also can't explore much of Narshe. There are paths you can't travel down inside these bulky Magitek armor suits, leaving essentially only a single northward path to go down.
As you head North to the left of the inn you will encounter 2 Guards. If you go to the right in front of the inn you will encounter a lone Lobo. Keep heading north; the tile just below the intersection of the grates will trigger an encounter with 2 Lobos and then 2 Guards immediately after (it can be avoided if you walk around it). As you continue North towards the edge of Narshe you will encounter 2 Lobos and a Guard in a forced pincer attack.
North Narshe[edit]
- The enemies get a little tougher here, but there's still pretty easy. Press on.
| Formation | Avoidable |
|---|---|
| Vomammoth × 2, Guard × 2 | No |
North Narshe Mines[edit]
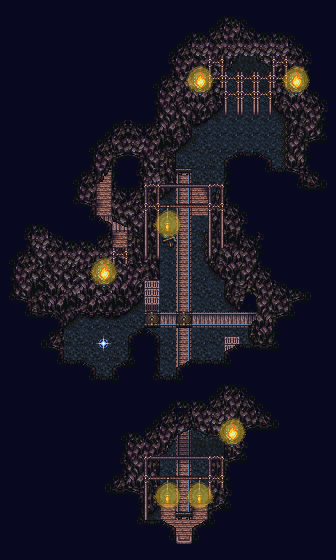
- Enter the mines, and travel north until you reach the esper
| Formation | Percentage |
|---|---|
| Were-Rat × 3 | 62.5% |
| Were-Rat, Repo Man | 37.5% |
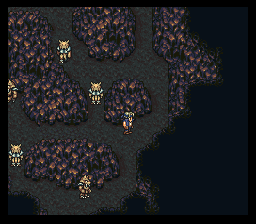
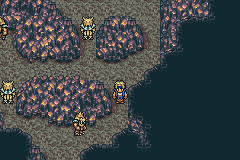
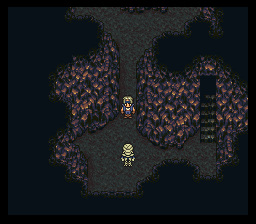
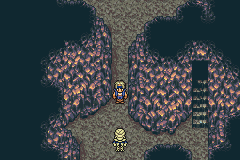
After all that fighting, you'll be at the mouth of a cave. Enter and follow the path, defeating random encounters as you go, and you'll come to a save point. If you step on it now, you'll have the option to be given a short tutorial on how to use them. You'll come to a small gate. Talk to it, and Vicks will smash it open. You will then face the boss Whelk.
North Narshe Mines: Esper Cave[edit]
- After defeating Whelk, continue forward, and you meet with the frozen Esper.
| Formation | Percentage |
|---|---|
| Vaporite × 2 | 31.25% |
| Were-Rat × 2 | 31.25% |
| Repo Man, Vaporite | 37.5% |
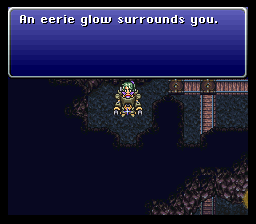
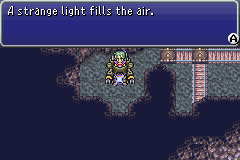
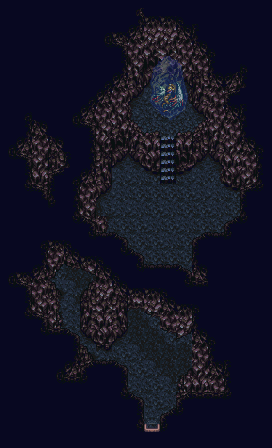
After you approach the frozen Esper, it will emit an eerie light causing both Wedge and Vicks to disappear. Then ????? will have a reaction with the Esper (Tritoch) and she will wake up in Arvis' House.
South Narshe: Arvis' House[edit]
- Give Terra her name
| Terra | |
| Magitek Elite | |
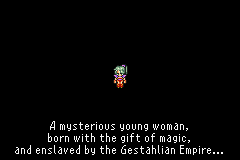
| "A mysterious young woman, born with the gift of magic, and enslaved by the Gestahlian Empire..." |
|
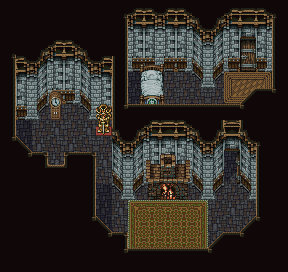
After the conversation with it, ????? will wake up in strange bed. After a long conversation with Old Man about the state of ?????'s health, you get to name her. The default name is Terra.
| Container | Name | Should Skip | Last Chance |
|---|---|---|---|
| Clock | Elixir | No | No |
- Be sure to pick up the Elixir in Arvis' clock
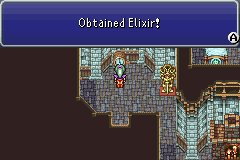
Before exiting the house through the northern door, take the time to go out the southern door, and then west to examine the clock. Like almost all clocks in the game, you will be rewarded with an Elixir for examining it, which will restore all of one character's HP and MP in a pinch.
South Narshe[edit]
- Take the only path available, across the bridge
As Terra flees across the bridge, she's spotted by the guards, but there's only one way to go at this point. West across the bridge, and into the mine entrance.
West Narshe Mines[edit]
| Formation | Percentage |
|---|---|
| Vaporite × 2 | 31.25% |
| Were-Rat × 2 | 31.25% |
| Repo Man, Vaporite | 37.5% |
| Container | Name | Should Skip | Last Chance |
|---|---|---|---|
| Chest | Fenix Down | Yes | No |
| Chest | Sleeping Bag | Yes | No |
- Don't grab the treasure chests.
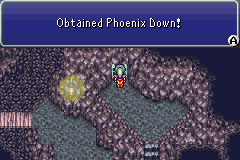
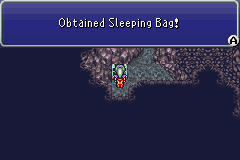
If you grab the chests, you'll be missing out. They turn into much better stuff later on in the game. Try to resist the temptation, and pass them by. If you do grab them, however, you'll receive a Fenix Down and a Sleeping Bag.
- Head northwest until you're cornered by the guards
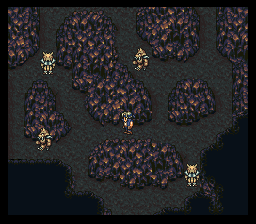
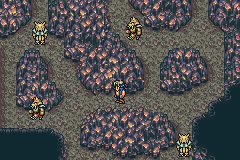
There is no way to proceed at this point, except heading northwest within this area of the dungeon until Terra is cornered by the Narshe guards, and falls through a hole in the unstable cave floor. A cinematic scene is triggered, and Terra falls unconscious.
South Narshe: Arvis' House[edit]
| Locke | |
| Adventurer | |
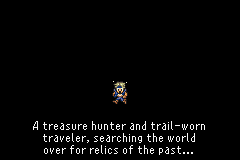
| "A treasure hunter and trail-worn
traveler, searching the world over for relics of the past..." |
|
- Give Locke his name
A short pain induced flashback later, you'll be able to name your second character of the game: Locke.
Narshe Mines: Puzzle Chamber[edit]
| Formation | Avoidable |
|---|---|
| Vomammoth, Lobo | Yes |
- With the help of the Moogles, fend off the Narshe guards
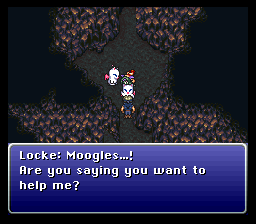
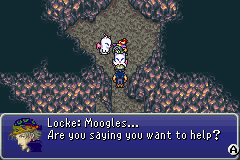
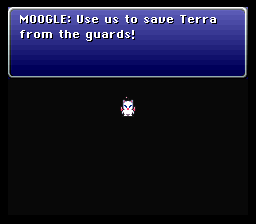
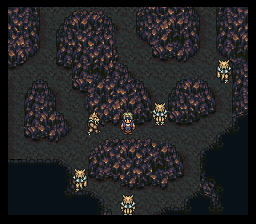
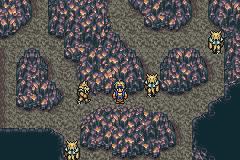
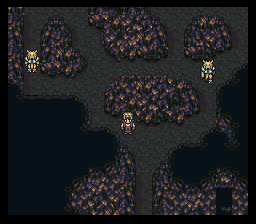
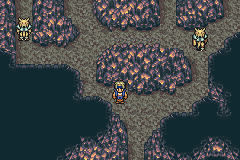
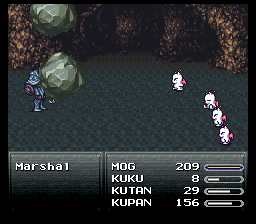
Locke will then come to Terra's aid, with the help of the Moogles! After breaking into three groups of four, you'll face off five groups of enemies. After being given the chance to read a tutorial on how to defend Terra, they'll slowly crawl up the pathways from the south, and if they get close enough to any of your three parties, you'll enter battle with them. If you want to avoid any battles (Which is okay, even if you're trying to build up your beastiary in the Final Fantasy VI: Advance version, because there will be nothing here you haven't seen before), move quickly down to the northern edge of the southernmost rock, and wait there. After a moment, you will be presented with an opportunity to squeeze between two guard groups to the east, and then you should be able to wait there until a path opens up in the west, backtrack, and then head south to the enemy commander. Defeat him, and the battle ends.
After that's done, take the group that's in the best health and walk to the bottom of the screen. But before you do, you should remove Mog's equipment, because that shield and spear are the best ones you'll find for quite a while. After healing your group and moving all of you characters to the back row, talk to the stationary guard to begin a boss battle.
South Narshe: Adventure School[edit]
- Head into the adventure school to grab some treasure
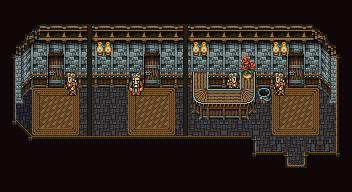
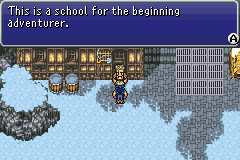
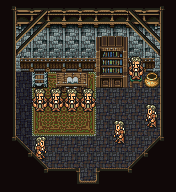
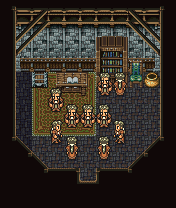
Before departing Narshe, you can enter the Adventure school. Just inside the main area there is a bucket that restores your HP and MP. Aside from a few items, you can also learn how certain aspects of the game works.
| Container | Name | Location | Should Skip | Last Chance |
|---|---|---|---|---|
| Monster-in-a-box (Lobo) | Tonic | Adventuring School: Environmental Science | No | No |
| Pot | Tincture | Adventuring School: Environmental Science | No | No |
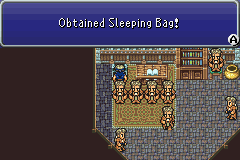
| Chest | Sleeping Bag | Adventuring School: Battle Tactics | No | No |
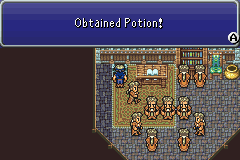
| Chest | Tonic | Adventuring School: Advanced Battle Tactics | No | No |
South Narshe: Adventure School: Environmental Science[edit]
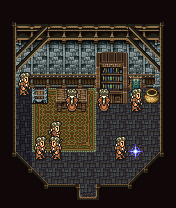
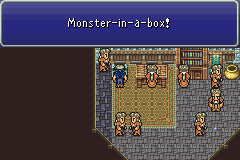
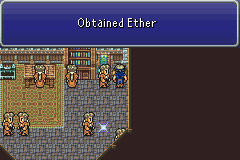
The environmental science room will teach the basics on how to play the game and explore. There are two items of note: a Tincture at the north-east corner and a Lobo monster-in-a-box in the top-left corner.
South Narshe: Adventure School: Battle Tactics[edit]
This room will show you basics on combat. The chest contains a Sleeping Bag.
South Narshe: Adventure School: Advanced Battle Tactics[edit]
The Advanced battle tactics might not apply early in the game, but contain useful information for late-game combat. It will show how you can deal with certain status conditions, including how to bypass reflective spell barriers. There is also a chest with a Tonic in it.
Narshe and Figaro Castle Area[edit]
| Formation | Percentage |
|---|---|
| Leafer | 62.5% |
| Leafer × 2, Dark Wind | 37.5% |
| Formation | Percentage |
|---|---|
| Leafer × 2, Dark Wind | 62.5% |
| Leafer × 2, Dark Wind × 2 | 37.5% |
| Formation | Percentage |
|---|---|
| Sand Ray × 2 | 31.25% |
| Areneid × 3 | 31.25% |
| Sand Ray, Areneid × 2 | 31.25% |
| Sand Ray, Areneid × 3 | 6.25% |
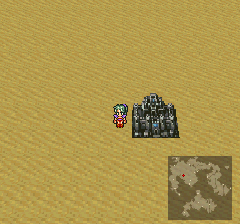
After the fighting's done, you'll be at the entrance of Narshe. You can go to the classroom for beginners, or you can just leave. Once on the world map, Locke can Steal to get Antidotes from Sand Rays and Tonics from all of the other enemies. Once you are ready, travel south to the desert and in the middle of the desert, you'll find a castle: Figaro Castle.

