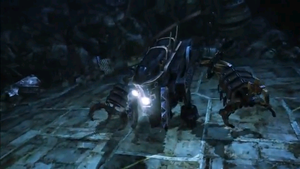
Your first battle will be fought with Lightning, Sazh, and Vanille against a group of four Pantherons. The group of l'Cie is then split into two when Lightning walks off and Hope follows her, leaving Sazh and Vanille behind. The new party is Sazh and Vanille.
Dismal Dunescape[edit]
Walk a bit down the walkway and you'll come across another one, where a cutscene takes place. You'll see a small flashback to Day 11 and then the point of view will switch to Lightning and Hope. A primer will show you the importance of the Synergist role, a role Hope has access to.
Wrack and Ruin[edit]
The first battle you'll come across is one against a Thexteron on the path to the right. Defeat it and open the item container for a Librascope. Go back and then to the left path to fight two Pantherons and a Thexteron. After a lot of jumping will come a battle with three Watchdrones. Keep following the path for the next fight, a Thexteron and two Watchdrones. This battle can be a bit tricky, so make sure you start it off with the Supersoldier paradigm (Commando and Synergist). Then switch to Yin & Yang (Ravager and Medic) and eventually Slash & Burn (Commando and Ravager). Jump up for the next fight with a Pulsework Soldier. This enemy can be a challenge if you don't stagger it, so be sure to make that your goal. Afterward, jump down the cliff for a cutscene and then a flashback to Day 13. You will then go back to playing as Sazh and Vanille. Two primers will show the importance of the Synergist role, a role Sazh has access to, and three-way battles, battles fought between two different factions of enemies and you.
Another Man's Treasure[edit]
Go through the tunnel to find your first three-way battle. One Pulsework Soldier will be fighting three Watchdrones. You'll be able to get an easy Preemptive Strike here since the two factions will be focusing on fighting each other. Help the Pulsework Soldier fight the Watchdrones and then turn on the already-weakened soldier when the Watchdrones are defeated. This should make the battle a lot easier, but if you still need a boost, switch to the Tide Turner paradigm (Synergist and Saboteur). After the battle, activate the machine in front of you to open up a new path. The next battle will be another three-way one between two Thexterons and a Pulsework Soldier. Again, get a preemptive strike and work together with the Pulsework Soldier, then turn on it. At the next tunnel will be an item container you have to get open by defeating three Watchdrones, two Thexterons, and a Pulsework Soldier. Defeat the five PSICOM creatures and then the Pulsework Soldier, then open the item container for a Black Belt. Head to the end of the tunnel for another opened path and a battle between two Pulsework Soldiers and three Thexterons. This time, go for the Pulsework Soldiers and then turn on the Thexterons.
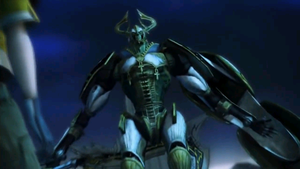
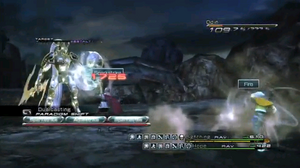
Eventually, you'll come across Hope and a scene including a flashback to Day 11 from Hope's point of view. Hope will now join the party. Jump up the debris and face the Pulsework Soldier on top for a new weapon, the Ninurta. Move forward past the save point for another battle with a sole Pulsework Soldier, then take a left for a couple of Incubi to jump in your way. Walk a bit more for a scene, and continue on to face another couple of Incubi. Go left and a Pulsework Soldier will arrive, paired with an Incubus, then jump up some more uneven ground to go against the same pair. Before moving on, jump up to the left for two item containers (one holding a tuft of Phoenix Down and a Metal Armband) and a save point. Now continue down the main route to be introduced to the Succubus. Follow the path and save at the next save point. Up ahead is a short scene after which Lightning joins the party. Eventually, you'll come across a machine you can activate to create a staircase. Upon following the path you should find an Ember Ring. Following the next save point, you'll face a boss battle.
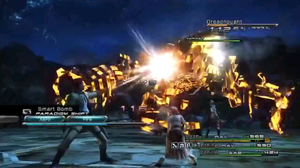
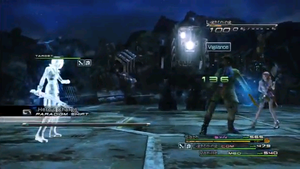 Make sure you've got defensive paradigms such as Hero's Charge (SYN COM MED).
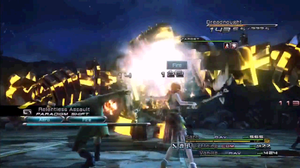 When the timing's right, switch to Relentless Assault (RAV COM RAV) for a good stagger.
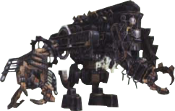
| Dreadnought 1 | |||||||||
|---|---|---|---|---|---|---|---|---|---|
| CP | |||||||||
| – | – | – | – | – | – | ×.5 | ×.5 | 0 | |
|
100% | 70% | |||||||
| 100% | 70% | ||||||||
| 70% | 70% | ||||||||
| 0% | 70% | ||||||||
| 70% | 70% | ||||||||
| 70% | – | ||||||||
| Level | Normal Drop | Rare Drop | |||||||
| 62 | None | None | |||||||
| HP | Strength | Magic | Chain | Stagger | |||||
| 17,940 | 120 | 74 | 80 | 200% | |||||
| The Vile Peaks | |||||||||
| |||||||||
When its health bar is fully-depleted, the Dreadnought unleashes a cannon blast on the party. They fall to the ground below, and the Dreadnought joins them for a second battle.
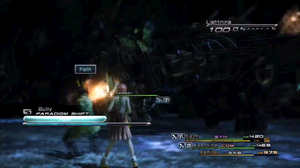
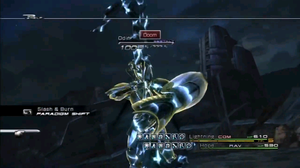
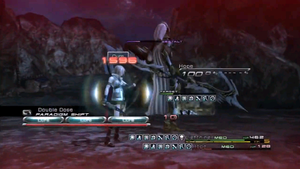
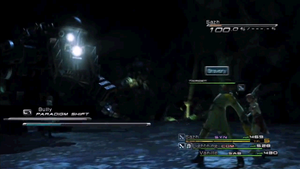 Start off by buffing and debuffing with the Bully (SYN COM SAB) paradigm.
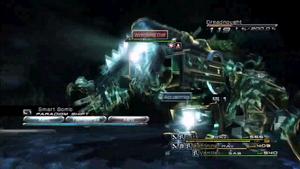 Switch to a defensive position when you see it charging Wrecking Ball.
| Dreadnought 2 | |||||||||
|---|---|---|---|---|---|---|---|---|---|
| CP | |||||||||
| – | – | – | – | – | – | ×.5 | ×.5 | 360 | |

|
100% | 70% | |||||||
| 100% | 70% | ||||||||
| 70% | 70% | ||||||||
| 0% | 70% | ||||||||
| 70% | 70% | ||||||||
| 70% | – | ||||||||
| Level | Normal Drop | Rare Drop | |||||||
| 62 | Omni-kit (100%) | None | |||||||
| HP | Strength | Magic | Chain | Stagger | |||||
| 44,850 | 120 | 74 | 80 | 200% | |||||
| The Vile Peaks | |||||||||
| |||||||||
After the battle, you'll unlock a Medic role for Lightning and a Commando role for Sazh. You'll also get a primer on upgrading equipment. Jump into the dark hallway and you'll come across another save point. Walk a bit more for a scene. Lightning tells the rest of the party about her plans. Hope joins her, splitting the current party in two. You'll now be in control of Lightning and Hope against a group of PSICOM soldiers. Defeat them for another scene, and then continue down the path.
Scavenger's Trail[edit]
Move past the save point to find another group of PSICOM soldiers. As opposed to the Pulse and feral creatures, you'll be facing some more squads of soldiers from now on. At the fork, go left. Defeat the soldiers here to gain access to an item container holding three lengths of Fiber-optic cable. At the next fork, go right for a Librascope. Up ahead is a battle against a PSICOM golem, the Uhlan. After the battle (which may take some time), save, jump down, and go left for a scene. The two are noticed by a couple of PSICOM Trackers. Defeat them for another scene in which Hope investigates the still Dreadnought. He gets it to function, hops on, and uses it to knock down the bridge, opening up a path. A primer will come up showing you how to maneuver the machine. You will now have control of Hope and the Dreadnought. Use the power you gain from breaking down fences to aid you in attacking the many soldiers that stand in your way.
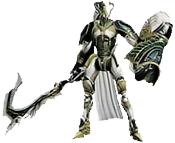
After that's done, you'll be back in control of Lightning on the ground. Open the item containers for a reward, then move on down the main path. Open the container in the tunnel for two Electrolytic Capacitors. Go right at the fork for a battle with another Uhlan and a Spark Ring. Go right at the next fork for a tuft of Phoenix Down, then continue on until you reach a save point and a scene. Save and consider using a shroud for the upcoming battle against Odin.
| Odin | |||||||||
|---|---|---|---|---|---|---|---|---|---|
| CP | |||||||||
| – | – | – | – | – | – | – | – | 0 | |
|
70% | 0% | |||||||
| 70% | 70% | ||||||||
| 70% | 0% | ||||||||
| 0% | 70% | ||||||||
| 70% | – | ||||||||
| 0% | – | ||||||||
| Level | Normal Drop | Rare Drop | |||||||
| — | None | None | |||||||
| HP | Strength | Magic | Chain | Stagger | |||||
| — | 150 | 113 | 80 | None | |||||
| The Vile Peaks | |||||||||
| |||||||||
Once he's defeated, Odin will be under the control of Lightning. Summon him when you're in trouble once you have enough TP to deal some devastating combos. Lightning's ATB gauge will also be expanded. Move forward and the next battle will start with a tutorial on Gestalt Mode. After a scene, the point of view will switch back to Sazh and Vanille.
Scrap Processing[edit]
Move forward to be introduced to a new type of enemy, Bombs; watch out for their self-destruction. Activate the machine you find along the way to move on. Go right at the fork for an Auric Amulet. In the next area, you'll have to go around the split paths, activating the machines on the way. When that's done, go through the path you've created. Open up the item container here for a lump sum of 300 gil. Keep going to reach the scene which ends the chapter.
