Lava flows on all sides. You know this is the last leg of the journey, but the Guardian awaits. You have to find your way to room 94 which leads to the Guardian.
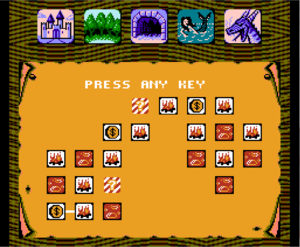
All passwords available here will ALWAYS send you to Room 79. At this point in the game, you should be able to have all of your upgrades and maxed out stats. You should have maximized your keys at 10 and magic potions at 10. If you have maxed out your HP stats at score 1600, treasures at this point will be meaningless. The clue rooms will always generate the same character, so in any case you get a Game Over at any point, you do not need to revisit those levels.
Level 79[edit]
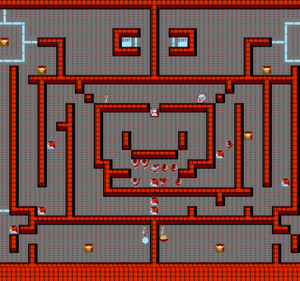
The upcoming clue room requires four keys. So try your best to conserve them.
Hidden in the middle section of the wall separating the two chambers in the bottom of this room is another exit. Shoot it to reveal it. Watch out not to detonate the bomb!
The locked doors at the top of the room are actually three locked doors meshed together. Hit the middle square in order not to waste keys.
The top-left exit will lead to Level 80, the standard linear path towards the Clue room.
The top-right exit will lead to Level 82, skipping Levels 80 and 81.
The bottom exit will lead to the treasure room, Level 83, skipping levels 80, 81, and 82. It serves as the proceeding exit to further levels in this world, after you retrieve the clue and beat Level 82. If you do not have 4 keys, you should probably take this exit, beat the treasure room, game over, and then continue, and try to build up your keys more, possibly by starting a 2 player game with the same password for both and killing off one player to double your keys and bombs.
Level 80[edit]
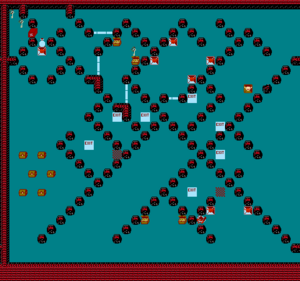
The upper-most exit (top-right) after the two locked doors in this room is fatal.
This exit will kill you upon touching it and immediately display the introduction screen. If you have found and entered this exit, the game is over!
Touch a wrong exit, and you go back to Level 79.
The flashing floor trigger on the right will unlock a solid wall leading to the large open chamber on the right of the room. The two exits on the bottom-right-corner and lower-right of the room will take you back to Level 79.
On the left of the room are three open and visible exits.
The flashing floor trigger towards the left will unlock a solid wall. There will be another exit in the revealed chamber waiting to lead you to Level 79.
Because of these backward exits, it's recommended to hoard the two keys at the northwest corner and go back to Level 79 until your amount of keys is maxed out to ten.
The far left exit will take you to Level 81 (Clue Room). The exit located near the single treasure chest (requiring one key) at the top and the right will also lead you to Level 81 (Clue room). The right exit (requiring two keys) will also bring you to Level 81 (Clue room).
Grab the bomb by the locked door if you are taking the farther route.
Any of these choices will help you find the Clue; the best choice would be the far left exit.
There is also a chest that has an exit hidden in the top-left-most locked chest and will lead you back to Level 79.
There is a rumor that the exits of this room are randomized when you first enter it, but that as long as the console is not powered off, they will stay consistent.
Level 81[edit]
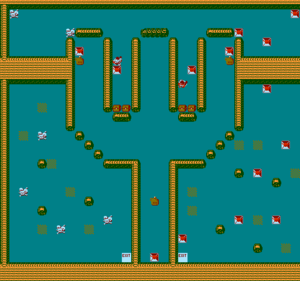
The first Clue room of World 5.
The Clue is in the second chest to the left from where you start in this room.
Each of the remaining chests contains flashing floor triggers.
You will need to trigger them to continue.
They will remove enough solid wall sections on both the left and the right in this room, allowing you to blast a way through to either exit in the corners.
The right escape path will have Death waiting for you in the wall section that you destroy. Evade him fast or destroy him with a bomb.
The left escape path is much easier and contains an acid blob, four skeleton generators, and multiple ghosts.
Taking the right exit will return you to Level 80.
Take the left exit and use it to escape with the Clue towards Level 82.
Level 82[edit]
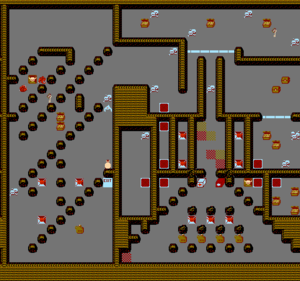
Play it safe and take the exit fast or take a chance to load up with treasure and food?
Each of the three flashing floor triggers will release the solid walls both to the left and the right, parallel to your position. The resulting action will unleash hordes of grunts upon you. Do not activate any of the flashing floor tiles.
The locked chest on the right (lower-left chest) contains Death; avoid unlocking this chest. The other one contains a Temporary Repel effect that can help you.
You can take the treasure by teleporting on the far right end. However, be aware of how much damage you take.
Depressing the flashing floor tile at the bottom of the room will clear the path by removing the solid wall blocking you, allowing you to quickly return to the exit without further incident.
However, the exit will bring you back to Level 81 (Clue Room). The actual exit to proceed forward will be hidden in the walls located in the isolated chamber with a skeleton generator. Hit the trigger panel and immediately escape from grunts' lair, then dive into the teleporters to enter the chamber. Kill the skull generator and head into the alcove created by the triggers. Blast through the north-side and bend to the right a little in the wall removing shots.
The hidden exit will lead you back to Level 79, allowing you to find the opportunity to reach the treasure room from this level. This proves that Levels 79 to 82 are in a loop, and the only exit from the loop is located in the aforementioned secret wall in Level 79.
Level 83[edit]
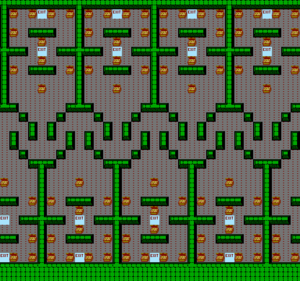
There will be many fake exits and only one authentic escape exit tile. Due to the diagonal nature of crossing paths, navigation may be difficult. Your priority is to find the exit as soon as you can. Do not detour for missed treasure at this point. Only focus on finding the exit and replenishing health. An Elf the Archer with extra speed can always check the entire room and collect most treasure on the way if you are still under 1600. When playing co-op, two non warrior characters can take turns checking each room, and find the exit fast enough regardless of luck.
Level 84[edit]
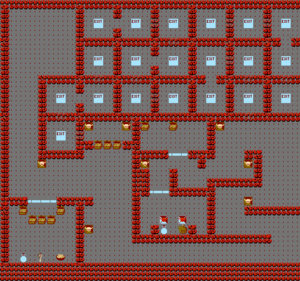
You will want to get out of this room fast because of the number of sorcerers hunting you.
Head south, then east, and go around the two bends to the locked door at the north. Use the key to unlock it, fend off the monsters, and destroy the sorcerer generator.
Shoot the wall to gain access to the pool of exits to Level 85. You don't want to go this path because completing 85 will lead you back here. Careful on not touching any of those exits.
The only exit that is progressive will be at the top-left and will require careful movements to reach it. If you reach this exit portal, it will take you to Level 86.
Level 85[edit]
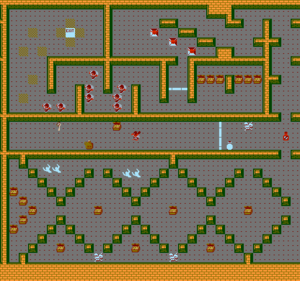
The visible exit to the north will return you back to Level 84. If you did not receive the armor upgrade at this point, here it is.
Level 86[edit]
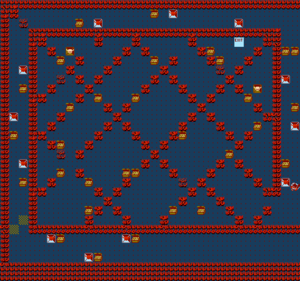
Starting in the bottom right, you must go around the perimeter of the room to reach the inner sections.
The stun tiles are very dangerous here as Grunts and Demons can kill you in mere seconds. If you step on a stun tile, you can pause the game to run out the timer without getting hurt.
There will be acid blobs waiting when you enter the inner sections to the bottom-right. Simply go around them and take the treasure chest at the top.
Shot the broken wall segment at the bottom and follow the outermost path around the left of the inner section - sweeping the enemies in your path - until you are in front of the exit.
Shoot out another deteriorating wall blocking your path and take the exit to Level 87.
Level 87[edit]
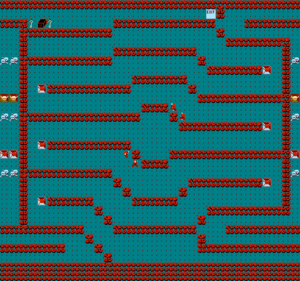
Head down around each bend until you reach the bottom.
You will be forced to return by alternating the path back to the exit.
Take the outside corridor around the perimter of the level until you reach solid blocks in front of the exit.
The most threatening monsters will come from the generators layered before, between, and after the skeleton generators.
These monsters will respawn a lot. Try to destroy the grunt generator while leaving the skeleton generator untouched before cleaning them all. Repeat the same action for the sorcerer generator.
Once again, make a U-turn and take the two keys before reaching the exit to Level 88 (Treasure Room).
The invulnerability is well worth collecting, with the upcoming treasure room to refill your health after.
Level 88[edit]

The best strategy in the treasure room in World 5 is to collect the treasure in your path as you search for the exit.
You will need health.
There will be many fake exits and only one authentic escape exit tile.
Do not detour for stray treasure; focus on finding the exit and replenishing health. Find the exit as quickly as possible.
Level 89[edit]
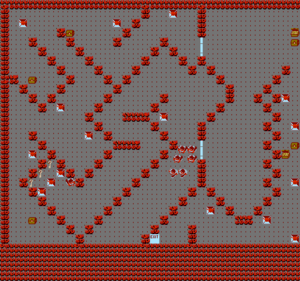
You will want to reach the Clue room on Level 90 to get the last Clue to the vault's combination.
Shoot as many grunt generators as possible diagonally through the solid wall divisions to make it easier to journey throughout this level.
Take the three keys behind the three max grunt generators.
There is an exit in the locked chest at the top-right corner of the room, leading you to Level 91.
The next chest to the bottom of the last chest mentioned, against the right wall, will also lead you to Level 91.
The chest on the top-left contains a poisoned potion that will decrease your health; do not take it.
The chest next to the poisoned potion (left) will contain an exit. The exit leads to Level 91, skipping the Clue room.
The visible exit you saw near the start will lead you to Level 91.
The only exit that will lead you to the Clue room will be located at the bottom-left corner in a locked chest. Use the key and unlock the chest to take the exit to Level 90 (Clue room).
Level 90[edit]
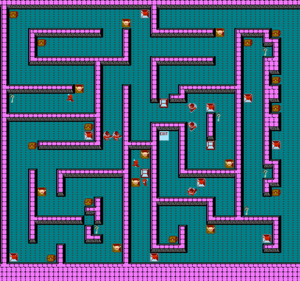
The second Clue room in World 5. Fortunately, this one has keys.
The chest at the top-left (inside the nook) contains a bomb.
The chest at the very top-left corner contains a poisoned potion; do not take it.
The chest at the very top-right corner contains a jug of water, refilling health by 100.
The chest at the bottom-right of the corridor contains a bowl of gruel (food), refilling health by 100.
The Clue is located at the end of the hallway (with three keys) in the chest at the right end of the room, after bending the corridor and taking the left to enter the hallway.
There is a movable block at the end of another hallway to the left of the exit, separated by solid walls. Shoot the walls to reveal a hidden wall that can be destroyed - watch out for the Death!
If you don't have a bomb and cannot afford to eat the cost, evade him.
You should now have all of the Clues necessary to unlock the combination to the vault.
Push through and take the exit out to Level 91.
Level 91[edit]
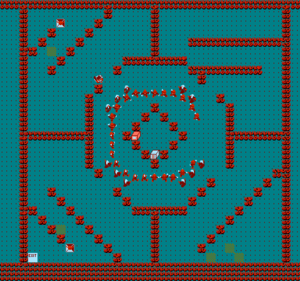
You will be swarmed by bomb throwers.
They will lob explosives at you at the very start of the level. Shoot the wall at the top-left from your position, if the detonations have not destroyed it already.
You can take the power-up if you choose to eradicate monsters.
Be careful of Death - he is waiting for you at the bottom and to the right of the entrance.
The exit at the bottom-right corner will take you to Level 92 (Treasure Room).
Level 92[edit]

The best strategy in the treasure room in World 5 is to find the exit out of the fake ones. This is your final chance to replenish full health. From this point on, treasures are not going to be useful unless you are very close to getting 1600 points at this time.
Level 93[edit]
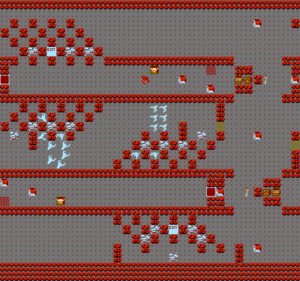
The exit at the bottom is a fake and will not take you out of the room.
The flashing floor trigger at the bottom will clear the solid wall blocking the exit at the top of this level. The other one at the top will clear the solid wall near the exit at the bottom of the level.
There is a bomb in the lower chest if you can spare a key for it.
The top chest contains a poisoned potion; stay away and don't take it.
The exit at the top is behind a teleporter, wedged at the bottom opening of the diagonal walls.
The exit at the top leads you to Level 94.
Level 94[edit]
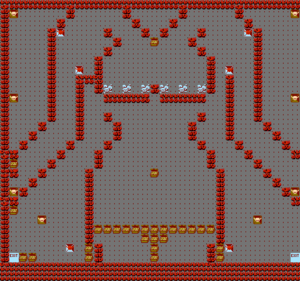
The treasure may be tempting to get. To avoid generators spamming too many enemies and to preserve your health, you should avoid the treasures.
There is a hidden exit at the far left edge of the room that can be revealed by shooting the solid wall. Be careful about the bottleneck after the acid blobs - you can be swarmed easily by grunts and ghosts. The hidden exit will take you to Level 99, skipping Levels 95 - 98. This is the ONLY destined route you should take.
The exit at the bottom-left corner will take you to Level 95, the standard linear route. Avoid this at all costs since you will end up at a dead end.
The exit at the bottom-right corner will take you to Level 97, skipping Levels 95 and 96. Avoid this unless you want to backtrack on missing items from previous levels and haven't got close to 1600 treasure. The back track risks going over 2000 treasure, which will invalidate your password.
Level 95[edit]
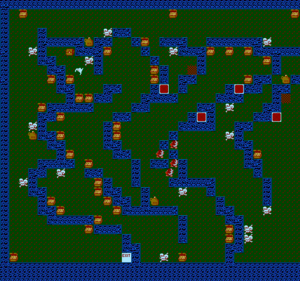
This level is the same as level 69, save that the invulnerability is missing.
Level 96[edit]
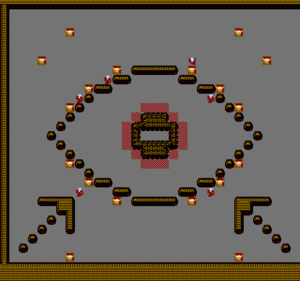
This level does not have an exit. Hit reset. You will have to restart from level 79.
Level 97[edit]
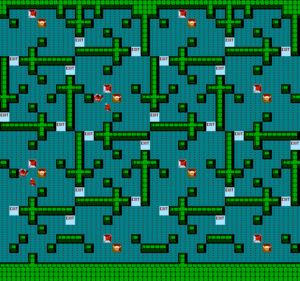
The creatures in this level are slow moving and slow paced.
You will have ample time to find the exit in this room full of false exit tiles.
Level 98[edit]
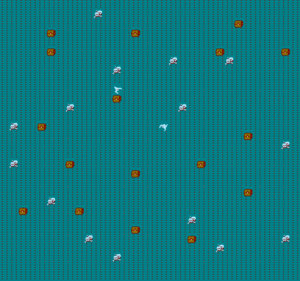
All the chests here contain grunt generators, except the bottom middle chest which contains an exit which leads you back far away to level 32.
You can either restart from the last available password or actually exit to level 32 and rework your way up there.
If you decide not to restart your game, it is possible to accept level 32 under various conditions because of missing items past level 32:
- The Clue letters, minus the first 2 Clue levels.
- Upgrades, minus extra shot power.
- 1600 Score (Treasures).
- 10 Bombs before Level 79.
- 10 Keys before Level 79.
Level 99[edit]
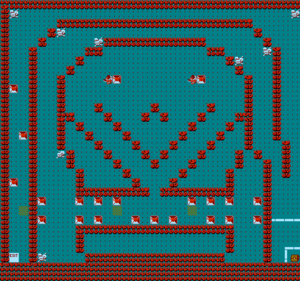
Level 99 is a very difficult level because of the sheer amount of resistance you will face and the need to endure it all.
Four Deaths immediately wait for you at the start of this level and eagerly await you to end your quest.
Evasion would be the best tactic here.
Destroy the two grunt generators at the beginning and the two skeleton generators through the diagonal spaces between the solid walls at the corners of the starting area, if you have the time.
Unless you have a few bombs to spare to destroy the four Deaths, you will need to stay on the move here.
You will need a bomb to efficiently pass through the corridor at the bottom.
If you utilize the bomb, try to use it at the bottleneck at the position where you can see the rock lobbers.
Eliminating them will take pressure off your back.
Otherwise, you will need to destroy the middle grunt generator at the bottom, push through again, and then immediately knock out the two that are beside it - all while fending off the grunts.
Stay away from the stun traps, too.
As you head to the left, use the scrolling feature of the edge of the map and snipe the monsters. They will be unaware of you until you trigger awareness at a certain specific distance.
Use this quirk of the game to eliminate stray grunts, ghosts, and most importantly - generators.
If you eliminated the ghost generators from the start, you will be free to bend around to the bottom-right corner; you will be met by the acid blob blocking the narrow corridor.
Either kill it or be patient for it to pass around you.
Again, take a distance from the monsters as you eliminate them on your way as you bend the top-edge border of the map.
Do not rush into the last hallway before the exit.
Snipe the monsters before they become aware of you. Do the same for the generators or you will be swarmed.
Reach the exit and find the final level of the game: Level 100.
Level 100[edit]
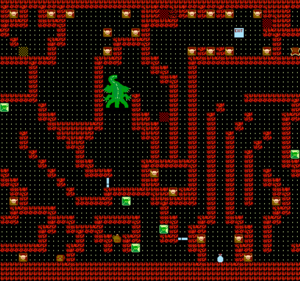
Welcome to the last room: Level 100.
- Instructions for the Vault
If you enter the combination wrong, including omitting input characters, you will receive a Game Over over your starting point in the last level with 0 health.
You must enter the correct combination to the vault with "Morak: The Outsmarter." In order to do so, you MUST have noted down all the characters at proper positions on your notebook or memo app.
Left and right will change positions on the input prompt while up or down will change the character to be input.
You will have to mentally note the exact position of the prompt as the flashing cursor in normal text-based applications is not seen.
- Before boss battle
You will see the Orb desired from the start.
You will be immediately rushed by grunts of a green tint color. Consider all enemies to be very dangerous and fatal to you. Don't let them touch you.
Green grunts will take -8 health away from you.
The Orb will be on the other side of the wall from your starting position.
You will need at least two keys for this level to unlock two doors.
Take the energy tank towards the left after taking the left-most corridor and unlocking the door. You will recover health points.
Also, there is a bomb in the second narrow corridor (at the end) from the left. Grab it if you can.
The chest at the bottom (far-right corridor) contains a grunt generator; do not open it. Don't waste your key on it.
Make your way towards the left, around the bend, and to the last locked door.
- Fight the Hydra Dragon.
Each head will spit a stream of blasts at you after it has been shot once. The heads can each pivot and aim for you between barrages. Each of them can do it on their own, individually, and fire simultaneously at you. As you change positions, the last head to fire at you will track and attempt to fire at your position.
You will need to fire projectiles at it. A potion will not eliminate the Hydra Dragon but stun the heads, which may be useful if you woke too many heads at once and are getting overwhelmed by fire.
Alternating from the left to the right, firing diagonally, would be a sound strategy against the dragon.
Each head takes about 40 to 50 shots to strike down (for Wizard). Shots while a head is firing do not register!
Be persistent. Be fast. Be careful. Hit it with everything you've got.
You will have killed the Guardian after approximately 150 hits.
- Obtain the Orb and escape from the room.
Switch the flashing floor trigger on the right and head towards the next room.
Don't take the exit without the Orb. Otherwise, it will be "Game Over" for you.
Switch the flashing floor trigger at the end of the exit room, then another trigger sealed by a wall at its left. The wall contains a poison, and you should smash it. Find the Orb and obtain it.
Return to the exit and finish the game.