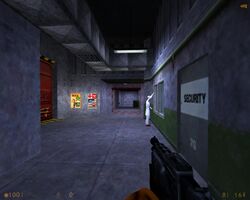
"We've Got Hostiles!" will present even harder challenges than you have faced thus far. It's about the size of Unforeseen Consequences and introduces a new, worthy adversary: the HECU (Hazardous Environmental Combat Unit) Grunts. During this level, you will have your first encounters with the military's response to the Black Mesa incident, and it's not a very generous one. Enemies you have faced so far, though some tough, were scattered and independent. Grunts are human footsoldiers who know how to work together, flank, and use the environment to gain a tactical advantage. Be ready for several situations where you must take on several at once.
Welcoming Committee[edit]
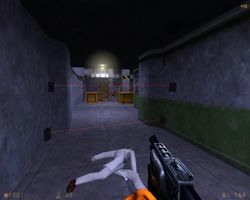
As soon as the elevator doors open, exit and turn right. You'll immediately see a scientist pleading for the blast door to be open, but the security guard in charge of the door gets dragged away by a zombie before he can grant his request. The scientist then runs off and directly into a laser mine. You can prevent him from succumbing to this terrible end by shooting him yourself. You'll notice several of these laser mines throughout the entire stage. They give off very distinctive blue-green lasers and will explode if this laser is disturbed by anyone or anything. If you shoot the base of the mine (the part attached to the wall), you can detonate it from a safe distance away. Next to the large blast door is a health station and the first HEV charger of the game. Charge up your suit until the HEV charger depletes and use the health station if you want. If you murdered the scientist earlier, you'll still have the trip mine to worry about. Small price to pay.
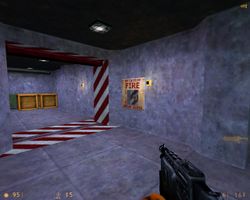
You'll immediately see some red lasers as you turn the corner. These red lasers (not to be confused with the blue laser mines) will trigger a nearby turret, so avoid stepping over them when you can. You cannot, however, jump over these particular red lasers, so you'll have to run right through them. You have the choice here of either taking out the chainguns and few headcrabs in this section, gaining an assault rifle in the process, or just sprinting through and taking as little damage as possible. If you don't get the assault rifle here, don't worry about it, you will get one later. If you decide to stay and fight it out, make sure not to hide behind the explosive crate.
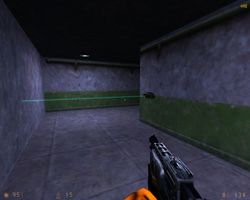
Around the corner is a laser mine and a fire door. Whenever you see one of these red firedoors, always smash the nearby activation switch unless otherwise noted, as it will block many enemies from coming through. In the next passageway, jump over the laser mine and then crouch under the next one. This passage leads to a lounge, and as soon as you walk past the soda machines, two Vortigaunts will spawn in the checker-tiled room. Either kill with your shotgun or lure them back through the laser mines, then use the health station at the end of the hall if you need it.
Proceed down the next passage on the left, and jump over the red laser at the intersection. If you don't bother the turrets or the red laser here, they won't bother you. A Vortigaunt will spawn behind you, so kill it quickly before he runs over the red laser. If the turrets were activated, a well-placed grenade between the two of the should take care of them. Smash the first large crate next to the green boxes to pick up five grenades.
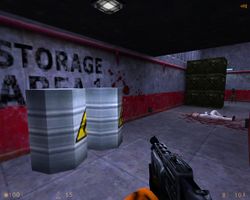
Keep jumping up the green boxes until you reach the top. Before dropping down, look to make sure you don't land on top of one of the chainguns. From here, shoot the glass around the fire door button, then make a run for it. Two headcrabs will teleport in behind you, so sneak under the door Indiana Jones style and leave the headcrabs to the chainguns.
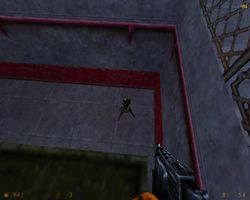
Once you have scaled the second mountain of green boxes, drop down, but be careful. I advise you save it before you go any farther, especially if you have the Source version. The floors are very slippery and there's a slight chance you'll fall into the elevator shaft. Two turrets wait around the corner, so jump over the trigger lasers as best as you can. If you accidentally activate them, immediately run toward the two turrets and fire double-barrel shotgun blasts at them. When both turrets are down, shoot the laser mine in the next room to destroy the other ones. This explosion may or may not activate the fire door switch, so run into the next room if it does, giving a spirited "what's up?" to your fellow scientists (if they survived, of course). As you go through the door, look up to see the mysterious recurring character in a blue suit fix his tie and walk into the next room. You'll find out what his game is eventually, but for now, just collect the pistol clips, shells, and batteries in the crates, then climb up the ladder. There are more crates here, one containing a battery. Climb up the last ladder and walk across the elevated platform.
The Military[edit]
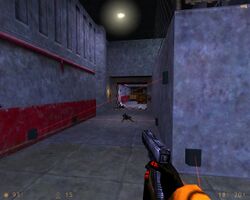
Before you enter the next room, you may want to save your game, because you're about to encounter the first HECU Grunt. As soon as you walk in the room, a scientist will run down the flight of stairs claiming that the military has come to save him. Use this distraction to deliver two double-barrel blasts to the soldier's head. Grab his assault rifle if you didn't do so in the beginning. There are also two clips of assault rifle ammo in the corner, so don't forget to grab them. Now press the elevator switch and step inside. Enter the elevator and press the button. As elevator goes up, one of Half-Life's upbeat soundtrack starts (you can probably guess what this means). It's probably best here to save the game and take out the assault rifle.
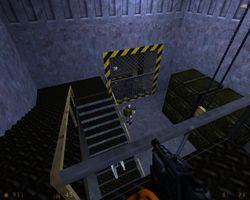
When the elevator doors open, a scientist will blindly run forward, showing you what will happen if you do the same. This will be your first major battle against the HECU's. The most important tactic to apply here is to find cover, peek out, fire, and find cover again. There are several explosive barrels in this section that are surprisingly potent. Make sure to use these to your advantage. If you hear the distinctive clunking sound of a grenade hitting the floor and you didn't just throw one, run away. I recommend the assault rifle to take these guys out because they are carrying ammunition that you can pick up later. When all three Grunts are down, use the HEV charger and health station way in the right corner. Climb up the stairs and go through the open fire door (you don't really need to smash the activation switch, but this is your game, so do what you want with it).
Walk across the platform (don't let any of the barnacles lick you) and into the next hall. The passage on the left has several laser mines blocking the way. We will go this way soon, but for now, take a right. From here, follow the conveyor belt. This leads to a room with another pile of green boxes. Jump up these boxes until you reach the top. From here, you'll have to jump from the top to the conveyor belt. The belt is moving in the opposite direction, so make sure you keep running forward while on it. There's a grunt on the other side hiding behind a sandbag. Run out far enough to make sure he sees you, then let the conveyor belt pull you back into cover. This should bring him closer to the belt, so take him out by shooting the explosive barrels from the cover of your little alcove. Out in the marine's hideout, there's HEV charger, a health station, and some assault rifle ammo. Take what you need and look down.
Save the game here, as we have another encounter with grunts up ahead. Through the fire door, there is a laser mine and a chaingun. Destroying the laser mine will close the fire door and, most likely, kill the chaingun. Keep your shotgun out just in case, then drop down and sneak through the door. As you round the corner, two scientists will run forward and, because they don't have your superior arsenal, will not survive. Switch to your assault rifle and prepare for a firefight. Don't kill the Barnacle at the top of the first staircase just yet. Sometimes, a grunt will actually be dumb enough to walk right into it. From the ground floor, keep firing your assault rifle and finding cover. Although the Grunts have the height advantage, you have the advantage of finding some quick and easy cover behind boxes. Once all of the Grunts are down, take the stairs all the way to the top, taking the shotgun shells next to the sandbags. There's a health station up here, but it is guarded by a well hidden barnacle.
When you're ready, head toward the hallway at the very top of the room. Save the game here because the next room has three HECU Grunts. Collect the grenades nearby and toss one down into the middle of the room. Hopefully you'll kill some of the Grunts with your grenade, but if you don't, just take out your assault rifle and start shooting them. The pillars and boxes are good for cover. When they're all down, smash the wooden boxes nearby for a battery. Go all the way down to the bottom (don't go over the railing on the bottom, as this leads back to a previous part of the level). Smash all of the wooden crates where the Grunts presided to collect some batteries and medkits and use the nearby health station if you need to. Once you collect everything and are good to go, press the elevator switch and head on up. Once again, elevator music starts playing (you know what this means). Save the game as the elevator is going up and take out the assault rifle.
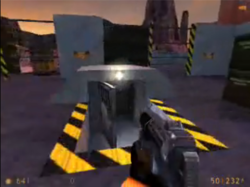
At the top (literally the surface), you need to kill the Grunts as fast as possible or all of them will come to you, and you do not want to fight them in a small room like this one. If they do come inside, use the shotgun to get them all as fast as possible. Unlike other battles, it is possible just to run through the level after you've killed the first few and into the bunker. Run out into the open area, timing it correctly so you don't end up beneath one of the Osprey's bombs, and head toward the open door that's in the middle on your left (it's slightly underground, surrounded by yellow and black stripes). At the bottom of the ladder, save the game again, because we're not out of this yet.
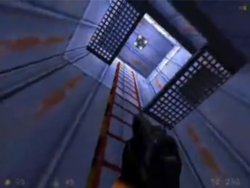
There are more boxes with supplies down here as well as an HEV charger and health station. The door next to these stations opens up into a large vent. The Osprey is using this vent to drop soldiers inside the complex.
Don't worry about getting all the marines, as they will just keep coming. Keep jumping down and landing on the small platforms below until you reach a large vent shaft. Get into this vent shaft quickly, where the grunts can't reach you. You will reach a final vent containing a spinning fan at the bottom. While you can use other exits to collect additional ammo, the vent below the fan (use the ladder to reach it) leads to a second shaft and the next part of the level. This shaft, thankfully, does not contain a bloodthirsty fan. Go through the middle vent (not the one at the top) to reach the security office that you first saw. You will meet another scientist in hiding who will inform you that you will have to head across the base, through a decommissioned rail system, to reach the Lambda complex. Press the button to open the blast door to the silos. All of that work just to hit a switch that was right behind the glass all along. Oh well. Head off through the blast doors and into the next level.