Did you miss vortigaunts and human grunts? Well no worries because this level is full of both. In this level, you will also run into another miniboss of the game: Gargantua. Check out the enemies appendix for more information. Straight from one miniboss right into the next? Yea, this game is like that.
Out of the Frying Pan[edit]
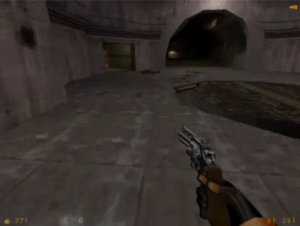
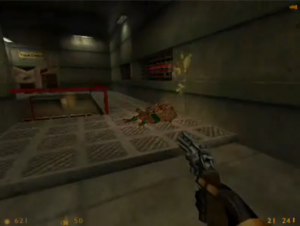
Continue down the hallway, through a loading sequence, and into the a large room with a turntable. In this room are several marines battling a Gargantua. Watch the battle if you want, but do not engage the large blue creature. Instead, run across the battlefield to a doorway slightly to the left.
Through this doorway, take the right fork and switch to the shotgun. Through this hallway, you will run into several vortigaunts and a small jet flame that you should avoid. At the end of this hall is a walkway that will break as you cross it, dropping you down into the midst of two headcrabs. Kill them with the pistol or crowbar and break the nearby boxes for supplies. When the boxes are thoroughly demolished, climb the nearby ladder. Break the boards across the door and enter the control room. The dying security guard will tell you what you have to do. Charge up at the HEV station, then leave out the way you came.
Fixing the Generator[edit]
Climb the ladder down to the lower level and follow the corridor. There are several vortigaunts and headcrabs hiding down this way, but are of no serious threat. You'll pass a health station on the wall followed by a room with a tower of explosive barrels. Shooting the explosive barrels (from cover of course) should kill the nearby vortigaunts. In the room beyond, you'll find shotgun ammunition and a wall mounted wheel. Turn the wheel to open the door.
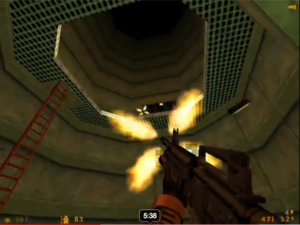
The door opens up to a large cylindrical room terminating in more green goop. It would be wise to save here, as you are about to face a squad of marines. Equip your .357 magnum and head through the door. Climb up the ladder to the second level and look up. There are two grunts and a chaingun on the next level, one standing right on the edge of the walkway. Take it down with your revolver and climb up the ladder. When the marines are gone, investigate their camp. The radio on the table can be destroyed if the sound it makes becomes too annoying. This area contains magnum and shotgun ammo as well as a health charging station. Save the game, then head through the tunnel.
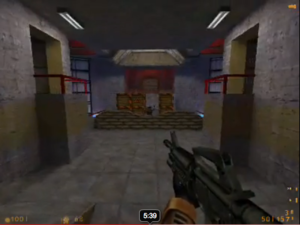
When you see the explosive crates, stop. There are quite a few grunts around this corner just itching for a fight. Equip the assault rifle or magnum and peek out around the corner. Your first shot should be the explosive crates behind a marine hiding behind some sandbags. When you've gotten their attention, move back past the explosive crates. Wait for one or two of the marines to round the corner, then fire at the explosive crates to rid the room of one or two more enemies. Back out in the larger room, there is a red hued ramp that leads to a health station and grenades. Be careful when you are in this room, though, as marines have a tendency of showing up on the balcony on either side to get a few shots off on you.
Up the ramp on the other side, take a right at the intersection. Keep the revolver or shotgun out, as there are bound to still be marines around. This way leads to a dead end, but there are lots of supplies in the boxes. When you have gathered everything you can, head back to the intersection and go the other way. There are a few more marines and headcrabs this way, but an HEV charger as well, so it's not all bad. When you've searched the area for supplies, return to the lift where the marines were stationed.
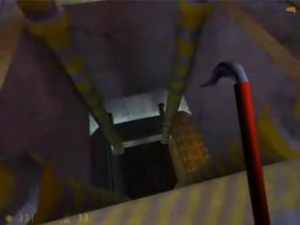
There are laser mines and houndeyes at the bottom of the lift. Ride the lift down and kill the houndeyes, making use of the explosive barrels if you prefer. To avoid the laser mines, jump in the water, and climb up the ladder on the other side, and follow the hallway until you reach a larger room. Look for the spiral staircase on the left side and go down to the bottom floor. Whip out the crowbar and run to the generator, hacking at any hagworms that get in the way. Destroy the boxes blocking the generator, being careful to not get smooshed by the pistons. Once the generator is back on, the water level will recede and you can take care of that zombie hiding in the room (if you haven't already).
Go back to the staircase and go up a level. There's a headcrab here who will jump right into the electricity if the power has been turned on. Turn on the main power switch using the panel at the far end of the room. Head back to the staircase and go up to the top. Run back to the lift just in time to see two marines taking the lift down. If you didn't trip the laser mines, they will, so just let them see you, and run back for cover until they die. If they survive, take them out using whatever method you choose, then take the lift back to the top. There are more marines here waiting for you. Get past them using whatever means necessary and find your way back to the cylindrical room with green goop at the bottom.
Nikola Tesla vs. Gargantua[edit]
Take the ladders down to the bottom level and backtrack until you are back in the control room with the dying security guard. There may be a vortigaunt or two along the way depending on whether or not you killed them before. Jump across the broken part of the walkway and find your way back to the opening with the Gargantua.
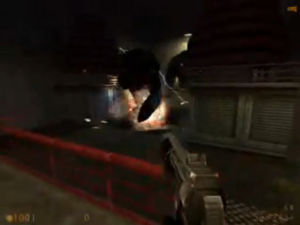
I would recommend saving it here before you take on the Gargantua just in case. Spot the tunnel with a large opening that doesn't have a railway going into it and lure the Gargantua through it. Remember to avoid the rails now that the power is back on. If you can't get the Gargantua's attention or he gets bored and wanders off, shoot him a couple of times to get his attention. Lure the Gargantua down the tunnel and past a giant pair of tesla coils. Past the coils, run to the left and up a small set of stairs, down the walkway, and hit the switch at the end. This should turn on the large tesla coils. If you have lured the Gargantua here, he should walk through the coils in his zeal to kill you, but end up being killed by the tesla coils.
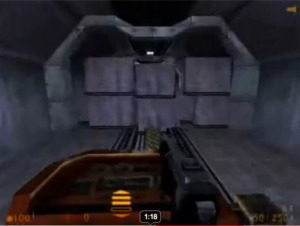
Once the Gargantua is gone, the rest of the level is easy. There is a door at the end opposite the switch that bypasses the tesla coils (running through the coils would kill you as well). Run back out to the main room (with the rail and turntable and hop on the train. Guide it to the center of the room on top of the turntable. Run back up to the rail control room where the security guard has been long dead and flip the big white switch overlooking the rail system. This should make the turntable turn toward the other track. Run back down and board the train. Put it into maximum speed and crash through the barrier. The railway will take you around a couple of turns and into the next level.