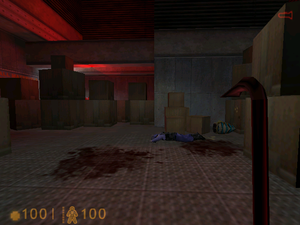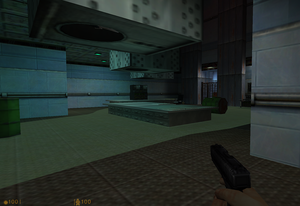
After being stunned by the elevator crashing a few floors, you begin to recover. At least you have your pistol, and have a nearby crowbar. If you take damage, you can use the med station in the corner behind the pile of boxes.
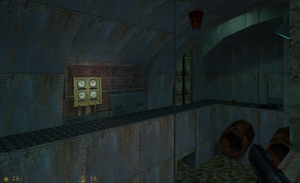
You need to head out of the area, however. While the exit is down the staircase, it is blocked by a powered lock. You will need to go through the corridor behind the stairs filled with boxes. Collect the supplies, and destroy the generator panel with your pistol. Turn the flashlight on, and return to the stairs, and open the locked door.

This door leads to a room with a chemical spill, and the exit being blocked by a closed gate. Cross over the table, and open the door on the left. Climb up the latter to reach the upper section, and to see a scientist. This scientist will mention that you should head to the canal, but that "they" are trying to find and kill him; a reference to the military action within Black Mesa.
From the upper vantage point, shoot the red barrels behind the grate. Climb or jump down, and pass through the gate.
The corridor isn't too long, as it leads to a bridge accessible by a suspended platform. Press the switch to start the platform movement, and to reach the bridge. Enemies will appear, including a few hound eyes and aliens. Take care of them, and head into the door to the side of the far tunnel exit. Press the switch to open the south tunnel door, and head through the opening.
Waterways[edit]

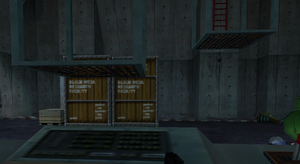
The south tunnel, after an encounter with three hound eyes, leads to a room containing two crane platforms that need to be lowered. The left lift should be aligned with the white text on the crates behind the lift, where it appears to be just above the text. The right lift should be high enough to reach the ladder, where it looks like it's above the crates but still below the ladder.
When the platforms are in position, jump and climb up. You should reach the water area by now.
In this section, first head to the right into the doorways. Go through the door, climb up the ladder, and turn the valve. Head down the ladder on the other side, and head down, and turn the second valve. The passage to the right contains a shotgun, and the third ladder up leads to a control room where you can recover health. You can also press a button to lower a freight lift carrying a box of explosives.
Once you are done here, return to the start of the waterways, and head to the left. Climb up the ladder, and head down the corridor.

Dive into the water reservoir, and swim through the farthest grate. Raise the water level, and swim to the far side of the reservoir. When you reach the collapsing bridge, jump on the pipe to the left. Proceed, and you will see your first set of zombies that are trying to feed on a security guard who falls off the bridge. Proceed down the tunnel to reach a partially flooded area.
Look for a power switch located within the area. It should be located somewhere to the left of the entrance. Once you flip it, take the lift visible directly opposite of the switch. Head up and you should return next to the heavy freight lift. Push the explosives into the water, and it should destroy the two spinning gears that were blocking your progress.
Behind the gears, you will see two grunts disposing bodies.