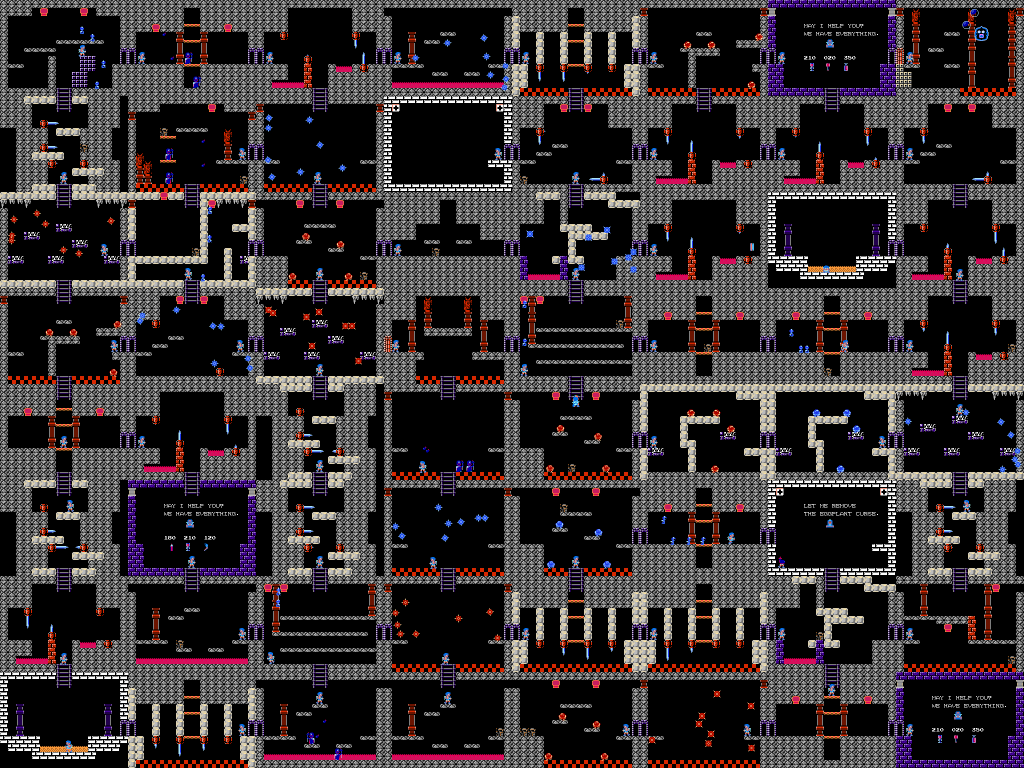
The Skyworld fortress is the biggest fortress that you will encounter, but it is not much bigger than the Overworld fortress. In fact, your approach will be quite similar; you'll need to scale up the left side of the fortress (although not always along the outside edge), and then along the very top of the fortress to reach the bosses room. Since this is your last chance to use any Mallets you may still have in your possession, use them up. Any Mallets which you don't use will disappear from your inventory when you start over after the ending. There are two Pools of Recovery in this fortress, but neither of them are really located along the path to the boss. Only detour to find them if it is absolutely necessary.
Fortress Walkthrough[edit]
- From the entrance, climb down the ladder to the room below.
- Try to drop down immediately from the ladder. If you do, you should have no problem avoiding any eggplants that are tossed up into the air. Defeat the two Eggplant Wizards and climb down to the next room.
- The Tros that fly around in this room are no different than the Specknoses, Ganewmedes, and Tamambos that you have frequently encountered throughout the game. Climb down to the room below.
- Naturally, the red Tros are stronger than the blue Tros, but if you are already at level five power, than it makes no difference. Enter the room to the left.
- Jump up to the top platform and climb up the ladder. Watch out for the Shemums that fall out of the pot.
- Avoid the spikes and jump up to the ladder at the top.
- Once again, avoid the spikes and jump up to the ladder at the top.
- Clear out enough of the red Tros to make your navigation to the ladder at the top of the screen less troublesome. Climb up to the room above.
- Watch out for the Uranos that wander around the floor and the platforms. Clear them out of the way and jump up to the ladder at the top.
- Avoid the blue Tros and pass through the door on the left.
- Be prepared to dodge any eggplants if they get tossed close to you. Remove the wizards (lowest one first) and climb down the ladder to the room below.
- Free the Centurion and enter the left door.
- Avoid the red Tros and jump up to the high platform in order to reach the ladder above.
- Avoid the spikes and jump up to the ladder at the top.
- Jump up to the door on the right.
- This is probably the hardest room in the fortress, as you must successfully pass through it without getting hit by an eggplant. Normally, you would adopt the strategy of attacking the lowest wizard first, but this wizard is down in a pit which you must access by defeating the top eggplant first. You may wish to wait a moment before proceeding so that you can judge the timing of the eggplant throws. You may also wish to avoid the lower wizard entirely and race to the door. If you get hit, you'll have to locate a hospital (there's one not too far away,) and then retrace your steps to return to this room.
- Carefully leap over the spike blocks and make your way over to the door on the right.
- Clear out some of the blue Tros and cross over the to door on the right.
- Avoid the spikes that drop down to the floor and cross over to the door on the right.
- Defeat any Uranos that get in your way and cross over to the door on the right.
- This room contains a shop. It is not recommended that you buy anymore than one Cup of Life if you feel that it is necessary, and you should haggle to bring the price down. The door to the right leads to Pandora.
Boss fight: Pandora[edit]

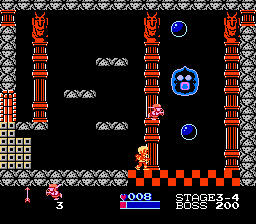
The difficulty in fighting Pandora is due to her unpredictability. She tends to move back and forth in various directions, and changes her mind on a whim. While you think you may be set up to attack her, she may suddenly change course just before she gets within range. Even more dangerous are the two smaller bubbles that bounce around the room quite rapidly. Do your best to avoid them and get out of their way when they approach, even if it means giving up a shot at Pandora. Pandora likes to render herself invisible from time to time. But even when she does this, her silhouette is visible against the pillars and platforms in the background. She will continue to move in a similar way while she is invisible, so it's usually easy to predict where she will end up.

