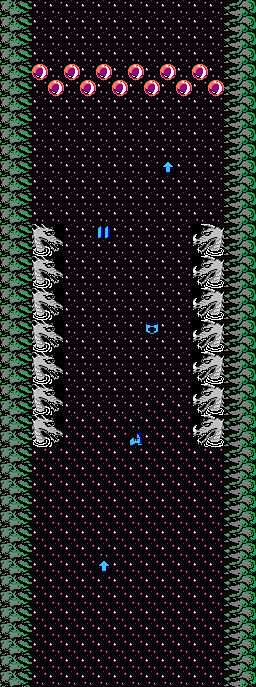
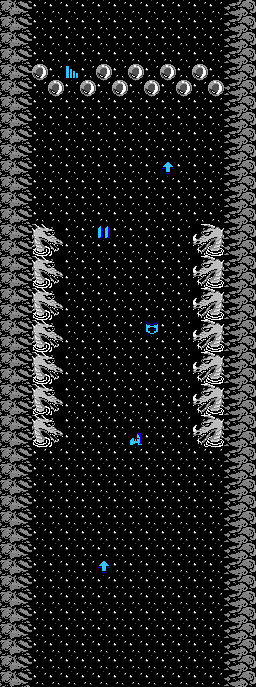
This is the start of stage 3. The map on the left shows the overview of the stage, while the map on the right show the location of each item or monster found throughout the terrain. The left map also points out the locations of elements A, C, and D, as well as the location of the stairwell that leads to the dungeon and element B. The numbers on the left map correspond to the notes below.
This should be a comparatively easy stage. Barusa starts out with a high defense, and he gets an offensive power up right at the beginning of the stage, so you should be able to advance quite comfortably.
Immediate power up: Just as soon as the stage begins, there is a weapon power up on the left hand side. Don't miss this advantageous opportunity.
Beware of the stairs: You'll need to enter the dungeon to collect the important element B, but the stair case is surrounded by health down items. If you shoot the space above and to the left of the stairs, you can access the stairs diagonally and avoid losing any health.
Collecting important items: There are many important items in this region, but they must be collected with care. The useful items are only found in the columns where the trees extend furthest to the bottom, so only shoot out these three columns. You will reveal a weapon power up, a defense up, and a few health ups surrounded by health downs. You can collect the beneficial items by moving in a staircase pattern. Don't forget to shoot the lone statue above to collect element A.