Edge of Oasis[edit]
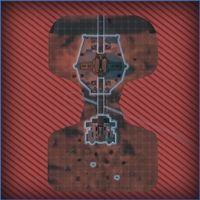
| Map size | Small |
| Control Points | 2 |
Edge of Oasis has only two Control Points. Control Point 1, to the south, is the more easily defended, and its large roof leaves ample room for deployables and snipers. The team that captures and holds CP1 rarely loses the match. All DCMs on this map start near one base and finish near the other, so control of the center area between the bases is often crucial and CP1 has the advantage in this regard. There is a barrier near CP1 that can be raised to prevent enemy Tanks and Convoys passing through the no man's land between the maps; it is of no use against enemy Heavy Armors and infantry, however, because they can just walk around it. There is an expansive canyon between the points that can be used to sneak into the enemy base from beneath.
Orbital Relay[edit]
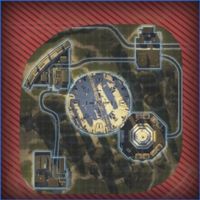
| Map size | Large |
| Control Points | 4 |
On this map the intelligence briefcase for both teams always spawns on the platform at the center of the enormous dish. There is a tiny platform in the center of this platform perfect for a deployable AA turret; a single turret there can provide cover over the entire dish area.
The power plant CP near the dish has a large raised cylinder perfect for setting up deployables, especially an AA turret (this base's own turret is in a very vulnerable location); even if the enemy capture the CP the players on the roof can use their deployables to keep the enemy off the roof and take back the CP when given the chance. This base has no Supply Depot of its own, so this is the first thing that should be built (the small platform in the center should be reserved for the AA turret to give it maximum reach and protection). The bomb destination on this CP is out in the open so is very easy to defend.
Orbital Relay: West[edit]
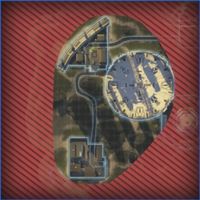
| Map size | Small |
| Control Points | 2 |
This is a smaller version of the Orbital Relay map. Two bases are now within the out-of-bounds area but otherwise this map is unchanged.
Stormfront[edit]
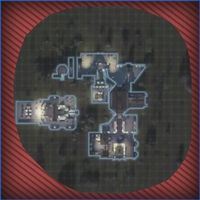
| Map size | Medium |
| Control Points | 4 |
Stormfront is a large map with many niches perfect for snipers or deployables. Each of the bases is quite easy to defend with a few skilled players and some carefully placed deployables.
Utah Crash Site[edit]
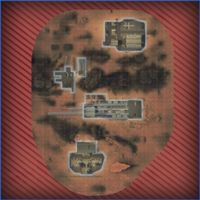
| Map size | Large |
| Control Points | 4 |
Utah Crash Site is set amid the smoking wreckage of an enormous spaceship. There are many useful sniping spots on various rocks and even on pieces of the wreck itself.
Utah Crash Site: Relay[edit]
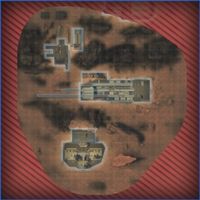
| Map size | Medium |
| Control Points | 3 |
This is a smaller version of the Utah Crash Site map. One base is now within the out-of-bounds area but otherwise this map is unchanged.
Utah Crash Site: Station[edit]
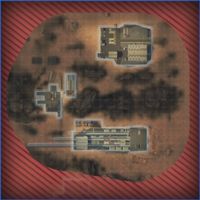
| Map size | Medium |
| Control Points | 3 |
This is a smaller version of the Utah Crash Site map. One base is now within the out-of-bounds area but otherwise this map is unchanged.