Jump to navigation
Jump to search
| Donut Plains 4 | |
|---|---|
| Level type | Above-ground |
| Entrance | |
| Exit | |
| Secret Exit | None |
| Time at Start | 300 |
Walkthrough[edit]

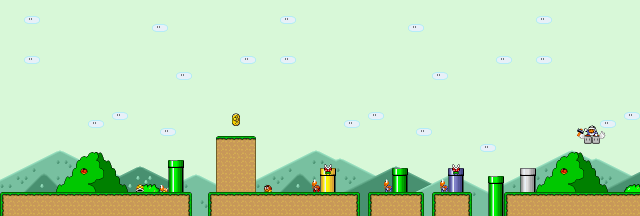
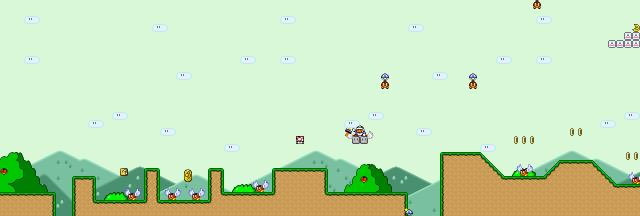
- If you're not quick enough, the Koopa at the beginning will enter the yellow shell and become invulnerable. If so, however, you can spin jump off the shell to help you get over the pipe. With Yoshi, you can swallow the invulnerable shell - Yoshi will be able to fly, spew fire and stomp the ground all at once!
- Some of the green pipes actually extend upward if you come close to them. Wait until they get back down and then quickly jump on them.
- You might assume that the blue pipe cannot be entered because it has a Piranha Plant inside. In fact, it can be entered, and leads to a bonus area (see below).
- To deal with the Amazin' Flyin' Hammer Brother, quickly hit it from below before it has a chance to throw a hammer.

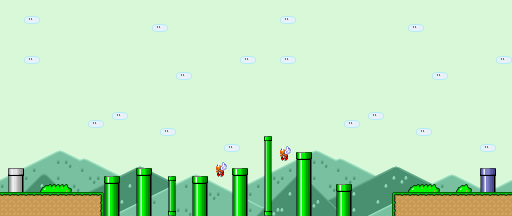
- You'll have to use the pipes to cross a pit here. The big pipes all extend upward when you come close to them, and it's difficult to predict their movements. The small ones don't, but it's difficult to stand on them because they're so narrow.
- Use the Paratroopas on the way as stepping stones if needed. Other than them, there's nothing of interest here.
- Enter the blue pipe at the end to exit the bonus area. You will return at the silver pipe.

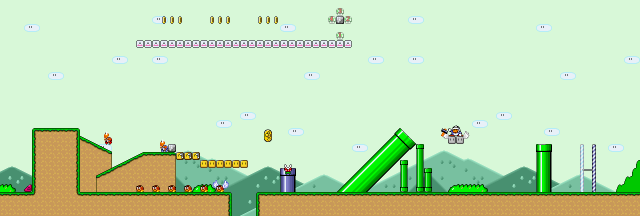
- Yoshi can eat the blue Koopa Troopa here and fly up to a cloud platform with a few coins. A 1-up mushroom is hidden up there, too - jump around the gray block counter-clockwise starting from 6 o'clock, and be sure to catch that 1-up mushroom once it pops up!
- Of the three ? blocks, the middle one contains a flower. There are lots of Goombas and one Para-Goomba guarding this power-up, so take a Koopa shell and kick it down to destroy them all.
- The blue pipe with a Piranha Plant is also enterable, and leads to a second bonus area (see below).
- You'll have to use the flying platform of the Amazin' Flyin' Hammer Brother if you want to get over that pipe. First get rid of him, and jump on the platform as it swoops down.

- Try to stomp on as many Paratroopas as possible. If you're good, you may get one or more 1-Ups. This is obviously easier as Cape Mario.
- Enter the green pipe to exit the bonus area. You'll shoot out of the large diagonal pipe.

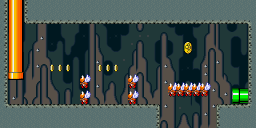
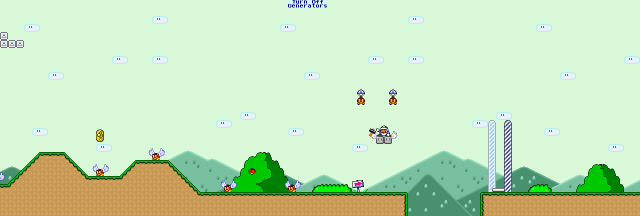
- The lone Para-Goomba in the pit is guarding a ? block containing Yoshi.
- The power-up in the glass container cycles between a mushroom, a flower, a feather and a Starman. Try to get the Starman and you'll be able to breeze through to the end of the level.
- Once you cross the pit, infinite Goombas will parachute from above. Traverse the area quickly or they will surround you.

- At the end, you can get to the goal tape only by getting rid of the Amazin' Flyin' Hammer Brother and using his platform as a stepping stone. Use the platform to hit the goal tape at its highest point!
Dragon Coin locations[edit]
The five Dragon Coins in this level are located as follows:
- On a high ledge after the first pipe.
- In the air past the row of turn blocks.
- Inside the second bonus area.
- Protected by two Para-Goombas in a pit.
- In the area where Goombas are parachuting from above.