Jump to navigation
Jump to search
| Vanilla Dome 3 | |
|---|---|
| Level type | |
| Entrance | |
| Exit | |
| Secret Exit | None |
| Time at Start | 400 |
Walkthrough[edit]

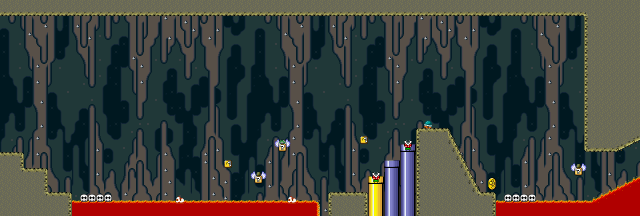
- You have no choice but to jump on the skull lift swimming on the lava to start your journey through the level.
- However, note that the lava here is inhabitated by enemies known as Blargg. They look at you and then jump out of the lava in an attempt to bite you. Keep an eye on the lava and if you see them, be prepared to jump over them.
- The ? block at the beginning isn't too spectacular, as is the first flying ? block you come across. However, you can use them as stepping stones to get up to the second flying ? block, which contains a 1-up mushroom. Doing this is very dangerous due to the imminent danger of falling into the lava, and you shouldn't try it unless you're very experienced.
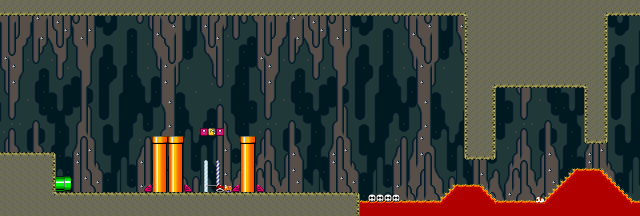
- Once you reach solid land, you can get a flower from the ? block. Be careful when going down the slope and don't fall in the lava trying to get to the next skull lift.

- You'll have to jump multiple times in a row to avoid the group of Blargg here. You can spin jump off Blargg like most other enemies, so use that to your advantage.
- To get past the orange pipes, jump right next to the left one to discover a hidden ? block which serves as a stepping stone. The one ? block between the two pipes contains a feather.
- If you have the cape, you can fly straight up from the orange pipes and enter a hidden passage at the top. It leads to the bonus game and allows you to skip part of this level. You'll return at the green pipe two sections further (the same pipe the bonus area would have led you to).

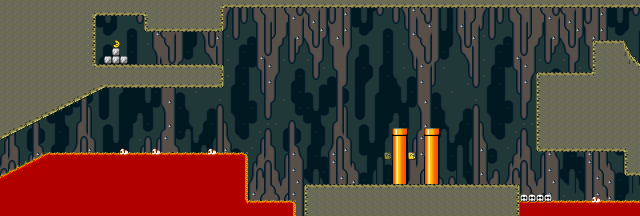
- The Piranha Plants will happily munch you if you run into them. You can either wait until they go back in their pipes, or take the Buzzy Beetle at the beginning and kick its shell to destroy the Piranha Plants. Fire Mario and Cape Mario can destroy the Piranha Plants by themselves as well.
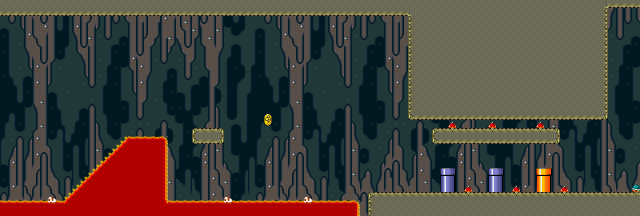
- To continue from here, you'll need to step on the skull lift so it starts moving, then continue along the upper path and jump on the skull lift as it passes you.
- The yellow pipe leads to a bonus room (see below).

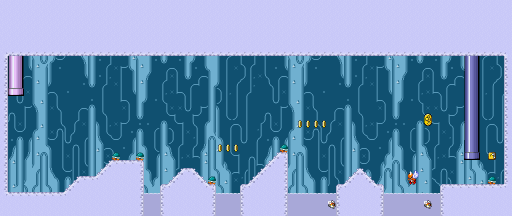
- This icy level is rather annoying, because it's difficult to climb those slopes with everything being slippery. It's very easy to fall into the water where Cheep-Cheep are waiting.
- You can get a feather from the ? block at the end. Enter the pipe and you'll come out of the green pipe in the next section.

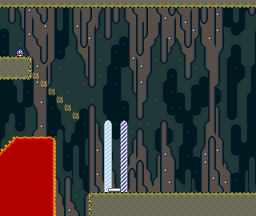
- The Koopa kicks the red shell forward which loops around and kills him. It's a bit difficult to drop down and jump on the red shell to stop it so you can hit the midway tape. If you don't want to risk it, just avoid it.
- Once you have stopped the red Koopa shell, you can kick it up to the ? block to get Yoshi. The red switch blocks, unfortunately, don't offer anything.
- The lava slopes seen here make it a bit more difficult to avoid the Blarggs without falling into the lava.

- Despite what it may look like, the long fall after the ascent is safe. Don't jump on the platform unless you're going for the Dragon Coins, as it's difficult to jump back down to the skull lift from here.
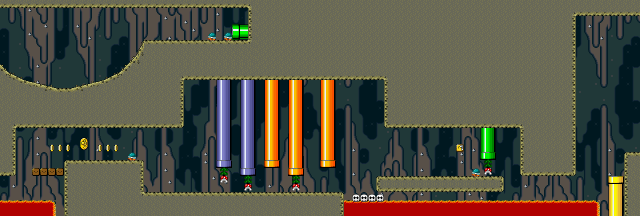
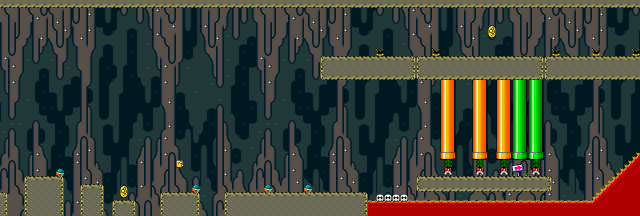
- The Spike Tops at the top of the pipe area restrict your ability to jump and make it difficult to pass this area unscathed. You should get through quickly and use your spin jump to bounce off the Spike Tops at the bottom where necessary.

- The ? block here contains a feather. Use it to fly to the top passage, which leads to a much easier path to the goal tape - you just have to avoid the Munchers scattered around.
- If you intend to take the bottom path, you'll have to use the same trick to move the spike platform as before, except this time, there's many more Piranha Plants to avoid. If you're too slow, you won't make it to the skull lift in time.

- If you took the bottom path, quickly jump over to the goal tape before the skull lift falls into the abyss.
- If you took the top path, however, simply jump on the P-Switch. ? blocks will form a staircase which leads down to the goal tape.
Dragon Coin locations[edit]
The five Dragon Coins in this level are located as follows:
- Just before the second skull lift.
- Before the area with the Piranha Plants.
- Inside the bonus area.
- Hovering over the lava further into the level. You'll need to jump from a platform to reach it and make it down to your skull lift without falling into the lava - a dangerous endeavor.
- Near the end of the level, before the ? block with the feather.
- An extra Dragon Coin is hidden at the top passageway near the end of the level. You should probably use it to replace the fourth Dragon Coin as that one is really difficult to collect.