Adventures of Lolo (Game Boy)/Hula dancing
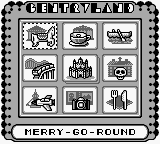
The section names are actually the passwords to access each stage. The first password is for the Japanese version, the second password is for the European version.
 |
 |
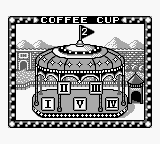
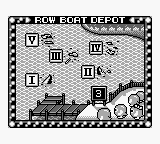
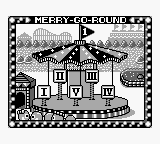 Merry-Go-Round (5 rooms) Coffee Cup (5 rooms) Row Boat Depot (5 rooms) |
 |
Start level[edit]
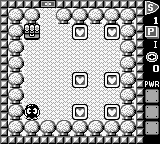
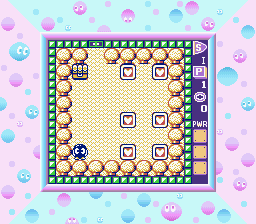
Just collect the heart framers in any order, then grab the key/note from the jewel box, then exit from the door.
L5YXX6 — 1♥W996[edit]
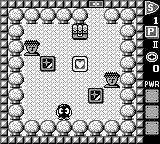
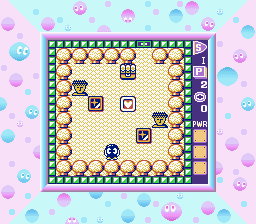
The Emerald Framers should block the Medusas' line of sight towards the center.
Push the right emerald upwards one tile, then the left one. Grab the heart, then the jewel box item, then exit.
2YSRBD — O924PI[edit]
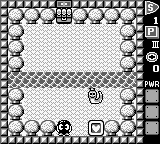
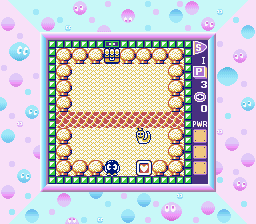
Grab the heart, turn Snakey into an egg, push it into the water and cross towards the jewel box and the exit.
NOMKTK — B680LY[edit]
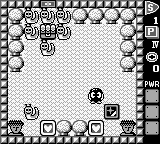
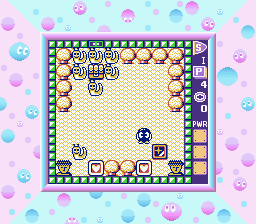
- Push the emerald down and grab the first heart (it has two magic shots).
- Turn the lower-left Snakey into an egg, push it down and grab the second heart.
- Turn the Snakey below the jewel box into an egg, push it sideways, then clear the room.
4D1♦7R — MORF5A[edit]
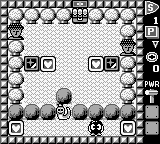
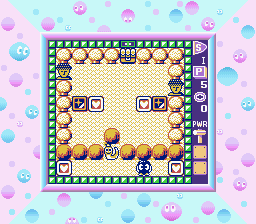
Grab the two hearts in any order to activate the hammer power. Break a rock and move to the upper half. The rest is same as Stage 2.
92ZVPY — ΔMXBL6[edit]
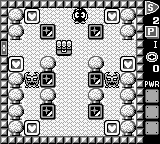
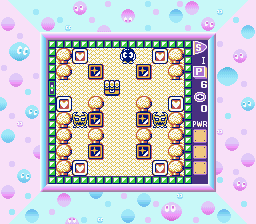
Push the top two emeralds out over the Don Medusas to collect the top two hearts, likewise push the bottom two emeralds out underneath them to collect the bottom two hearts, and push the top two emeralds down two tiles to reach the side hearts. The middle two emeralds should stay where they are to shield you as you cross the middle.
Take care to box in the Don Medusas evenly so that they maintain the same cycle, and don't leave yourself exposed.
U8TP3P — 0J3+HI[edit]
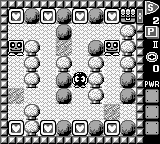
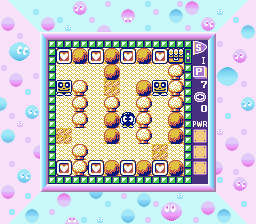
Flowerbeds protect you in collecting the bottom-left and bottom-right hearts, but for the rest you should wait until the Rocky is either at the other end of a long column or preferably in another column altogether, although being trapped in the top-right is also not a concern if you leave that heart for last. Be careful not to linger in the middle passages between columns where both Rockies could trap you together.
B♥82KW — N5MQ0Y[edit]
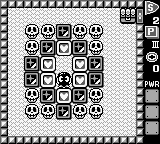
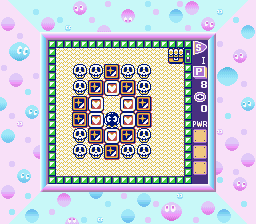
This stage introduces you to the half-tile mechanic, that will be necessary to solve plenty of puzzles.
- Block the six skulls to the left: grab the uppermost heart and push the uppermost emerald half tile up; repeat with the lowermost heart and emerald.
- Expand to the right: grab the two right-hand hearts and push the two right-hand framers half tile to the right.
- Trap the right-hand six skulls into the lower-right: grab the last two hearts; push the upper-right emerald to the right by half tile and upwards by half tile; push one of the two rightmost emeralds to the right by half tile. Wait patiently for all the skulls to be in the lower-right corner, then push the same emerald to the right and trap them.
You can now clear the room.
WR2+♦Δ — Y2SLWA[edit]
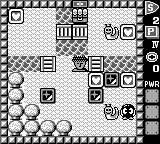
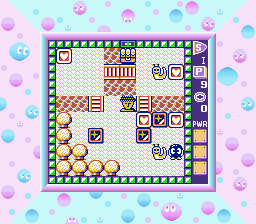
Push the middle emerald one tile left and up against the bottom of the Medusa. Push the leftmost emerald one tile right and two tiles up by the left side of the Medusa and cross the bridge on the left to collect the upper-left heart and go back down.
Collect the two hearts beside the rightmost emerald and push it one tile left and one tile up onto the bridge along the right side of the Medusa. Turn the lower Snakey into an egg and push it straight up to cross the water on the right side. Turn the upper Snakey into an egg and push it two tiles left onto the bridge directly above the Medusa to protect you as you collect the treasure.
♥G+TG6 — L0YHC6[edit]
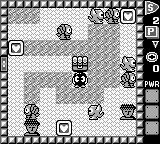
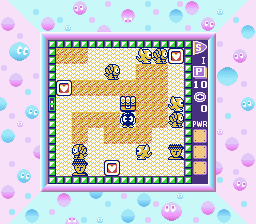
Immediately touch the lowermost Leeper to put it to sleep where it will block the rightmost Medusa from the left. Likewise touch the rightmost Leeper when it is more than one tile away from the upper-right heart in the far-right column, then collect that heart when there is enough space on the left that you can safely retreat down and left to the safety of the flowerbed.
Stand on a flowerbed in the column just to the right of the lower-left Medusa and face downward. When an Alma passes all the way into that column, shoot it and push the egg all the way down to block the Medusa on its right. Collect the heart to the right when a moving Alma is not too close, then travel back up across the flowerbed and face left just to the left of the jewel box.
When another Alma enters the gap in front of you and is straight above the lower-left Medusa, turn the Alma into an egg and walk around above it to collect the leftmost heart when there is no other Alma approaching. Turn right around onto the flowerbed and then down onto the jewel box to clear the room.
Other solutions are also possible, such as crossing the Medusas while other monsters are walking in front of them, but setting up the Leepers this way should make it quicker and more predictable, and waiting to shoot the Almas in the passages between flowerbeds should make it easier.
I5VNYD — ♦I5CWI[edit]
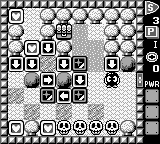
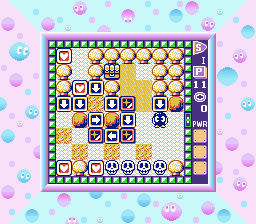
From the down-arrow directly to your left, push the lower-right emerald down one tile and then to the right two tiles. Travel up into the sand to get around the uppermost emerald and push it all the way down three tiles.
Now collect the two hearts in the lower left and push the leftmost emerald onto the left-arrow on its right to be able to walk up through the right-arrow, left onto the first down-arrow, and up to the remaining hearts. Or you could walk around the right to get up there, just so long as you don't leave that emerald a full tile left or up from its starting position. The Skulls will be trapped by a combination of emeralds and flowerbeds, allowing you to safely reach the jewel box by stepping through the down-arrows with the flowerbed between them to get to the desert.
ΔB91C4 — ZFNVSY[edit]
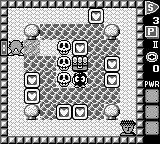
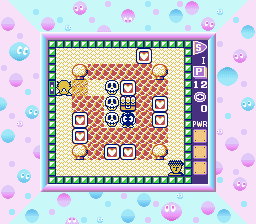
Collect the one heart available, turn one of the lower Skulls into an egg, and push it into the water to the left. Step off to the left as soon as you are able, collecting a heart in the process, then immediately collect the heart just below it and start pushing right to step back onto the egg as it passes by.
Repeat this process for the next two sides the egg floats around: Step off down, collect the heart to the right, re-board upward; step off right, collect the heart above, and re-board leftward. Just take care not to step all the way out into the sight of the Medusa or all the way back onto the island yet.
After collecting the hearts on the right and re-boarding facing left, shoot the uppermost Skull as the egg lines up with it. Step off upward to claim the last heart and then re-board the floating egg, but this time continue down back onto the island, where one Skull should still be in an egg and the other is trapped beneath the jewel box.
K03Y6B — +DTR♦A[edit]
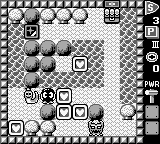
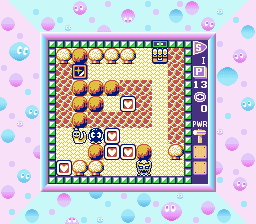
Collect only the one heart to your right to get the shots to turn Snakey into an egg. Push that egg left and up into the river and ride it up to the top, where you can push an emerald all the way to the right. Then push it most of the way down, and finish pushing it to the bottom as Don Medusa enters the far right. You can now collect three more hearts safely, but be quick to finish up on the left edge, as you will need to turn Snakey into an egg again when it reappears and push it to the right to get it up into the water in the middle. Across that water you will collect the final heart and receive a hammer to break free through the rock above, even though you could simply cross back on the egg anyway.
PU♦SOI — XA0M86[edit]
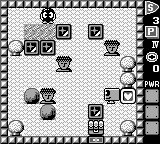
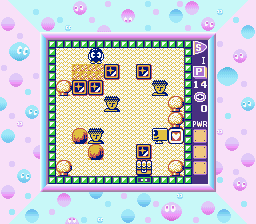
To start blocking Medusas from the left, push the top-right emerald down one tile, push the second-from-the-left emerald down one tile, and push the leftmost emerald down two tiles. Then push the leftmost emerald to the right one-and-a-half tiles: This will block the bottom of the upper-left Medusa without stepping all the way over the lower Medusa.
Go back left and down around the rocks to reach the lowermost emerald, which you must push to the right a tile before you push it up one tile. This will enable you to reach the heart and the jewel box safely.
If Rocky gets in the way too much to handle, then just after you push the first three emeralds down, push the other emerald at the top a half-tile to the left. Lure Rocky to the top, and when it enters the upper-left, push the emerald up to trap it behind the flowerbed.
Stage 2: Oriental 6JG51P — KWI6NI