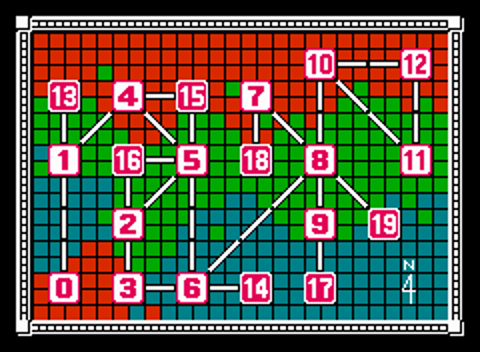
At the beginning of the game, you begin in your helicopter above Area 0, en route to Template:~. While you are not required to stop there first, it is highly recommended that you do. It is also recommended that you take each area on as you encounter them in the map, without skipping any areas. You typically receive items that are vital, if not required, to complete subsequent areas.
The colors of each tile gives a slight indication of the type of land below. Red is for mountains, green is for forest, and blue is for water. While you are navigating around the map, you will see a number of trucks traveling along routes between areas. If there ever comes a time when your helicopter crosses paths with one of these trucks, you will have an enemy encounter.
Enemy Encounters
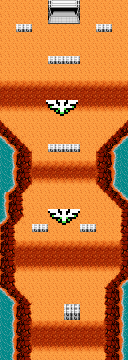
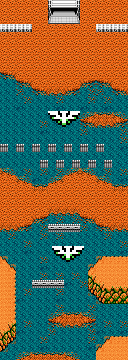
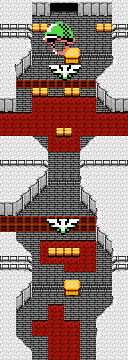
Whenever your helicopter meets with a truck (or if you discover and traverse through one of the hidden passages) the scene switches to an overhead view. The gameplay in this view is remeniscent of the original Commando game, where you run vertically from the bottom of the stage to the top. Except instead of having grenades, you can swing your grappling hook around in a circle. This doesn't harm the enemies, but it does push them away from you.
The stages aren't very long. Before each encounter, you have the opportunity to select your weapon, just like you do before each area, but you do not select any other equipment and they won't have any use here. Each weapon functions slightly differently in overhead view than it does in the ordinary side view. Although you do not obtain any items for completing these encounters, it is possible to collect items while you pass through them. In particular, you can collect continue marks by destroying particular enemies that drop them. Additionally, it's possible to earn one extra item once you learn about the hidden passages. Read about each encounter below for more information.
Famicom version difference: an additional blue or green soldier can be found at the end of the encounter, but he is your ally. If you defeat all of the nearby enemies he will retreat to the helicopter, and you will follow him.
Communications
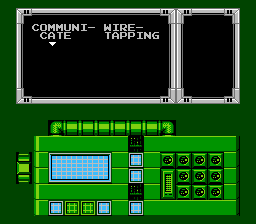
In order to complete each of the non-neutral areas, you must locate the door to the core at the end of the stage, and destroy the core. Often times, the door will be locked or otherwise inaccessible until you visit a communication room and talk with one of your allies. In order to do this, you must bring the correct communication device with you into each area. There are four different colored communication devices, and each one works in three specific areas. If you bring the wrong communication device into an area, you will not be able to interpret what you are hearing. If this happens, use the quick exit button combination (![]() +
+![]() +
+![]() ) to return to the area map screen and try again, or go somewhere else.
) to return to the area map screen and try again, or go somewhere else.
When you find a communication room, you must walk up to the center of the console, and the scene will switch to the screen shown to the right. You have the choice of "Communicate" and "Wiretapping." Use "Communicate" to speak with one of your allies. This is typically how you learn new information or unlock doors. You may also choose "Wiretapping," in which case, you will attempt to spy on communications between your enemies. You may or may not learn useful information when you do this, but sometimes it is necessary to wiretap in order to progress deeper into the area.
Whenever you wiretap, there is a chance that the enemy will notice you spying on them. This chance is random, although the likelihood is higher towards the end of the game. There is no set schedule by which you may get attacked. If you do, alarms will sound and two knife wielding soldiers will run at you from either side. In addition, soldiers will parachute down from the ceiling until you exit the room. Don't delay and exit as quickly as possible to reduce the amount of damage you take, as these soldiers don't drop bullets when defeated.

