Area 4-1
Enemies introduced
Progression
![]() ×4,
×4,
![]() ×10,
×10,
![]() ×2,
×2,
![]() ×4,
×4,
![]() ×3,
×3,
![]() ×4,
×4,
![]() ×1,
×1,
![]() ×4,
×4,
![]() ×3,
×3,
![]() ×3,
×3,
![]() ×1,
×1,
![]() ×1
×1
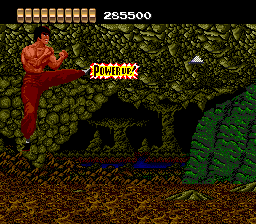
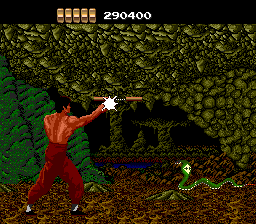
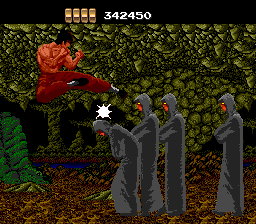
The cavernous background of the fourth area lacks any visual charm and remains fairly static throughout the remainder of the game. Right after you take care of four gray monks, a series of ten bats will appear. You should be able to stand on the left side of the screen and punch them all out of the air. The knives and fans that follow are mixed together. A head level knife will appear during the first two fans, while a high knife must be jumped kicked to receive a health power-up during the next two fans. Three blue fireballs will appear, two at head level while the middle one will fly low. A series of knives will begin to come by, with one red fireball mixed in. Jump over the low ones as you jump kick the fireball, and punch the last knives. Try to be on the left side of the screen to punch the first of the small rocks that fly towards you so you can collect a health power-up. The next set of three cobras and three blue fireballs are mixed together, with each snake appearing and pausing just before the fireball materialized and flies toward you. The last cobra is preceded by a flying nun-chuck.
Boss: Yin Wulong
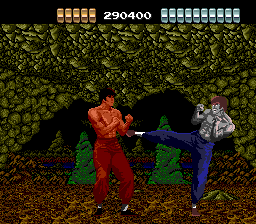
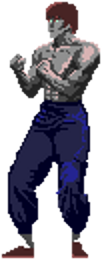
This is the last fight that you must face against a clone. Jump kicks will be ineffective against him. The best strategy to rely upon is the one where you push your opponent from the left side of the screen to the right side by alternating kicks and punches. Kick him to push him back and get inside his defense, and punch him before he has a chance to recover. When you have pushed him far to the right, return to the left side of the screen and repeat the process. He will definitely get in a good number of hits while you attempt to kick him, but you should be able to take him down before he can remove an entire bar of health from you.
Area 4-2
Progression
![]() ×1,
×1,
![]() ×1,
×1,
![]() ×11,
×11,
![]() ×2,
×2,
![]() ×2,
×2,
![]() ×2,
×2,
![]() ×2,
×2,
![]() ×2,
×2,
![]() ×9,
×9,
![]() ×1,
×1,
![]() ×1,
×1,
![]() ×4,
×4,
![]() ×3,
×3,
![]() ×3,
×3,
![]() ×4,
×4,
![]() ×1,
×1,
![]() ×4
×4
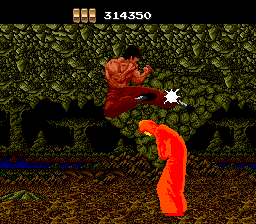
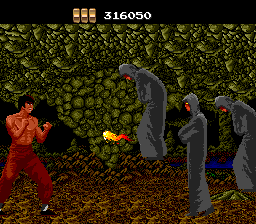
The level begins by throwing a wide assortment of objects at you all at once. To make matters worse, you'll have to move very quickly if you want to take advantage of the items which offer your health power ups. Right when you begin, a low arrow will fly through that you must jump over. At that time a fireball and a series of bats will appear. If you hit the fireball, you will earn a health power-up. Before you finish with the bats, another arrow will appear at head level. Punch it to receive more health, then after a brief pause, another arrow will fly high. Jump up to kick it and get even more health! Two bats will fly ahead of two green monks. After two blue fireballs materialize, a pair of knives will be thrown among bats. The first one is high and if you jump kick it, you will earn health. One more knife follows the bats, along with a single red monk. Four nun-chucks fly throw the air, the first high and the rest head level, all easily dealt with. Leap over three boulders, and as the third one goes by, a series of three fireballs will appear at close but different levels. While four gray monks pass through a fourth fireball will appear, followed by four sticks before you arrive at the boss.
Boss: Shalo Li Man
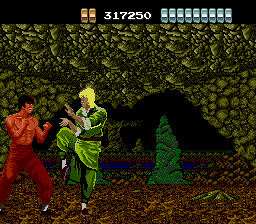
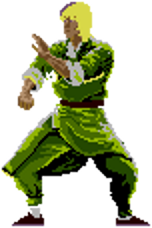
You will now fight against an oddly colored martial arts master. This boss behaves slightly differently than his similar appearing friends from the third area. If you are able to rush him and push him against the right side of the screen, he is surprisingly susceptible to punches. That is not to say that he won't manage to get in a few attacks of his own, but you should be able to take him out with nothing more than this attack. However, if he gets the better of you and pushed you against the left side of the screen, you'll have to stick with the old tried-and-true strategy of pushing against the left side of the screen and kicking him when he is within range. Neither strategy is more effective, and the strategy of staying to the left might even be safer from a damage perspective.
Area 4-3
Progression
![]() ×4,
×4,
![]() ×2,
×2,
![]() ×3,
×3,
![]() ×2,
×2,
![]() ×10,
×10,
![]() ×2,
×2,
![]() ×1,
×1,
![]() ×2,
×2,
![]() ×1,
×1,
![]() ×8,
×8,
![]() ×4,
×4,
![]() ×4,
×4,
![]() ×10,
×10,
![]() ×1,
gaint boulder
×1,
gaint boulder
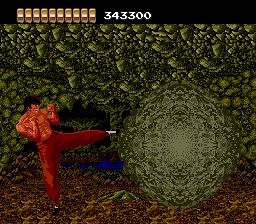
You've made it to the final section of the final area. Now all you must do is survive to the end and challenge the drunken fist master waiting for you. The stage starts off with a quick succession of nun-chucks, one high and three head level. Two knives will appear before three more head level nun-chucks. The first knife is low, but the second knife is very high. It's difficult to do, but if you manage to jump kick the second knife, you will earn a health power-up. It's best to stop the scrolling of the screen when the first knife appears if you wish to attack the second. Two red monks follow the nun-chucks before a series of bats appear, mixed in with several fans and a knife. The knife flies through late and very high, but if you jump kick it, you will earn more health. A low and high fireball will appear, followed immediately by one green monk. A series of orbs will appear, first two alone, then a pair, and finally four in rapid succession. Four gray monks will attack before four arrows appear. They will alternate between low and high, and both high arrows can be jump kicked for extra health power-ups. Ten bats will fly by before you face a new, but not so difficult challenge. A giant boulder will appear from the right side of the screen and steadily approach you. All you must do is continuously attack it before it crushes you. Punches seem to be more effective than kicks. If you succeed, it will simply roll away to the right and allow you to approach the boss of the stage.
Boss: Xing Yenwu
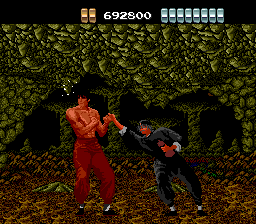
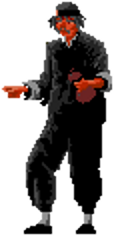
As you might expect, the last boss of the game is indeed a challenge, and unlike any of the previous bosses that you faced so far. He is a Drunken Fist Master, and there are three things that make him unique:
- Every hit he connects with does two health bars of damage, not one.
- If he drinks from his gourd, he regenerates one bar of health.
- His attacks have substantial range.
Because of these three facts, you must fight against this boss very carefully if you wish to defeat him and see the ending. From a distance, he is very vulnerable against flying jump kicks (![]() +
+![]() +
+![]() ). You can even use them to knock him out of his gourd drinking animation and prevent him from regenerating health. If he presses you far to the left, you can use the old kick from the left side of the screen trick, but do not rely on it for very long. Eventually, he will back off and start drinking from his gourd and regain health, so you need to press your attack to prevent him from doing that. When all else fails, standing in one place and kicking tends to work quite well. Don't forget about unleashing a rage attack if he hits you multiple times in a row. If you defeat him, the cave will appear to collapse and you will be treated to the ending. Congratulations.
). You can even use them to knock him out of his gourd drinking animation and prevent him from regenerating health. If he presses you far to the left, you can use the old kick from the left side of the screen trick, but do not rely on it for very long. Eventually, he will back off and start drinking from his gourd and regain health, so you need to press your attack to prevent him from doing that. When all else fails, standing in one place and kicking tends to work quite well. Don't forget about unleashing a rage attack if he hits you multiple times in a row. If you defeat him, the cave will appear to collapse and you will be treated to the ending. Congratulations.
After the ending, the game will start over with "Act 2", returning to Area 1. The game will be very much like it was previously, but with many more enemies inserted into the stage progression in order to raise the difficulty.
