Round 41
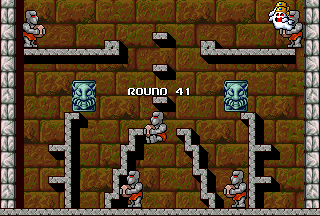
This round contains five Golems and three unnamed ghost-like enemies; the Golems will throw their rocks at Bob and Jim, and the unnamed ghost-like enemies are not affected by platform placement. A P-Ball shall also appear at some point, which can be collected for a temporary power increase - and the two stone blocks can also be pushed over the edges of their platforms by Bob and Jim, killing any enemy they land on. Much like in the second and fourth worlds, the screen will scroll upwards to the next round once you have cleared this one, instead of to the right like it did in the first and third ones.
Round 42
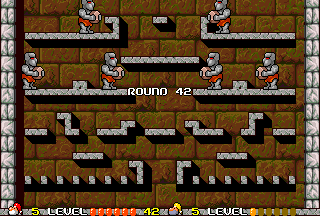
This round contains six Golems; a Blue Hammer will also appear at some point, which can be collected for the ability to throw it at the Golems. A large spiked ball will also lower itself down into view from the top of the screen, and start swinging left and right like the pendulum of a clock (killing Bob and Jim if it hits them, but they can pass through the chain it is on without dying) - and once you have killed the last Golem on the round, it shall disappear.
Round 43
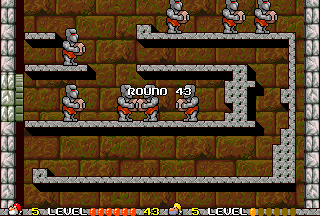
This round contains eight Golems; another P-Ball will also appear at some point, which can get collected for another temporary power increase. A Worm shall also emerge from the hole in the wall on the left side of the screen, and attack by sticking his tongue out at Bob and Jim in an attempt to eat them - and even though he cannot be killed (and will also kill Bob and Jim if he touches them from the sides), he can be jumped on and ridden, and he can also eat the Golems. If you swing your hammer in the bottom-right corner of the screen (near Jim's starting position, if he is present), it will reveal the location of a sixth and final secret key; once you have hit it enough times, it will fall down and land on your dwarf causing a pair of double doors to open up in the bottom-left corner of the screen. Once either dwarf has entered the doors, they will both fall down a long shaft leading to the fifth (and final) secret room.
Secret Room 5
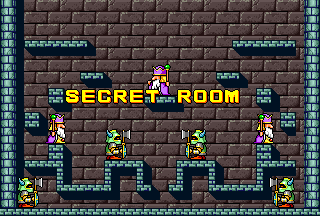
The fifth and final secret room contains three Bishops, and four Chaoses; the Bishops will also throw emeralds at Bob and Jim (which will kill them if they hit them), and the Chaoses shall also put up their shields to prevent themselves from being stunned. Once you have cleared this room, the following text will appear (if you did not collect all four crystal balls in the other secret rooms, either by missing them, or not collecting them before they'd disappeared):
But if you did collect all four crystal balls in those four previous secret rooms, a red-robed version of the Bishops will appear and speak the following text:
All four of the crystal balls will then appear in the four corners of the screen, and he will disappear; the crystal balls will then start spinning in a clockwise direction, increasing in speed as they get closer to the centre of the screen. Once all four of them have met in the same position, they will transform into a stone plate which shall fall down to the bottom of the screen, and the following text shall then appear at both the top of and in the centre of the screen:
This is the password which must be entered in the Password Room, to warp to World 6; the dwarves shall then get warped forward five regular rounds.
Round 44
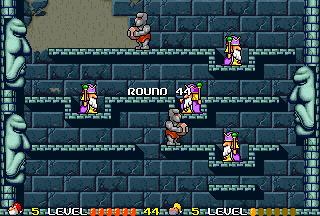
This round contains two Golems and four Bishops; a Gray Hammer shall also appear at some point, which can be collected for an increase to maximum power. The three carved faces, on the left and right walls, shall also occasionally wake up, and fire green laser beams from their eyes across the screen (which will kill Bob and Jim if they hit them), before going back to sleep again - so you must watch for those while jumping from one platform to the next.
Round 45
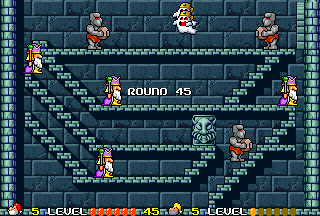
This round contains three Golems, two unnamed ghost-like enemies and four Bishops; another Blue Hammer will also appear at some point, which can be collected for the ability to throw it at the enemies. The stone block can again also be pushed over the edge of its platform by Bob and Jim, killing any enemy it lands on - and another Worm will also emerge from the hole in the wall upon the right side of the screen, and attack by sticking his tongue out.
Round 46
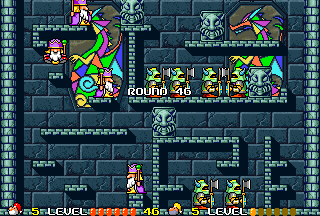
This round contains three Bishops, and six Chaoses; a King and Marmalade Jar will also appear at some point, which can be collected for a temporary freeze on every enemy and a power increase respectively. The four stone blocks can, once again, also be pushed over the edges of their platforms by Bob and Jim, killing any enemy they land on, but the Chaoses can now do the same to them - however, they may also kill their own kind by doing this.
Round 47
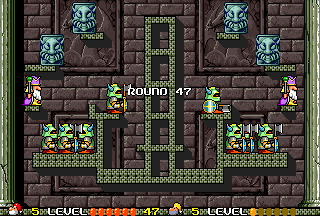
This round contains two Bishops and eight Chaoses; no powerups will appear on it, and the four stone blocks can, yet again, also be pushed over the edges of their platforms by Bob and Jim (killing any enemy they land on), but the Chaoses may again do the same to them (and even their own kind).
Round 48
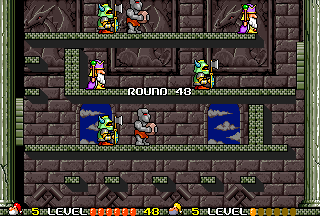
This round contains two Golems, two Bishops and two Chaoses; a Gray Book will also appear at some point, which can be collected for a freeze and death on every enemy. Two more Worms will also emerge from the holes in the walls, on the right and left sides of the screen, and attack by sticking their tongues out at Bob and Jim in an attempt to eat them - and it's also worth noting that the next round's the last regular one of the "normal" game.
Round 49
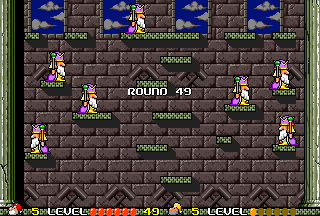
This round contains eight Bishops; a Water Jar and Marmalade Jar will also appear at some point, which can be collected for a speed increase, and another power increase respectively. It's also worth noting that the next round also happens to feature the last boss character of the "normal" game.
Round 50
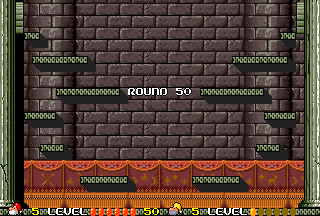
This round initially does not appear to contain any enemies; however, the illusion will soon be shattered, when the game's fifth (and last "normal") boss, who is an enormous pink dragon with a red cape, comes down into view from the top of the screen and starts spitting flames at Bob and Jim (which will kill them if they hit them), and an infinite amount of Kings of Kards emerge from the holes in the walls on the left and right sides of the screen. You must tap the Kings of Kards (and any Kards they may generate) with your hammer, to stun them, then pick them up and throw them at the dragon to damage him - and once you have thrown ten Kings of Kards (or just Kards) at him, he will explode and leave the jar containing the blue-haired princess of Marry Land behind as you receive 5000 last points. You shall now have to push the jar over to the nearest platform, jump onto the platform and smash the jar with your hammer to set the princess free; once you have done it, you can sit back and enjoy the game's "normal" ending, which goes as shown below:
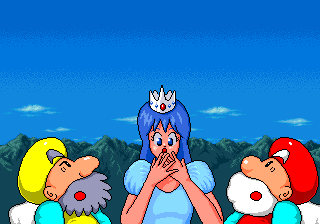
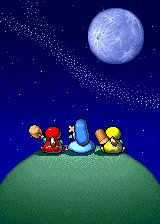
The screen will then cut to a shot of Bob, the princess, and Jim sitting on a hill (with their backs to the camera) staring into the night sky on its left side, as the enemies and their names appear on its right side; it will then go black, as the text "PRESENTED BY TAITO" (the "A" being represented by their then-current triangular logo) appears on it, and the text "GAME OVER" will then appear on it as the game goes into high-score mode. Your scores will most likely be the two highest ones upon the cabinet to date so you should enter your names at the top of the table with pride regardless of which way around they are positioned - and once you have done so, the game will go back into attract mode (even if you had collected all four crystal balls in the first four secret rooms, and learned the correct password for warping to World 6, you cannot reach it this way, and shall have to start the game again).
