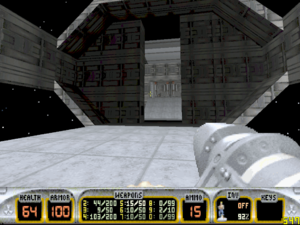
Walkthrough
At the start, turn around to get the shotgun and to use the switch to open the doors. Proceed down the corridor and enter the room in the corner. After collecting the chaingun cannon, armor and medikit, press the switch to open the door.
You will enter a series of corridor sections. The first has Enforcers which attack, and the second will have Assault Commanders. In addition, walking past the half-way mark of the corridor will release sentry drones from behind. In the second corridor, you can find a holoduke at the mid-point, and

Proceed through the final two doors in the corridor to reach the central area. Take a left turn to enter a green area with Protozoid eggs, and shrinker ammo. You should come to two fast-moving conveyor belts; while you will be attacked, simply run down the conveyor belt to see that it is an indestructable light turret. Head around the column, to collect the devistator and red key card. You can also collect pipebombs. On the return trip, Enforcers will try to ambush you.
With the red keycard, use it to open a door and lower a ramp. In the next room is a mini-battlelord, and higher difficulty levels may include additional battlelords as well. To continue with the map, get the blue key and return to the central area to open the column. Enter and flip the switch to open the door on the side.
The side door leads to the upper part of the central area. When you press the switch to extend the bridge, you will encounter the two last battlelords on the map. The exit is opened by a switch on the right battlelord.
Secrets

- When you open the first blast door, crouch down and enter the crawlspace to the right for an atomic health.
- In the central area, there is a grate on the central separator. Kick it open for armor and an RPG.
- In the central area, enter the point where the sentry drones arrive from to collect RPG ammo and an atomic health. This secret seems to require the jetpack, which is not located on this level.
- In the room where you get the blue keycard, the broken screens can either be opened or passed through. You can collect atomic health and two laser tripbombs.
While not counting as an in-level secret, you can reach the secret exit by shooting a button near the ceiling in the final part of the map.