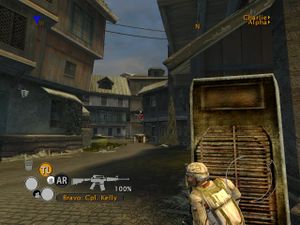
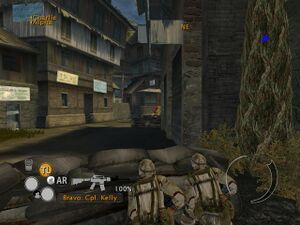
The Lost Squad has your team escort a bus through enemy territory. This mission is notably difficult from enemies in buildings above in building and rooves (which makes normal ground cover ineffective).
First checkpoint[edit]

After being unloaded, proceed down the road until you see a junction. Take cover on the corner around the right junction and observe an RPG being fired and a few enemies on the second floor. After the civilian is killed, have one team cover the other as they cross the street. Continue along the main road.
The corner of the main road will be difficult. Split a team in two, and have one open fire on a window overlooking some ground cover. The other team may throw a grenade into the window.
Advancing further down the corner is dangerous, first from the group of militia that approaches from ground level. If they do, throw a smoke grenade and fallback. Otherwise, have one team advance along the corner to the right. The RPG will fire one shot into the street before changing position to a second-floor window. When he does so, fire a grenade into the building to eliminate the threat.
Continue down the road with one team, moving from cover to cover. You should eventually reach a technical, and you can destroy it by throwing one grenade. After the technical is destroyed, have the other team advance through the first side road, to ensure you don't get a surprise from behind.
Crossfire[edit]
Call the convoy, and they'll approach to this junction. Proceed down the road, and you will see enemies fighting amonst themselves. While the enemies on the left fall easily, the ones on the right are more difficult. Throw one or two smoke grenades between them and the entrance to the building ahead, and have one team enter the building. The building leads to a window overlooking the attackers, and allows you to kill the three targets.

The path leading north is covered by a machine gun (although you can snipe the enemy from around the corner and advance). As the path is intended to be blocked, you will need to circle around the south.
The first alley in the south path is covered by two rooftop snipers, and it is impractical to advance through this direction. Proceed down the south road for a better approach, using cover in the middle of the road.
The south road will have a few insurgents approaching from the end, but are easily dispatched. When you have a path to the left, you can turn there, and engage the enemies from a better position. Enter the building to the north, and select breach as the entrance option. Exit on the other side, and you can attach the MG emplacement from behind. The last threat is the RPG down the road, who can be engaged directly as he is not behind cover.
Call the convoy, and drive ahead.
Mined road[edit]
The enemies have placed explosives in the road ahead, and you will need to find the spotter.
First, send your team down the right-hand path. After clearing the enemies, you get a good view of the courtyard below, and clear the MG nest.
Have one team approach the courtyard. The door is slightly to the left of the center, and leads down the stairs. When heading into the courtyard, the corner will not work as cover, and you'll have to use the ground cover instead. Engage enemies directly.
Before you can approach the spotter, you need to enter the middle building. You can approach from any safe direction, either directly or by circling around. The doorway is on the north-west corner of the building. Reach the top floor and eliminate those watching over the western building.
The other team can enter the west building. Reaching the top floor will trigger a cutscene where the spotter detonates himself, but doesn't injure the squad.