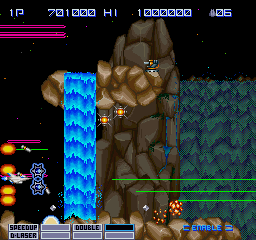
- After the pre-stage, this stage starts off simply enough with a sandy terrain along the bottom. A large scenic waterfall will appear in the background, and extend throughout much of the stage. Stages in the Gradius series have dealt with a number of different elements, but it is considerably rare to deal with water. You'll soon discover that water and the Metalion don't mix well.
- The first bit of land that appears above the terrain has a couple of cannons mounted around it. But the most important feature is the waterfall that periodically drips over the edge of the island. Unlike the waterfall that is present in the background, water that falls into the foreground is lethal, and you must avoid crashing into it or letting it fall on you. If falls once as soon as the island appears, and a second time when its closer to the left side of the screen. Even if you are stuck on the left side, it will not kill you (although it may shrink your Force Field).
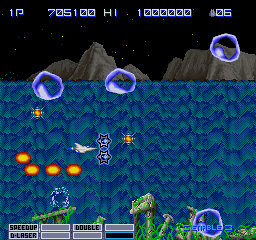
- After the bottom terrain disappears, you will fly out through open space for a while. A few enemy ships will fly toward you. Then an old structure with seaweed wrapped around it will appear along the bottom. At this time, six very large bubbles will appear in six positions all around the screen and slowly float toward your position. When shot with enough firepower, they pop into small bubbles, but if you're using Lasers, the beams will likely tear right through the smaller bubbles as soon as they appear.
- Following the initial six bubbles, six more will appear from the left side of the screen. Along with these six, two of them will appear from the right side of the screen as well. Once you blast through these bubbles, the initial sandy terrain will return to the bottom of the screen, along with another island containing a waterfall. You will generally want to fly over this island unless you are trying to collect the power-up capsules obtained from underneath.
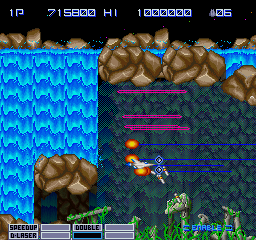
- Following a second high waterfall, you will reach a high island where it appears the water is being kept in check by a set of large boulders. However, as the first of these continues along the screen to the left side, the boulder will give way and water will come pouring down. This will start a chain reaction of several boulders falling over and allowing water to spill out. Before the first boulder falls, you must immediately head to the right side of the screen. If you remain on the left side, you will be destroyed by the water.
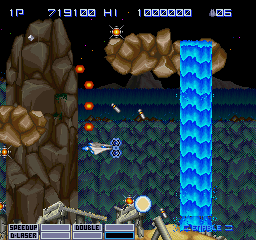
- As you continue to fly below the island, you will manage to stay just ahead of the falling water, even if it means hugging the right side of the screen. You will reach a point where it may appear that you've reached the end, but sure enough, at the very end is one more waterfall that drops periodically. Once this happens, you are past the worst of it.
- From here, you are very close to the end of the stage. You will have the opportunity to destroy a large number of red enemy and obtain a good amount of power-up capsules to increase your firepower before you reach the boss. Then you must avoid one final waterfall.
Boss[edit]
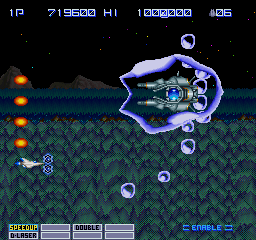
The boss of the stage, unofficially named "Bubble Core" draws a lot of inspiration from the boss of second stage of Gradius III. Like that boss, this boss is entirely enveloped in a giant bubble. This boss isn't organic however, its similar to many core ships that you have faced. Only it has no shields around the core, only the bubble. It has a couple of attacks. It attacks by spreading bubbles all around the screen in large circles. It is only during this attack that it is vulnerable because it draws back its own bubble shield to perform this attack. In another attack, it appears to draw the bubble shield back, only to suddenly eject it forward, depositing a large bubble on the screen. In the third attack, it rushes forward to the left side of the screen and then retreats. Since it's difficult to predict which attack it will perform, it's easiest to use Options to take out the core so that you don't put the Metalion in direct harm. Stop just long enough to make the boss stop and perform an attack, then move slightly out of the way so that one of your Options is lined up with the core and fire. If it performs the small bubble attack, you will get a good number of hits in before the bubble shield is restored. If it performs the large ejecting bubble attack, your Option should be in place to shoot down the bubble as soon as it appears.