Gradius II: Gofer no Yabou/Stage 3
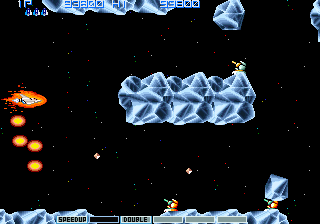
- After a pre-stage that contains many more free flying enemy fighters than before, you will enter a crystalline stage that appears to have been partly inspired by the Floating Continent stage of the MSX version of Gradius 2. All of the terrain in this stage has a rocky crystal surface. Cannons are positioned along the tops and bottoms of these surfaces.
- Shortly after you begin the stage, you will see another inspiration from the Floating Continent; free floating chunks of crystal. Two things differ about these crystals, however. First, they tend to stick around in a given space, bouncing back and forth between any surfaces they collide with. Second, you can destroy them by shooting them with enough fire power. If you possess Options and/or Lasers, you can clear away a good number of crystals in a short period of time.
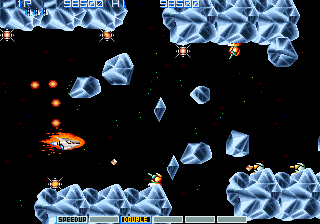
- After the initial set of cannons, the terrain will be free of enemies, and you will have to contend with another crystal threat: large chunks of crystals that break apart into small chunks after taking enough damage. Once broken up, the shattered pieces spread out and bounce around.
- The chunks move fairly chaotically, it can be difficult to identify which ones are the biggest threat. A piece that doesn't seem to be moving toward you at all may suddenly change course (and speed) and fly right at the Vic Viper. Clear as many pieces out as quickly as possible.
- After encountering a few of these large crystal chunks, cannons will return and dot both the upper and lower terrains. Many of these cannons are red and leave power-ups behind when defeated. After you clear through this section, space will open up. The top and bottom terrain will disappear, and islands will appear in the middle of the screen. Choose the path around them that offers less contact with the bouncing crystals.
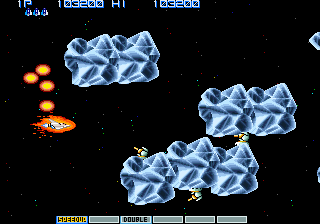
- Beyond the few stationary islands, you will come to the next threat: moving islands. What initially appears like more large chunks of crystal turns out to be stable islands with cannons attached to them. However, they move freely through space, and bounce off one another as well as the top and bottom of the screen. This creates a situation where the safest path around the islands is constantly changing. One moment, two islands are getting farther apart, giving you a window to pass through, and the next moment they are colliding back together, closing off that path for safe travel.
- You are generally safer near the top of the screen, particularly if you have Missiles. The bottom can also be a little safe, but less so unless you happen to have a lot of upward fire. You will know you have survived this section when you finally do see a stationary island appear on the screen. Then the large crystal chunks will resume.
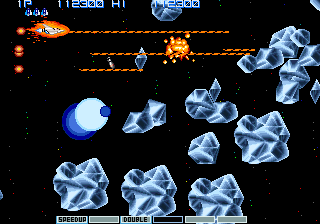
- The next section of the space will become flooded with large crystal chunks. In the process of fighting your way through here, it is extremely difficult to avoid causing several chain reactions of more large chunks breaking apart and flooding the screen with small pieces of crystal. Once again, the top of the screen is a relatively safe place to be, although you'll still need to pour on the firepower and be quick on your toes in order to survive.
- When you are close to the end of the stage, a small bit of terrain will appear on the top of the screen. This is followed by a squadron of free flying enemies who track down your position. The last section of the stage contains only a few small chunks of crystal, along with small enemies who travel across the screen in wide sinus waves. If you defeat the entire formation of enemies, they will leave a power-up capsule behind.
Boss: Crystal Core[edit]
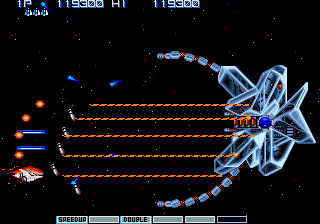
The boss of this stage has a surprise for you. When the screen is clear of enemies, and you're waiting for the boss to appear, get to the top or bottom of the screen. Unlike most bosses in the game, this one appears from the left side. Move out of the ships way, and then position yourself to confront it. Although ship is covered in a crystal armor, its weak point is the same as most Gradius bosses; the core in the center which is protected by a few barriers. This boss has two thin tentacles that it waves back and forth, firing beams in whatever direction they happen to be pointing at the time. The ship itself has two guns directly above and below the barriers. This ship tries to blast you with those guns, as well as the tentacle guns. Every now and then it enters a state where it crosses the tentacles and fires all guns continuously for a short period of time. Although this boss may seem quite challenging, it suffers from one particular blind spot. Wait for the tentacles to spread apart, giving you access to the space directly in front of the barriers, get in close and sit right in front of them. The ship won't move up or down, the guns should fire above and below you, and you can sit there and just fire at the barriers and the destroy core once it's exposed.