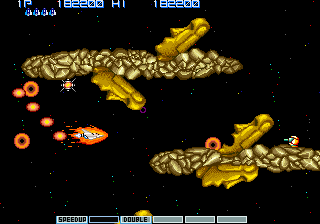
- Like the previous stage, this stage continues a series tradition with the presentation of the Moai enemies. Although on Earth they are harmless giant head statues from Easter Island, in Gradius they are a weapon designed to force the Vic Viper through a dangerous gauntlet of terrain and energy rings which they emit from their mouths.
- The Moai can be destroyed, but only if you fire enough of your weapons into their open mouths. If you are successful, you can destroy the statue and render it harmless. When the Moai open their mouths, they send multiple energy rings out in your direction. These rings can be destroyed by your weapons, but you won't be able to destroy all of the rings fired at you from every direction. Blast only the rings you need to shoot to create a clear path to safety.
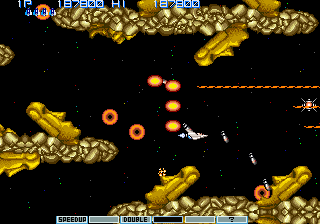
- In addition to the Moais, several cannons are place on the terrain alongside the statues. And flying enemies also appear throughout the stage. Many of these cannons and fighters are red, and leave power-ups behind. Since the energy rings never really stop appearing, you'll have to pick your moments to gather power-up capsules very carefully.
- As you get further into the stage, the quantity of Moai heads increases. The terrain forces you to commit to particular paths and deal with the heads that are present along the way. Some heads will be facing the left, making them easy targets. Some heads will be lying flush with the terrain. Heads lying along the bottom can be bombed with Missiles if you have plenty of Options. Some heads face the right, making them a bit more difficult to disable unless you make good use of your Options.
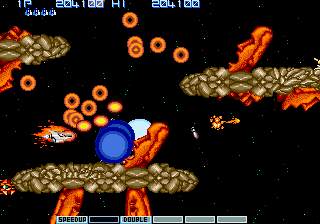
- By the time you reach the middle of the stage, the traditionally yellow Moai statues turn red and become more aggressive. Two particular details about them will change. First, the amount of rings they fire increases substantially. Second, they become a bit more mobile; heads turn back and forth to look in both directions, and heads that lie flush with the terrain lean forward to attack you. Because of this increased aggression, it's even more important to "stick to a lane," clear out any Moai's it contains, and use the terrain as a shield against other attacks.
- There is no good place to die and lose all of your firepower, but this area is particularly bad. If you find yourself in that situation, the goal is to survive as best as you can. Daring to collect a power-up capsule will put you in a high degree of danger. Keep moving, and take out any heads if possible. Also beware of hatches which release enemies that can fly through the terrain.
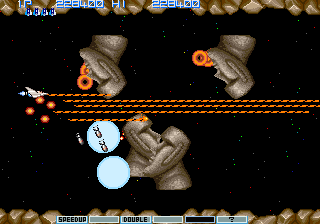
- After flying through the red Moai zone, the terrain will end, and you will fly through empty space for a while, before arriving at a location with a floor and a ceiling. Four Moai heads will appear, two on the bottom and two on the top. Once all four are on the screen, the stage will stop scrolling. All four of these heads will come to life at once, and hop along the floor or the ceiling, constantly emitting energy rings which float in your direction. In order to proceed, you must destroy these heads.
- As usual, you must shoot them in the mouth to destroy them. If you fail to take any of them out quickly, you will likely have to fly close to the floor or ceiling as the statues leap over you. If they wind up close to the left side of the screen, lure them back to the right in order to continue your assault on them. Once you succeed in destroying all four, the screen will continue scrolling, and advance to the boss. Be aware of a few small enemies that appear along the floor and ceiling before you arrive at the boss.
Boss: Big Moai[edit]
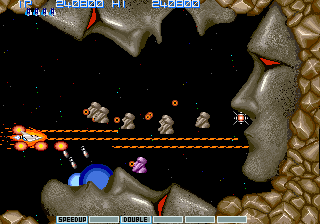
When you arrive at the boss' location, you will be instructed to "Shoot it in the mouth!" However, there are three mouths to shoot; one along the right side of the screen as well as one on the bottom and one on the top. You're only required to destroy the one on the right; doing so will cause the top and bottom mouths to self-destruct. However, you can still destroy the top and bottom mouths if you have the right weapons if you want to lower the threat to the Vic Viper. The lower mouth is particularly susceptible to Missiles. Each mouth spawns a set of much smaller Moais which fly out and shoot little tiny energy rings of their own. They are all easily removed, but you can become overwhelmed by the number of them if you're not careful. Every time you shoot one of the mouths, they immediately close in order to prevent you from getting multiple hits on them. Keep your fire focused on the right mouth so that you hit it as soon as it opens. This won't stop the small Moais from appearing, but it will set you up to shoot the right mouth again as quickly as possible. The more damage it takes, the faster it opens its mouth to release more Moais. Once it takes enough hits, it will explode, taking any remaining mouths along with it.