Welcome to "Follow Freeman!", the twelfth level of Half Life 2.
"Barney said you were on the way."
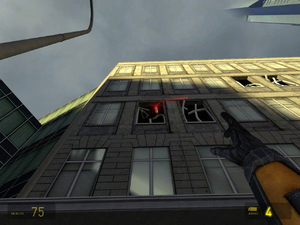
Turn right and you will be greeted by a rebel, who gives you some news about Barney. Collect the supplies in the next room and head onto the street. You will now have several snipers to deal with. Use the doorways and vehicles for cover and sprint to the end of the road to deal with the first sniper. Take snipers out by getting close and throwing grenades into their broken windows. There are supplies around to help get you through. After taking out the first sniper, head back the way you came, go left between the trucks and on to an open door on the left. Use the gravity gun to pull a table and filing cabinet into the street. Place these items by the road blockage and climb on them to ensure you can take out the second sniper with a grenade (or you could just take him out with a rocket). This sniper is key to the Counter-Sniper achievement, as he is the most difficult to get.
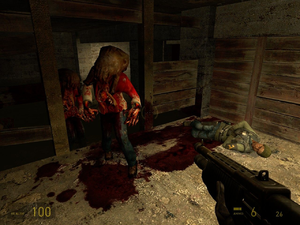
Head back into the building, go to the far end and down the ramp into the water, taking care of the headcrabs and fast zombie that have come to bother you. You hear someone call out for help, so head forward and right to find a rebel heavily bleeding in a fenced-off area. He tells you that he came downstairs as he thought it would be safer, whilst the rest of the rebels headed upstairs to take their chances with the snipers. It turns out the basement is zombie-infested and the rebel wants you to clear them out. Right on cue the zombies will approach. You can kill them off where you are or you can use the extra space in the water. After finishing them off, go left from the fenced area, where you will be attacked by fast zombies. Kill them, head up the stairs and open the doors that you previously couldn't get through so that any rebels nearby can join you more quickly. Continue up the stairs to the top floor, which is all for a brief moment.
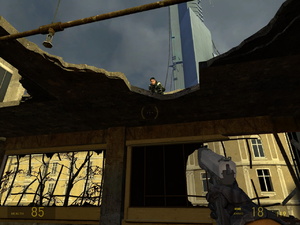
You should notice a sniper somewhere to the left; you can kill the zombies yourself or let the sniper kill most, if not all, of them. Head out of the building and down the debris slope, deal with him and go back into the building you were in. Ahead is an infinite grenade supply crate and if you look up to the next level and slightly to the right you should see Barney crouched down. As you approach him, he will greet you and ask you to deal with the snipers pinning him down. Follow Barney's eyeline to the doorway, which is now on your left. Go up the stairs and you'll hear snipers and see a Combine drop ship. There is a sniper in a building to your left, as well as one straight ahead who has a clear line of sight to you and can now shoot you. Crouch down and crawl to the outer wall to your left. Stand up and throw a grenade into the sniper's window before heading forward towards Barney. Be careful here as there are poison headcrabs crawling around. Next, find your own way ahead to take out the final sniper. Once he's gone, Barney will ask you to follow him. Do this, collecting supplies on the way. Barney will lead you down to the street and open the Combine gate. Go through and right into the next building, kill the poison headcrab, into the hallway and kill the second poison headcrab before moving forward to a loading screen.
"It's the main source of pain for this part of town."
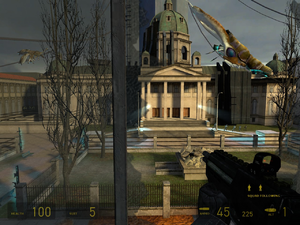
Turn left and open the door on your right. Into the courtyard, where you will hear a bugship. There's a turret at the top of the stairs to take out with a grenade. Kill the Combine, up the stairs, into the building and collect the supplies while Barney tells you about the Combine Overwatch Nexus ahead. Go up the stairs, round to the left at the top and look out of the windows to see the centre of power for the Combine in City 17, which Barney has been talking about. Barney will describe some of your targets and then open the doors. Head into the next room, where a Combine sensor will set off the alarm. Move quickly as just outside the window you'll get your first glimpse of what the suppression device does. Go down the stairs and use the hopper mine to take out the Combine turret hidden sneakily in a recess to the left. Deal with the hopper to the right, then approach the exit to the street. Wait until Barney tells you about the gate on the left before exiting the building.
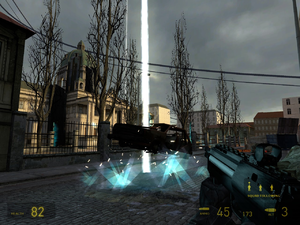
Once you step out onto the street, the suppression device will flip the wrecked car to your right. Wait out the blast, then head past the crater all the way to the opposite end of the street. The suppression device attempts to predict your movement, so stop running as soon as you hear it fire and it will harmlessly blast the ground far ahead of you. Once you reach the far end of the street, enter the door on your left. Kill the Combine, recharge your health and head through the door next to it. Go to the underpass in the middle of the courtyard, killing the Combine as you go. Carry on straight to the next building, where the Combine will open the door. Kill them, free any prisoners (if still alive) and stock up on health, suit power and ammo at the armoury rack on the wall. Open the next door, head immediately right, up the slope, down the opposite side and to the Combine gate, killing the Combine on the way. To its left is a recess protected by a forcefield. Take out the power lead, recharge at the health dispenser, up the stairs and into the doorway to a loading screen.
The Overwatch Nexus
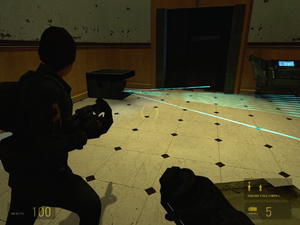
You can disable the generators in any order; the route set out here is the author of this page's preference. Open the double doors on the left, go into the side room on the right, restock your ammo and back into the hallway. The blue light beams you can see can be found throughout the building. They trigger rapid fire bunker turrets which rise from the floor (look for the black squares on the floor for their positions). When they rise, they have secondary light beams which sweep the area for intruders. It is these secondary beams that trigger the bunker turrets to fire. Stay away from these and you won't get hurt. You can be killed very quickly by bunker turrets, especially where there is more than one. After taking out the first bunker turret Barney will open the door to a large room. When you reach the middle you will hear drop ships and Barney will tell you what you need to do next.
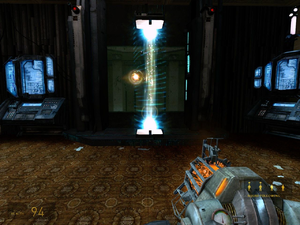
Beyond the stairs is the only possible way forward, marked by bunker turret sensors. The first Combine will come out of the hallway blocked by a forcefield, so dispatch them before moving on. Take out the bunker turrets in the next room. Kill the Combine and go to where they came from, go up the stairs on the left and into the next room. From here you can see the first of three Combine generators. Go into the side room before the bunker turret sensors and Barney will free any prisoners that are still alive. Stock up, go back to the bunker turret sensors and deal with the turrets. Unfortunately, your fellow rebels have a nasty habbit of getting in the way, so be careful about keeping the route clear to whatever you are going to use for cover. Go into the first generator room, take the supplies, and use the health and suit power dispensers. Blast the Combine energy ball with your gravity gun to take down the first generator.
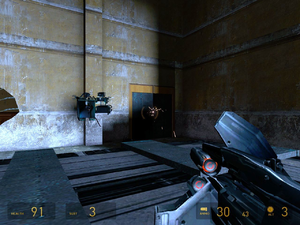
Head back out the door you came through, turn left, left again, right, over the walkway and into the hall, right, left and left again into the next room. The Combine will seal you in and attack you from the hallway outside before burning through the doors. Use the holes in the walls to retaliate and set the hopper mines at the doors. Once all the Combine are dead, go out of the opposite end of the room to where you came in. Deal with the bunker turrets, head into the room on the left and take out the second generator. Charge your health at the dispenser and go back into the hall you came from. Go right, then right again back into the room where you were trapped, out of the other end, right, right again, left across the walkway, left, right, ahead across another walkway and deal with the bunker turret ahead so you can take the supplies (if you want to). Back to the walkway, left and left again into a room with lots of red sensors.
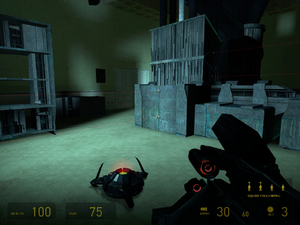
This room has lots of security, so the rebels won't follow you until the security is disarmed. Tripping any of the sensors will activate the whole security system in the room and you will be killed. For this room only I will refer to the objects around the place as "structures" and "shelves". Take out the first hopper mine. Jump onto the structure opposite the doorway you came in, avoiding the red sensors immediately ahead of you. Turn left, jump onto the next structure, go forward and jump onto the small structure ahead. Turn right and jump over the three red sensors onto the floor beyond. Turn right, jump onto the circular shelf and up onto the second circular shelf. Turn left and jump onto the pipe on the wall, jump over the red sensors, go along the pipe and take out the hopper mine. Jump onto the short piece of higher pipe and onto the shelf. Turn right and jump to the next shelf. Jump across to the next shelf (the one with several pipes rising to the ceiling), deal with the hopper(s) and walk to the end of this shelf. Drop to the horizontal pipe, jump onto the higher pipe at the end, follow it round to the left and drop to the floor by the health dispenser and red power button. "Use" the button to disarm the security and your fellow rebels will join you.
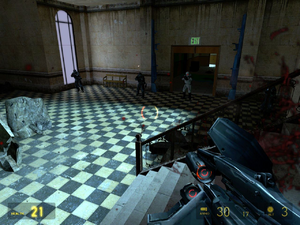
Go out of the doorway on the right, turn right into the hall and right again into the third generator room. Take out the final generator with your gravity gun and Barney will announce that all the generators are down, as well as the suppression device, and Barney will then lead the way to the roof. Deal with the Combine and hopper mines while you follow Barney, looking out for the health and suit power dispensers in the dark hall. Barney will open the gate to the roof for you, and ask you to go ahead and connect the sky bridge while he holds the gate open for more rebels to pass through. Go up the stairs and take out the turret and Combine before continuing on to a loading screen.
The Sky Bridge
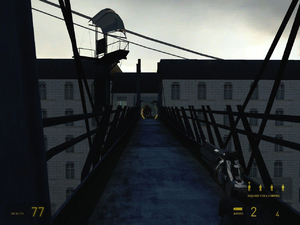
Carry on up the last of the stairs, open the door and head onto the roof. Combine will attack you from all over the place, so deal with them as best you can. Collect the supplies scattered around (including an infinite rocket crate) and head past a large grey container to the right to find some steps. Although you hear striders below, now is not the time to deal with them. Go down the steps and left, where a bug ship will attack you. That infinite rocket crate comes in handy now. From the steps you were last on, turn left, right between the vent buildings and right again, where you'll see a Combine gate and health and suit power dispensers. A drop ship will set down some Combine, who will then open the gate and attack. Dispatch them, charge your health and suit at the dispensers, go through the gate, left up the steps, left, and ahead of you press the button to connect the sky bridge. See off the Combine, cross the bridge and into the building. Go into the next room, right, through the doorway and drop to the level below to a loading screen.
Strider Plaza
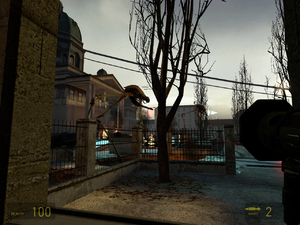
Go to the bottom of the stairs, where you will be greeted by a rebel with instructions for you to take down the striders. You can try to take out the striders at any stage from now, but I will suggest a few places where you can use infinite supply crates. Other rebels will join you at various stages, some of which will give you another rocket. Turn left, right, go out of the door, left, cross to the other side of the courtyard and go through the gate. Sprint forward up the ramp to the right of you, up the steps on the right, straight ahead and drop off the ledge after passing the fire on your left side. Go left and drop into the crater in the ground, before entering a tunnel with some medkits in. Be particularly careful about when you move from this tunnel. When you're ready go out of the other end of the tunnel, left and up the slope, left again and sprint into the building ahead. This is a good place to take down a strider, as there are a couple of spare rocket launchers in here. Bear in mind that there are also Combine around to kill.
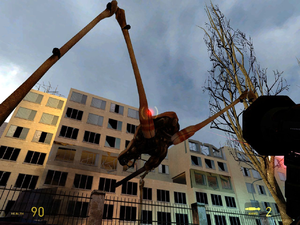
Head back out of the doorway you entered from and sprint ahead past the rock blockage into a small underpass. Be careful in here as a strider may take out part of the roof, exposing you to their fire in some positions. Despite this, the supplies here make it a great place to take out the second strider. Go out of the underpass until you reach the pavement, where you need to turn right and head behind the fire between some rocks to find medkits and an infinite rocket crate. Here is the best place to take out the remaining striders, as there is also lots of decent cover here. Once you've finished off the striders, head past the infinite rocket crate and follow the pavement to the Combine gate, where you will have plenty of Combine to dispose of. Go past the mounted guns and on the left are some concealed stairs heading down. At the bottom of these stock up with supplies, turn right and head forward to a loading screen.
Striders and Scanners
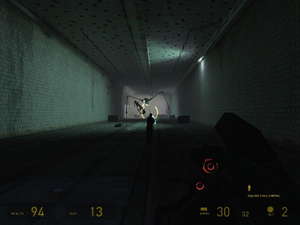
Turn left, go down the stairs and into a tunnel. Turn immediately right and right again, and deal with the Combine. At a certain point a strider will blast its way into the tunnel from behind you and chase you. As soon as you hear the explosion sprint forward, and at the earliest opportunity turn left into the alley and right into the bottom of a building. From this point on for a while you will be followed by scanners, which will reveal your position to your various enemies, so dispatch them quickly when they appear and move on. In this basement are supply crates and the Combine will come in from your exit at the end of the room when you move on. Dispatch your enemies, go into the next room and the next room after that, go up the stairs and deal with your enemies, watching out for grenades. Collect the supplies in the bathroom on the left, before exiting behind the bathroom.
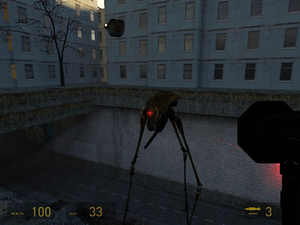
Head into the room with the ramp and collect the supplies before heading up the ramp. Be careful as you are now exposed to the strider. Kill the Combine in the next building, turn right at the top of the ramp and at the opposite end of this floor are some stairs down, which you can use for a quick rest and to pick up some medkits. While you do this the strider will cause part of the roof to collapse near to the previous ramp, forming a new ramp. Head up this new ramp, turn right and follow the beams round to the top left corner, where you will find some stairs to go down. There's an infinite rocket crate here, so use this area as cover while you deal with the strider. Go left from the bottom of the stairs for a supply cache. Turn left and drop through the hole to the floor below. Go along the hall to a loading screen.
"We're almost to the Citadel wall, Doc."
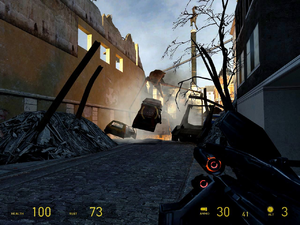
Remove the boards from the doorway to your left and move into the next room. A rebel will brief you on the situation and let you know that you are close to the Citadel. Go through the wall, head along the hallway and drop into the next building at the end. There are Combine all over the place here. In the next building do a u-turn between a green car and a white van. Collect the supplies, kill the Combine and go up the debris slope, sprint straight ahead and go into the building opposite for some cover. Come back out of the building, turn right, and sprint into the building ahead for supplies and cover. Go back onto the street, turn right and in front of you will be a large column with a statue of a horse on the top. Note its position as you'll need it later. Go under cover in the doorway to the right until you can get past the strider which has just appeared in front of you.
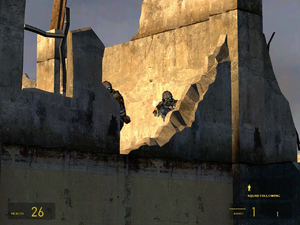
Sprint out, right and drop into the hole in the ground, where you will hear the beeping of explosive charges. The explosives will go off when you go behind the white cars, dropping you down a floor. Kill the culprits of the explosion, and head forward and up the new debris slope. Turn right, collect the supplies and go to the bottom of the next debris slope. The next section is frantic, with Combine all over the place. It would be very difficult to set out a single route here, as the Combine will move about and throw grenades whenever you stay still for long. There is only one exit on each floor and you will need to find your own path while collecting supplies and trying to avoid being killed. From the bottom of the slope, turn left and up the slope to the top. Turn 180 degrees and kill the Combine, watching out for grenades. Make your way around this floor to the only door, where you'll find supplies in a small side room. Go up the stairs, work your way to the end of this floor. Drop down here, turn left and go into another side room for supplies. Leave the side room and work your way around to the area that looks like it's lit in blue. There are supply crates, 2 health dispensers and a suit power dispenser here, so make return trips to here as necessary until you have exhausted the dispensers.
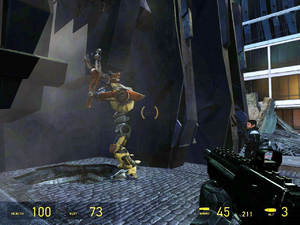
Go up the stairs here and at last you find an infinite rocket supply crate, which you can use to finish off the striders. Once your enemies are dead you will be told to head for the horse. Go across the highest floor to an area where rebels are resting after the big fight. Walk along the rusty metal support beams to the outer wall, drop to the street and take out the Combine. The horse statue will come down as you move forward, and Dog and Barney will join you and update you on what's going on. Follow them to the Citadel walls and, despite Barney thinking it's impossible, Dog lifts the wall. Drop down the hole that Dog has made to a broken ledge, listen to Barney's funny message and drop down again into a tunnel. Head forward to a loading screen for the next chapter - Our Benefactors.