Welcome to "We Don't Go To Ravenholm...", the sixth level of Half Life 2.
Ravenholm in Ruins[edit]
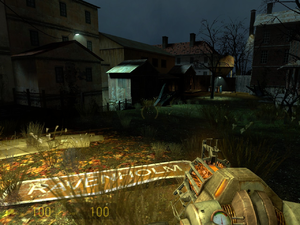
As you can see from the outset, things have not gone on well in Ravenholm — the headcrab shell and legs hanging from a rope tied to the tree prove it. Your destination is the house at the back on the left; the one with the entrances covered up with boards. There's a zombie out here; use the gravity gun to grab an explosive barrel, then put a bit of distance between you and it and fire the barrel to take care of the zombie. You'll need to use the gravity gun a lot in Ravenholm to conserve ammo; there are an enormous amount of zombies, but also lots of handy things you can fire at them, too. If you like the gravity gun or like slicing zombies in half with flying saw blades, then this will be a fun stage for you.
Use the crowbar or gravity gun to get rid of the boards and head inside. In here, you'll notice a zombie's torso on top of a large sawblade, and a lot of propane tanks on the wall for you to ignite zombies with. The next room, blocked off by a bench and a few dug-in sawblades you can pull out with the gravity gun, is full of zombies, so have fun blowing them up or cutting them in half or just bludgeoning them to death with the bench. It's generally a good idea to carry a sawblade with you in case available throwing items suddenly run out and you don't have time to pull out a gun.
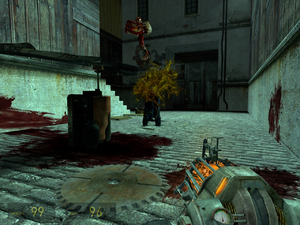
Some zombies will approach from the dark corridor — use a sawblade to dispatch them. In the next dimly-lit corridor, use the explosive barrel on the right to take care of the zombies approaching from around the corner, but retreat as this will ignite some more explosive barrels out of sight which will blow you up if you remain there. Once it's clear, head on through. Outside, to your right is a bit of a dangerous obstacle — a propeller blade on an engine, constantly spinning around. It's pretty easy to figure out that if you approach this standing up it's not going to end well, so grab your sawblade and crouch underneath it. Some more zombies will approach from the building ahead; you can either dispatch them now whilst crouching with your weapons, or retreat and let them walk mindlessly forwards and get chopped to bits by the propeller blade. Once they're dead, crouch past and head inside the building. In the room, push away the wooden pallet, and watch out for the headcrabs and zombies coming at you from the dark corner of the room. There's another fixed propeller blade in this room which you can spin yourself using the gravity gun's punt (or crouch down and switch it on with the "use" button), or simply dispatch them another way. Head outside, and use the explosive barrels to blow away the zombie approaching from the alley. At the end of the alley is another building; go inside and take out the zombies and headcrabs. Follow the path outside towards the flaming pile of dirt with various bits of zombie impaled on spikes, and you will be rather impressively introduced to a new ally.
"Another life to save?"[edit]
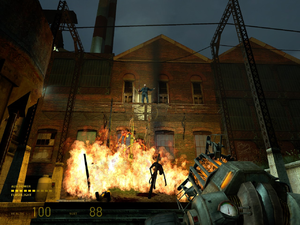
He won't really do much except help deal with some of the approaching zombies with his shotgun, and promise he'll "keep an eye on you". However, you'll thank him later. At the moment heading right is fruitless, other than killing the zombies in the boarded up house (don't forget to use the sparks and gas tank to set the caged zombie on fire), or turning off the flames at the top of the road to access an area filled with zombies and an electrified ladder you can't currently get over. So, instead, head around the edge of the fire, dealing with the zombie behind the tower as you go.
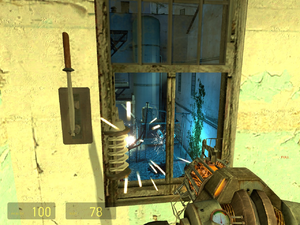
Turn the gas valve to close it to stop the flames, and enter the previously concealed doorway behind the macabre display of zombie pieces. Inside the building, use the sawblade, explosive barrel and propane tank to deal with the zombies, then approach the two large machines up the stairs. You'll see a hastily-sprayed lambda symbol on one of the pillars — if you look at the machine next to it, above is a vent grate which you can remove. Climb up and inside the vent and follow it; you'll re-emerge outside and you'll find an extra SMG grenade and normal grenade on a higher-up ledge above the zombie display. Go back inside and this time find the junk-filled staircase. Use the gravity gun to get rid of the wardrobes and stuff, and use the explosive barrel to take out the headcrab and zombie at the top of the staircase. Turn left and work your way through the rooms killing the various enemies until you reach a window and lever overlooking the electrified fence and ladder. If you haven't already killed the zombies below you can do it from a safe place up here; just use a grenade. If you wish to save said grenade, you can always fiddle with the gas that is feeding the flames. Turn it off, lure the zombies into following you, turn it back on and gas, just gas, will spurt out. Then fire one bullet (or "use" the red button) as soon as they are in the cloud of gas. The spark from the bullet will re-ignite the gas. Whatever happened or will happen, pull the lever to turn off the electricity, then go back down and around to the fence, which you can now climb over (watch out for the poison headcrab ambush on the way out).
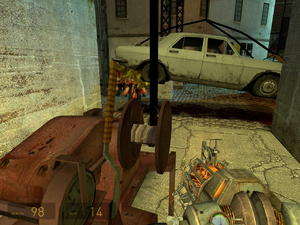
Climb the various ladders, and at the top, hop across to the roof of the other building. Up here, your violent friend will appear again on a high ledge, and inform you on being vigilant and that he has traps you can use. From here, look down and you'll see a series of wooden planks serving as a walkway across the road below. Jump up and crouch through the window at the end, and inside, throw a grenade down to clear out the zombies and headcrabs. Make your way outside. Out here, you'll see the first of the aforementioned traps; a car held up by a winch. Release the brake, and a few tons of metal slam into the ground. So go ahead — coax some of the zombies in the area beyond to it, and laugh as you pull the lever and they all get mashed by the car. Deal with all of the enemies then observe the second car trap. Use the brake to pull the car up, first of all, then use it again to get the trap to work properly. However, in order to progress you need to use the trap as a lift — release the brake to have the car drop, then jump on it and ride it up to the wooden walkways above the ground. At the top, use the walkway to approach the building, and your friend will finally introduce himself; he is Father Grigori. Father‽ That's right, this is a religious man who is walking around setting up traps to mash and maim his former chapelgoers and shooting them with his super-powerful shotgun. Oh well, crazy world, eh? Jump in the building using the window, and open the door. Go down the corridor to get a loading screen.
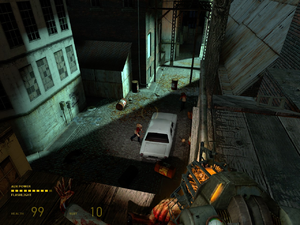
Open the door and deal with the fast headcrab that comes at you. In the cramped room up ahead, Grigori will kill a zombie outside the window from the building across, and there's another dormant zombie in the corner. Take out the poison headcrabs on the far window ledge, and when you climb out be wary of the three zombies on your right. Use the cinder blocks on the far ledge to take them out, or wait for Grigori to. Below, there are an awful lot of headcrabs and zombies, so shoot some of the explosive barrels and the combo effect should help to take out most of them. Throw some other stuff down to take care of any survivors, then drop down at the top of the road, in the dead end to the left of the window you came out of. Shoot the explosive barrel behind the grate on the left, and you'll release some burning fast headcrabs — deal with them. If you are lucky, they will run off and die without bothering you. Wait for the fire to die down and crawl inside for some pistol ammo and a few medpacks.
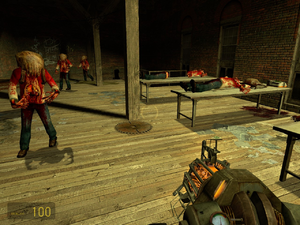
Take care of any remaining enemies and climb the ladder at the bottom of the road, in front of the large barricade. Walk along the metal girders up here and you can see Grigori kicking and shooting some more zombies out of the building you saw him in. To the left is a small lambda-symbol marked attic with some supplies and a fast headcrab in it, and to the right is another room with a legless zombie inside. Through here you'll find some benches with assorted zombies and headcrabs strewn about them, as well as a few medpacks and a sawblade. Grab it and approach the stairs down; there are a large number of zombies down here, so use the sawblade and follow it up with a grenade or SMG grenade to clear them out, then head down, around the corridor and through the door for a loading screen. Afterwards, the room across from you contains some more medpacks and some SMG ammo, then head right and out the door to emerge outside again. You'll see on the rooftops a new and very annoying adversary, the fast zombie. The ones on the rooftops will just jump across and disappear out of sight, but one will come up from down the street ahead of you. For now, use your SMG or crowbar to deal with them. It is very likely that the fast zombies will get to you and get in a few swipes before you take them out, so unless you're a crackshot with the gravity gun, don't bother trying to take them out before they hit you.
"How came you here, brother?"[edit]
Head down the path the fast zombie came; although it's a dead end there's a sawblade, some medpacks and an SMG grenade as well as a few zombies. When you're done, head back up and into the building that you first saw on the left. The only thing around the corner is a couple of headcrabs, so ignore them and go inside. Use the gravity gun to pull the radiator off the wall and just bounce that around with the gravity gun inside this building to kill the zombies and headcrabs infesting it. Check all of the side rooms as you go up the staircase as well, as some of them have various goodies for you. At the top be wary of the headcrabs, then go outside using the door.
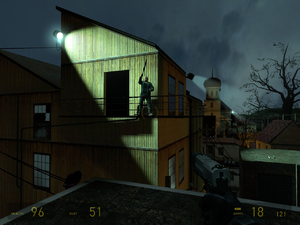
Ignore the fast zombies jumping around the place; they're harmless for now. Instead, go around the building and you'll meet Grigori on a metal walkway just across from you. Approach him, and after a few words he'll throw you a shotgun (not his own, unfortunately, but still incredibly useful). This, along with his advice to "aim for the head" is one of the most useful things you'll get in Ravenholm. Deal with the fast zombies as they appear, and Grigori will tell you to head for the church. Look towards the large water tank above the streets, and make a jump across there once you've got rid of all the fast zombies. For now the SMG is probably better for dealing with fast zombies than the shotgun, but the shotgun is definitely more useful for slower zombies and headcrabs. Climb up the ladders and deal with the fast zombies. Open the door to the building and go inside. Use the switch to call the lift, and kill the fast zombies as they come. Once the lift arrives, get in and press the button to close the lift doors and descend. As the lift reaches the bottom, another new adversary will appear; the Poison Zombie.
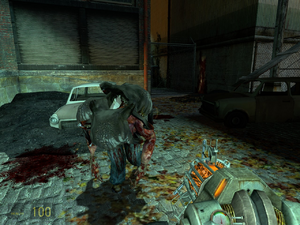
You may have already observed that poison headcrabs, although unable to kill you, are still tougher than other headcrabs and can reduce you to one health. In the middle of fighting a zombie horde, this is not good news. The poison zombie is therefore a lot, lot tougher than your normal zombie, capable of taking up to six normal shotgun shots to the face to die. Plus, instead of carrying just one normal headcrab this carries four poison ones, three of which it can throw at you! The shotgun is your best bet here, but later in the game, the best way to take these things out will be with the pulse rifle energy ball, which disintigrates both the zombie and all 4 headcrabs on him. Once it's dead, use the wooden plank on the car to get over the wire fence, head past the used Combine shell and the fire, and along the path behind the next wire fence to a loading screen and a new area (the room on the right contains a headcrab, a medpack, a shotgun and some ammo, and a radiator).
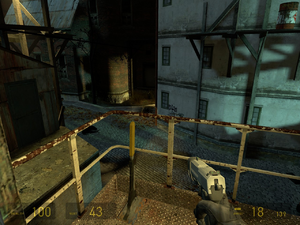
Watch out for the explosive barrel that drops down. This next street initially seems quiet but will soon be swarming with zombies. As you go down the street towards the propeller blade, a poison zombie will approach from the left-hand street fork, as well as some normal zombies from the right. You have to go around the raised concrete bit to the right to find a path up (underneath the streetlamp) but first go along the path to the building in front of it, with the metal walkway and weird lifting bracket by it. Watch out for the two zombies that approach from the dark on the right. Go around and up the stairs. There are some medpacks up here, and then go out onto the walkway and use the lever to move the bracket along its rails. Once that's done, go back down and around the raised concrete section to the pile of boxes that leads up to it. There is a poison zombie in the grass further down, and some more zombies and fast zombies will ambush you.
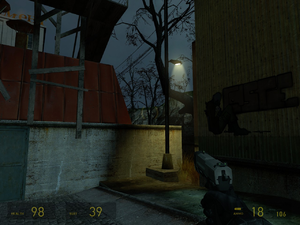
Deal with all of the zombies and climb up. Jump across the alley at the back of the raised concrete onto the concrete ledge (the one with the lone explosive barrel), and follow this along and up to a roof, and from there onto the wooden walkways above the street. You can go left here onto the top of the building on the raised concrete for some shotgun ammo, various grenades and medpacks. Otherwise go right and follow the walkway past the explosive barrels (you can use these to take out some of the extra zombies that keep appearing in the street below if you want) to where the lifting bracket is now in position (from using the lever earlier) to use as a platform to get across. Jump across and on the roof on the other side you'll find some SMG and shotgun ammo, as well as being attacked by fast zombies. Kill these here as more will be with you soon, then hop across to the flat concrete section up ahead and follow this along to the explosive barrels.
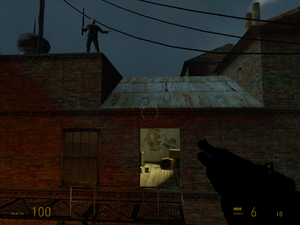
Father Grigori will show up again here; he'll help you deal with the fast zombies that come from the roof sections around you, then inquire as to why you are going the wrong way. When he's done talking, jump across to the metal walkway beneath where he was standing; it will collapse downwards but don't worry, you can still walk up it to the doorway on the other side (this also serves as a way to easily go between high and low paths if you want to go back down to the street for some reason). Inside there's a load of boxes, a medpack and four sawblades. Go through the next door and a group of zombies will come at you from along the corridor; use the sawblades to dispatch them, then approach the stairway in the room at the end. More zombies will come at you from the bottom; use the propane tanks to set them on fire, then pull the radiator off the wall and fire that down to kill them. Once the fire clears, head down for a loading screen.
Hallowed Ground[edit]
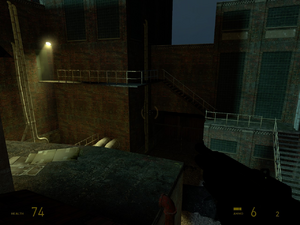
You're not far away from getting out of Ravenholm now. You can go left and follow the tunnel and stairs to reach a previous side room you explored (only you're now coming out of a previously locked door), or go straight on to the ladder. Up the ladder is a room full of boxes and headcrabs, so kill them all. Go to the door and open it to appear back outside. Go across the wooden walkway to your left onto the next roof and kill the pair of fast zombies that leap at you from the far building. Kill the poison zombie below and any headcrabs that come off him (preferably without falling off). You've got two choices here; you can either go the long way and keep your health, or leap straight down and sacrifice some. You'll only lose a maximum of 5 health so you may as well, but the long route goes along the roof to the left, along some concrete and across another gap to a small tunnel house and dead-end road which you can then follow back and over a fence to get to the bottom area where the poison zombie was. Either way, once you're down here, hop up the broken metal stairs and follow the walkway around to the door. A fast zombie will approach from the buildings you were previously on; you can either kill it now or wait until you're inside. Just beyond the door you'll find some SMG ammo, an SMG grenade, and two lots of magnum ammo. Head to the ladder up the stairs and around the corner, and you'll push open a metal hatch to the roof of another building. The hatch will close behind you, and you can see Father Grigori in the grassy section beyond the tall wire fence on the right.
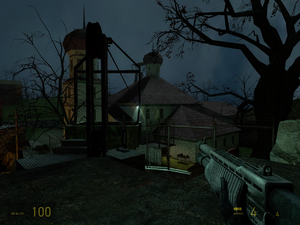
He'll start sending the lift cart to take you across the gap and over the fence, but in true Valve-style level design, it takes absolutely ages. In the mean time, you get to have a nice up-close and personal encounter with lots of your fast zombie friends. Oh dear. There's a little shotgun ammo and some medpacks up here, but only take them when you need them. You should be a little more proficient with the shotgun by now, so you can use that to deal with fast zombies instead of the SMG (although don't be afraid to switch to it if you can't hit any of them. But if you stick with the shotgun, use the secondary fire to take care of them faster). Your enemies can't jump straight up to your roof, but they will climb the drainpipes around it; you can use this to your advantage by waiting at the top of a rattling drainpipe and shooting the zombies as they climb it. This may seem a little cheap but it's a lot easier than dealing with them once they're up on the roof with you, and your health and ammo lasts a lot longer since they can't touch you and you aren't as likely to miss. Should you fall off (and you might), you will have to sprint through the streets back along the long route described before, up the walkways and through the building. However this time you'll have fast zombies on your tail so don't forget to sprint. After a while the cart will arrive, so pick up anything you've left behind, get in, and release the brake lever to go across to Grigori.
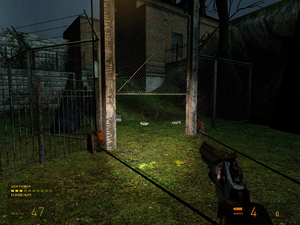
Once the cart is over, hop out and greet him. There's some medpacks, and SMG, magnum and shotgun ammo on the table down here. Follow Grigori past the loading screen, and you'll deal with some zombies on the way to the cemetery. He's a lot more resilient to zombie ravaging than you are, and his shotgun is a lot more powerful and accurate than yours, but oh well. When you get to the cemetery, you'll have to slowly cut down the waves of zombies as you work your way through, but thankfully some thoughtful person left some sawblades just over the fence for you to use. Make sure you do use the various items around the graveyard as you'll be a little strapped for ammo for a while. You and Grigori will make a stand on a raised concrete section for a few moments whilst some fire clears, then you'll proceed to the tomb at the end. Your friend will hold open a gate for you whilst you go through, then it'll close. Sadly, Father Grigori won't be able to join you in your quest, and he'll keep fighting right up until his last breath in the inferno. Walk up to the mine entrance building and follow the path around to the loading screen.
The Mines[edit]
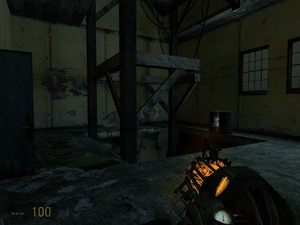
Once you reach the mine shaft, look down and you'll see a series of wooden planks in various states forming a scaffold down to the bottom. You need to carefully find your way along and down these instead of just jumping off and plummeting to the bottom; you won't survive, and even if you do you will promptly be mauled by a ton of headcrabs of all types that litter the bottom. If you do this right, you should end up dropping onto a metal walkway above the cavern at the bottom with a group of medpacks on it. Follow the metal walkway around the cavern until you reach the lit windowed room above the ground. In here are a group of supply crates and a shotgun, giving you some shotgun ammo and an SMG grenade, including some suit power. Now, use the SMG, pistol and the various explosive barrels dotted around the bottom of the cavern to get rid of the headcrabs.
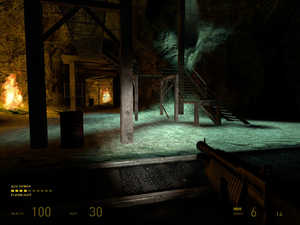
Once there are only a few left you can drop down and deal with them using any of your other weapons. You need to then find some metal stairs to another metal walkway section that's broken off from the one you first landed on, and use this to hop across to the top of the sealed mine tunnel with a fire in it. There are some more fast and poison headcrabs in here, so use the pistol and explosive barrel to get rid of them. Once they're dead, turn the corner and use the wooden planks on either side of the shaft to get across to the supplies by the corpse on the other side, then drop down to the water at the bottom. Follow the underwater tunnel around to the next shaft, and use the barnacle to ascend up to the corpse stranded near the top, where there's another medpack and some magnum ammo. Kill the barnacle and drop down to the water again, and this time hop over the wooden crossbraces into the next underwater tunnel.
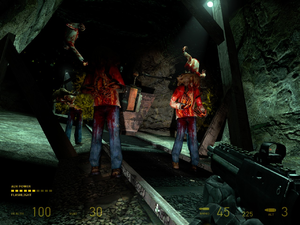
Follow this to the end, emerge out of the water, and turn the corner to find the last of Grigori's traps. This minecart, once the brake is released, will continuously move up and down the sloped track in this mine tunnel with the propeller blade spinning. Anything at that height or taller that happens to be in the main tunnel when it goes past, gets chopped up. Simple, eh? Release the brake and wait for the cart to speed off up the tunnel, then sprint up and coax some of the zombies out of the safe side alcoves. Sprint back to the bottom and watch as they all get cut up as the cart comes back down. Use the alcoves yourself when you want to get past the cart as it moves up and down. Once you reach the top, use the shotgun to deal with the extra zombies past the end of the mine cart track, and you can finally glimpse sunlight again! Walk towards the light to get a loading screen.
Rebels and Trainyards[edit]
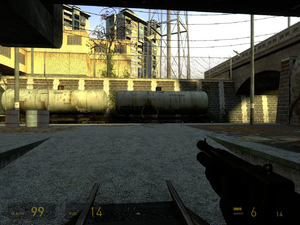
Although you're out of Ravenholm now, you're not done with the chapter just yet. When you emerge from the mines, firstly watch out for the poison headcrab waiting to ambush you on the top of the tunnel exit. Then, open the supply crate on top of the boxes to your right. Head right, take out the fast zombie and follow the traintracks along. After a short distance you'll see a mysterious moving blue laser which will hover over the approaching zombies, before releasing a shot and killing the zombies instantly. These are Combine snipers, and they hurt quite badly if you get hit by one of their shots.
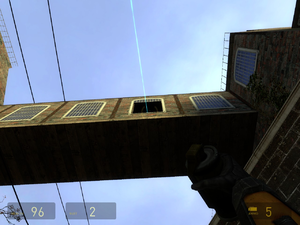
You can't shoot snipers to death; you can only use explosives. They will always hide in a dark, windowed section, so to dispose of them, throw a grenade in and wait. The first Combine sniper is fine as you can throw a grenade in without him being able to see you, and the game thoughtfully supplies you with a supply crate full of grenades just below the bridge the sniper is in. Carry on up the traintracks until you reach another abandoned train cart. The next Combine sniper is in the bridge up ahead but this time he is facing you; if you attempt to rush past, the various bits of junk will hamper you long enough for the sniper to get off enough shots to kill you. Rapidly weaving from side to side whilst sprinting is usually enough to stop them from ever hitting you but right now it's best you don't take that chance. Edge along the traincart, use the explosive barrel to clear the junk, then sprint to the next train trailer with the large wooden logs on it and crouch. The sniper will shoot an explosive barrel somewhere up ahead which will knock the logs off - this forms a little safe tunnel you can crouch and crawl through between the logs and the underside of the trailer. From the end, quickly get out and sprint to the next cart. Approach the left hand side of it, and get in, then quickly sprint to the end closest to the bridge (as there's enough of a hole in the top for the sniper to get a shot in if you're unlucky). Once there, pull out a grenade and toss one up to get rid of him.
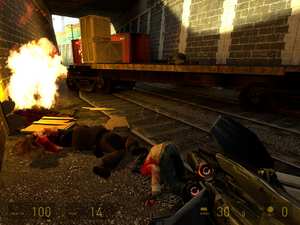
Get back out and carry on, crawling under the next carriage between the wheels. You'll find some more supplies by a corpse and an overturned carriage. Up next you'll find some more zombies by a fire, with a new adversary, the Combine soldier. These guys are basically tougher and better-equipped versions of the CPs you found whilst in City 17. They'll carry shotguns and SMGs mostly, although some, including one here will, upon death, present you with a new weapon, the AR2 pulse rifle! A full stock of ammo is available in the next cart along. The AR2 is like the SMG only each shot is more powerful, more accurate and overall the weapon is slightly slower-firing. Ammo for this weapon will be scarce at the moment but it becomes a lot more common later on, but for now don't use it too often. Up ahead you'll find a large open section of the trainyard, with a car park and a warehouse. In order to get into the car park you have to head to the end of the trainyard and loop around a train cart.
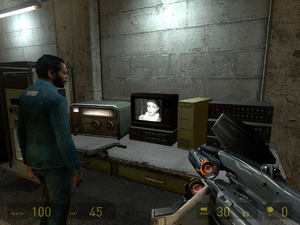
Some Combine soldiers will shoot at you from the car park, ignore them until you get around. Kill them all, and head inside the warehouse. Some rebels will be shooting at some invading Combine soldiers - just help the rebels to kill them. Once the fight's over, the rebels will greet you and one will lead you into a back room with some hurt rebels and a Vortigaunt, and you'll talk with Alyx over a video link. Apparently, Eli and Judith have been captured and sent to a Combine facility called Nova Prospekt - Alyx wants your help to spring them and get them to safety. Unfortunately, there's now many miles of antlion and Combine-infested road and beach for you to navigate before you get there, so you'll have your work cut out for you. Look around to pick up all the available supplies, then approach the door in the corner to get a loading screen and begin the next chapter - Highway 17.