Half-Life 2/Entanglement
Welcome to Entanglement, the tenth level of Half Life 2.
"I'm afraid I'm flying blind here"[edit]
Entering the Combine Facility[edit]
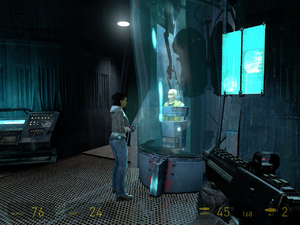
When you land, break the crate for supplies and head through the door. Through the hole in the roof of the cavern you can see the giant monstrosity that is the secret Combine facility in Nova Prospekt. Drop down the hole and on through the tunnel. You'll see Alyx before a train comes along and she runs off. Drop down and walk down the passage underneath the walkway, and Alyx will greet you at the end. Go to the end and Alyx will leap the railings and open the door. Head through the junk-filled room to the lift. Once you're at the top, the doors will open. Deal with the Combine soldiers (ignore the rooms down the corridor as they contain nothing). Alyx won't disable the forcefield for you yet, but follow her into the Combine-decorated room on the right. You'll summon Eli's holding pod in here, so once it's called follow Alyx past the forcefield she disables and up the stairs. Kill the soldiers along the way, and eventually you'll reach the room you can meet him in. After talking with him, Alyx will open the Combine lock on the door up ahead.
Going Solo[edit]
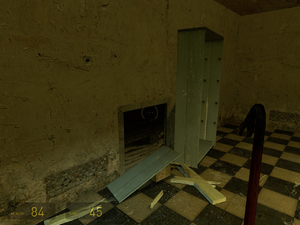
You'll have to go on alone for the meantime but you'll have Alyx's eyes on you most of the time, and her technical expertise to open things you can't. Go into the junk-filled corridor and check the room on your left — kill the two fast headcrabs that jump out and you can pick up a grenade and SMG grenade from the supply crate. Go back up to the big boxes, smash them with your crowbar, and open the next door. You'll have to wait until Alyx gets back to the security station to proceed, but you'll be informed when she's there and you can then get the gate open. Follow Alyx's instructions for the next bit — the next gate is broken and she can't open it, but instead you can use a vent behind some shelves in the office to carry on. There are three headcrabs in this vent, so be careful. At the end, use the gravity gun to launch the grate off and detonate the tripmine below the vent exit. This room has a group of fast headcrabs in it, so kill them and drop down. Alyx will open the gate on the left, but before that, there's a supply crate with magnum ammo in the corner behind the fence, and you can use a smashed section of glass in the panes around the locked double doors on the right to toss a grenade through and displace two stationary Combine turrets that you would ordinarily come across a little bit further into the facility.
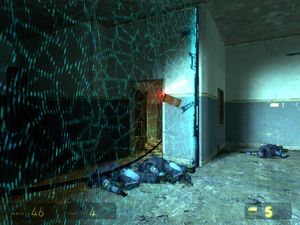
The next room has a gate which Alyx won't open, which beyond has two stationary turrets. Enter the office and Alyx will tell you to look at the monitor, which shows a load of Combine soldiers running towards the gate. Use the office as cover to eliminate them as they come, then toss a grenade down the hall they came from to clear out the turrets. At the end of the hall go through the cramped corridors — around the corner is a Combine behind a barrier. Once you're past that, you'll enter a room with a forcefield in it; there's no other way around, so deal with the Combine then use the ample supply of grenades to throw one into the office and blow out the plug. With the forcefield disabled, go through and around the next corner watch out for the stationary turret. Out the door you will find the corridor you saw earlier, except you got rid of the turrets that right now would be pestering you otherwise. If you go up to the end there's an AR2 secondary charge hiding in the corner. Head left through the door and along for a loading screen.
The First Turret Standoff[edit]
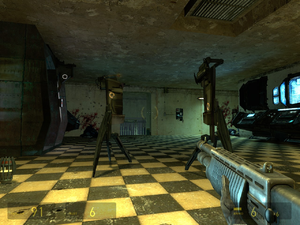
Alyx will inform you that you're coming up to a still-occupied Combine control room — take out its occupants. You'll be informed of more soldiers coming your way; there are a pair of Combine turrets for you to use to defend the control room you're in until the incoming soldiers are dead and Alyx has arrived to shut down the forcefields. The turrets will be reprogrammed to be friendly to you, so don't worry. Placing the two turrets on the ledges to either side of the control room work well, as the Combine can't shoot them down without exposing themselves to them, and any grenades they throw will either pass harmlessly underneath or go straight past them. There's a health dispenser up in the control room as well if you need it. Alyx will drop down soon enough out of a vent above the control room and you'll use a console on the wall to locate Dr. Mossman. What the…why is she talking to Dr. Breen?
"Now we've really gotta hurry"[edit]
Damned Traitors[edit]
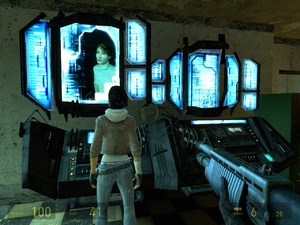
Fantastic. Mossman is a traitor. Alyx will be completely livid, but she'll shut down the forcefield for you. Go down and pick up all the ammo from the soldier's weapons, then head left and down the corridor. Pull all the junk out of the way of the door, then open it and go all the way down the staircase. At the bottom, go into the small room, then through the doorway. Kill the group of headcrabs in here then check the pipes to the right for a supply crate containing a pack of bolts for the crossbow. Go through the door on the left and follow the corridor along until you reach a room with water covering the floor, but this time the water is electrified due to the console. Leap over the railings onto the large pipes, kill the headcrabs that drop down, and then jump across to the metal walkway on the right. Collect some of the light blue barrels and use them to form a bridge across to the raised concrete walkway on the far side of the room.
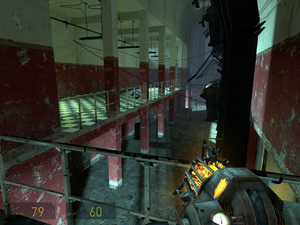
Once you're up there, turn around, look in front of you to the right and on the concrete platform under the two thick pipes is some Magnum ammo. Collect this and head into the next room. The side room on the left contains an electrified fence you should avoid, but kill the zombie in it anyway. Use the health dispenser on the wall if you need to, and collect the two suit batteries in the supply crate. Be wary that more zombies may come in the door whilst you're using the health dispenser. Move the junk out of the way in the previous room and proceed up the staircase as far as you can go (at the very top is a supply crate with a grenade and a secondary AR2 charge). Open the door you find and use the crowbar to move some of the junk out the way, then the gravity gun to move the metal cabinet. In this next hall, open the supply crate for some more suit batteries, then go up the stairs, check the office, kill the Combine and hop over the railings.
The Second Turret Standoff[edit]
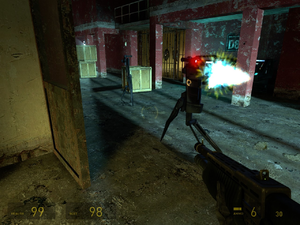
Alyx will inform you of more incoming soldiers. What she won't tell you until you're actually in the thick of it is that there are a LOT more than before. You get three turrets this time, so position them in any three of the corners by the Combine forcefield brackets and cell entrances on either side of the area. There are two middle rooms; one contains the turret holders, and a health and suit recharger, the other contains an infinite ammo crate for the SMG. Side rooms contain medpacks, batteries and ammo. Familiarise yourself with the area quickly, because you will be fighting one of the hardest battles of the game here. The main problem is the sheer number and persistence of the enemies, not to mention that lots of them carry shotguns and are insistent on getting suicidally close to you just to inflict maximum damage. And remember, the health and suit rechargers are limited. This is a difficult battle so don't worry if you can't win the first time; try different turret positions and different tactics until you find one that allows you to survive all the way to the end. When Alyx shows up, she'll open up another gate with another health and suit recharger, so you can heal yourself at least partially afterwards. After Alyx shows up, take 1 turret with you (you can't carry 2). Carry it all the way to the next standoff, punting it with the grav gun if needed. This way, you can have 4 turrets instead of 3 in the next battle. Once you're done, follow Alyx down the stairs and along to the loading screen.
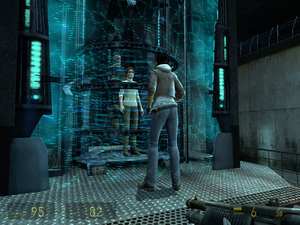
Open the double doors and head down the corridor. If you carried the turret, place it just as you walk in the doors. As you do, the Combine will turn the lights off and throw flares in. Kill all the soldiers then follow Alyx up to the lit stairs. There's another security station up ahead which she'll use to locate Mossman. Once she's done follow her down the stairs to the large Combine door, head inside and Alyx will seal it behind you, keeping out the Combine for a while. Mossman is in the control room just ahead — the two of you will walk in and demand some answers. After some exposition you'll get into the teleporter room, ready to use the Combine's own teleporter to escape Nova Prospekt with Eli. You'll go in, and you and Alyx will help Mossman set the teleporter up. When Eli gets in, everything will be set up and…oh dear. Mossman has stabbed you in the back, again.
The Third and Final Turret Standoff[edit]
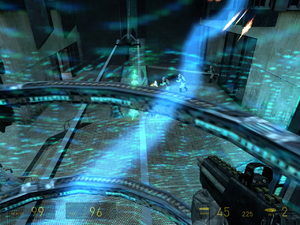
Eli and Mossman have gone God-knows-where and now the portal's got to be reset before you and Alyx can use it to get to Kleiner's lab. Sadly, the Combine aren't going to wait for that to happen and they're trying to barge in. In the corner to the left is some more turrets and a health and suit recharger. Set two turrets up in front of the large doors with the pillars to the right of it, and the other turret in the left-hand corner behind the teleporter, far enough forward so it can shoot at enemies coming out of the entrance behind the teleporter. This standoff is a lot, lot easier than the last one, since you've got Alyx's help and much more space to move around in. Just keep putting back up the turrets when they get knocked over and keep the shotgun handy for dealing with any soldiers the turrets can't get at. Once the teleporter is down, wait for it to open, then hop in with Alyx. You're safe now, but you'll get a brief glimpse at a new enemy, the Combine Elite Soldier! These have white armour with a single red eye. They are a little bit tougher and more resilient to fire than the soldiers or prison guards but most importantly they all carry AR2s with secondary charges! These guys can fire the energy balls at you and although they aren't an instant kill on you, they still hurt. But enough, since you won't properly fight these guys for a while. The teleporter will finish rising, and all will go white.
Kleiner's Lab, One Week Later[edit]
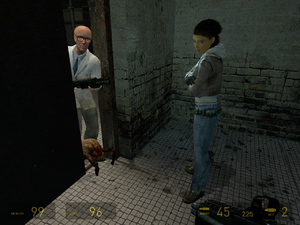
You'll emerge out of the teleport in Dr. Kleiner's lab, as you'd hoped. However, he's nowhere to be found. Turns out he was still there, hiding behind the blast door with his pet headcrab. A whole week has passed from when you teleported out, and when you arrived in the lab! That's one hell of a shock. Once in the main lab, there's a small medkit on a desk and the suit power charger on the wall if you need them. After talking with Kleiner about various things that have happened while you've been in limbo, Kleiner has one more surprise for you - Dog is hidden away in the storage area. After saying hi to Barney over a vid link, you and Dog will head out into the fray in the streets to help the resistance, whilst Alyx helps Kleiner to find Lemarr and escorts them to a safe place. Follow Dog out of the room and jump down the lift shaft to enter a loading screen and the next chapter - Anticitizen One.