Welcome to Highway 17, the seventh level of Half Life 2.
"Shorepoint to N.L.O."[edit]
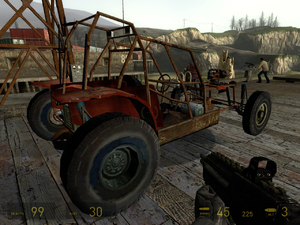
You'll start this chapter by emerging from inside the warehouse's back room into a large loading area with a crane and your new vehicle, the car! To begin with, hop in and the woman in the crane will lower you down off the wooden platform, only for the magnet to fail and you to plummet to the sand. A rebel-operated mounted gun will help take care of the antlions that come to pester you, so use the gravity gun to punt the car back upright. Follow the dark dirt track along the sand towards a slope which will lead onto a grassy section away from the antlions. Use the turbo when prompted to ramp across the gap, and drive up the hill to the main road. Stop at the small shack up ahead just before the road tunnel for some supplies. Note that you should use the SMG whenever possible when dealing with enemies around the car when you're on foot — there's an ammo crate as mentioned on the back which will give you an infinite supply of SMG ammo for you to use. You can also use the car's mounted tau cannon, too; it's quite powerful and will take down antlions in two or three hits.
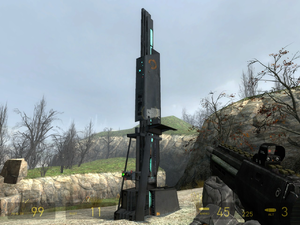
Drive through the tunnel for a loading screen. Be careful when you emerge back in the open that you don't drive straight off the edge of the road — the bridge is out, instead use the slope to the right to go onto the beach. Follow this along and up to the Combine thumper — a ground-pounding pillar which wards antlions away. Get out of the car and enter the house using the cellar entrance to the right (pull the junk away first). Inside kill the poison headcrab on the remnants of the upper floor, and climb up the boxes to the wooden platforms. Hop your way around to the open doorway and kill the poison zombie that emerges. You can pick up an SMG grenade in the fireplace, as well as pistol and magnum ammo in the room that had the poison zombie in it. Exit the house by approaching the front door and knocking off the wooden plank boarding it up, and go back to your car.
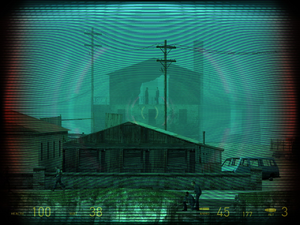
Drive down the slope past all of the wooden fences and follow the dunes along beyond the beached ship to another Combine thumper. This is a Combine checkpoint of sorts, so when you get in the main building kill the Combine soldiers on watch here. There are some more supplies to pick up, and in addition you can look through the Combine observation scope to see the next rebel base, including a brief glimpse of G-Man conversing with somebody on the top floor of one of the buildings. When you're done, collect up anything you need, check the garage and get back in your car. Carry on along the dunes to the next thumper, and take out the Combine patrol fighting the antlions. Inside the building is an old, wrecked boat suspended over an open floor (perhaps for when the water's high enough) with a supply crate in it, and another below it. Both contain two grenades. Go back to your car and carry on along the long stretch of beach until you reach another Combine thumper; carry on past it and up to the rebel base you saw a few minutes ago. A rebel will greet you — get out of the car and follow him to the basement where you'll see the same guy who was conversing with G-Man before. Odessa Cubbage is his name, and don't laugh at it because he'll give you a rocket launcher!
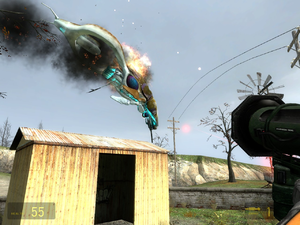
You've now got a tool for taking down gunships, and right on cue, the alarms go off. Looks like one's here for you to try it out on. Gunships take varying amounts of direct hits from rockets to destroy, depending on the difficulty setting. On Easy, it's 3, on Medium, 5. On Hard, it's a whopping 7 rockets. Also, the gunship can effectively shoot down your rockets which is why using the laser to guide your rocket around the gunship's shots is so important (it would also be a bugger to hit such a mobile target with a rocket launcher whose rockets couldn't be guided, wouldn't it?). Circular motions around and around usually does well enough to dodge the shots before you move the laser onto the gunship and wait for the rocket to hit its mark. Make sure you look around the place after its destroyed for replacement rockets and medpacks, then get in your car and someone will open the gate so you can proceed.
On The Road Again…[edit]
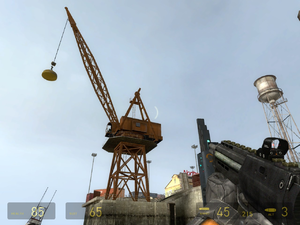
Drive along the road, and when the road forks take the dirt trail (as the road is broken up ahead anyway). Around the corners you'll get a loading screen. Around the next few corners, you can see in the distance the remains of a very tall bridge — you'll be driving under this to the crane loading yard beyond. But first, get out near the rocks and the corpse — there are two supply crates here. Shoot the antlions with the SMG and break the supply crates as each of these contains 3 suit batteries — recharging a total of 90 suit, which is useful since you'll be fighting a few Combine up ahead. Dash back to your car and use the gauss cannon to take care of the antlions, then carry on along under the bridge. When you get to the crane loading bay, kill the Combine further along, and quickly get out and activate the thumper — this will stop the antlions from pestering you.
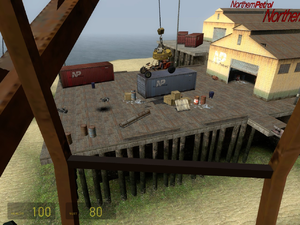
Find the wooden plank which leads up to the wooden boardwalk, and follow this around. Kill the Combine soldier with the shotgun, then climb the ladder and take out two more soldiers. Use the magnum and the suit's zoom feature to snipe the Combine soldier on the boardwalk you just came from and the one on the crane's balcony, then make your way across to the crane. Pick up the SMG ammo and medpack, then pull the lever to drop a ladder down, and climb up to the crane and get in. Take a few moments to get used to operating the crane's arm; it's a bit difficult at first. You've got two goals to accomplish here — first, you have to get your car over to where the Combine soldiers approach from the warehouse (the raised flat area with the shipping crates on it), and second, you need to find some way of getting yourself across there.
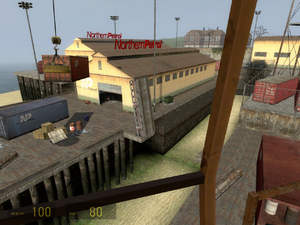
The first is simple enough, just use the crane to begin with to pick up a shipping crate and use that to flatten or whack away the Combine soldiers. Then chuck the shipping crate off the platform, find your car, and pick that up using the crane. Position it over the flat area, then drop it. To get yourself across there, use the crane's magnet to knock over the upright bridge piece so it lands and bridges the gap. Get out and climb down, then walk across. Take out the Combine soldiers in the warehouse, and before you get back in your car, walk through the warehouse to the room at the far side — there's a switch in here you can use to open one of the sliding metal doors you need to carry on. Get back in your car and drive up the ramp outside, and take out the Combine soldiers. Turbo up the ramp and through the window in the open warehouse across the yard.
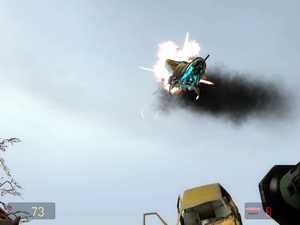
Carry on along the road to the bridge you came to before. However, as you approach it, you'll see a gunship fly over and turn to start attacking you. You don't have the time, cover or ammo to defeat it now, so ignore it and turbo across the gap in the bridge. Drive up the road on the other side until you come to the various cars blocking the road. You can get your car past here, but first it's time to deal with the gunship. Use whatever rockets you have as well as the ones available here (there's an infinite rocket crate in a white van further into the roadblock) to take the gunship down. However, this one seems a little more tenacious than the first one, as it will continue to try and fire at your rockets and won't stop until it either gets hit or it shoots the rocket down. Once it's destroyed, stock up on rockets and health again, and use your gravity gun to punt enough of the cars out of the way or over the edge of the cliff to make a path through for your own car, then drive through. The van wreck up ahead has some supply crates containing medpacks if you need them. Drive on up to the road tunnel, and drive through to get a loading screen.
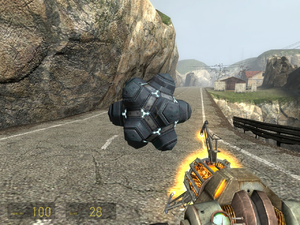
You'll encounter another new adversary here, the rollermine. If you drive into it with your car it will stick to it and slow you down, but it will detach itself when you get out and follow you. This thing basically tries to roll into you (hence the name) and if it does it'll zap you and bounce off. Your normal weapons don't hurt it, but you can blow it up with explosives, or failing that, use the gravity gun to pick it up and fire it into the waters below to blow it up as well. This is probably the simplest way to get rid of them. The house up ahead is another Combine checkpoint — there are quite a few of them around and this time they'll begin throwing grenades about to deal with you. Again, use the SMG to deal with them since whilst you have the car you have essentially infinite ammo for it. Explore inside for some more medpacks and ammo.
More Combine Checkpoints[edit]
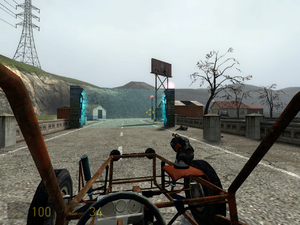
Follow the road along past the various abandoned cars until you reach another roadblock ahead of a large Combine outpost complete with a forcefield that will stop you passing through. Clear the roadblock first of all, but leave you car back here. Approach the grassy hill on the right where the supply crate and tree is and you'll be able to pick up another new weapon, the crossbow! This is essentially this game's stealthy sniper rifle, so you can use it to take out patrolling Combine soldiers up ahead from here (including the one on the billboard ledge; a clever shot will pin him to it, netting you an achievement). The crossbow's bolt will dip over distance so you will have to adjust your aim, particularly when in zoom view, to compensate for it.
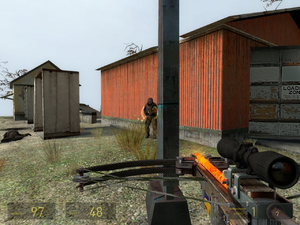
However, the crossbow is powerful, able to kill any Combine soldier with one shot to anywhere on their body, and if they're near a wall or solid plane, will actually pin them to it. Go ahead and make a display out of them if you'd like, but be wary as crossbow ammo is rare and hard to come by. Head on up to the Combine outpost on foot and work your way around to the far end, beyond all the buildings, killing the soldiers. There are a lot of explodables here so watch out and make sure they only take out Combine soldiers. There are also a couple of rollermines by the blue truck, which can get in the way during the attack.
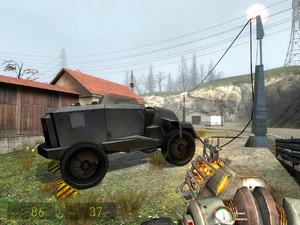
Around the back of the last building you will see an unmanned Combine APC hooked up to a power line across to the forcefield at the bridge — this is powering it. You will notice that there are some black and yellow blocks under the back tires keeping the APC in place from rolling down the slope and over the edge into the sea below…so go ahead and pull them out, and watch it plummet into the water and disable the forcefield. Head back across the bridge to your car and drive it to level with the last building. Hop out of your car, find a barrel and carry it over to the fenced off area with the large white tank on the other side of the road. Climb on the barrel to get over where the fence is buckled and go through to find a rebel who died not that long ago, a magnum and some ammo. Climb back out and drive on up the road and through the tunnel for a loading screen.
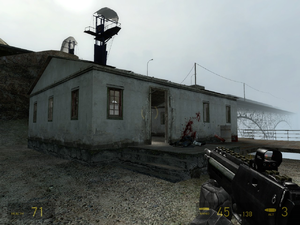
Along the road a lone Combine soldier will come out of the house on the right — just run him over, but don't bother getting out as there's nothing in the house he came from. Carry on up to the fork, where the road goes up to the Combine-controlled bridge, or down to the outpost on the bottom. Go to the outpost buildings at the bottom and take out all the Combine here. If you check the big white house on the right, on the top floor there is a poison zombie for you to deal with, but also a crossbow and a full refill of ammo for it. In order to get up there you'll need to find something large (a bench, wardrobe or table) on the bottom floor for you to hop onto to get to the rest of the stairs up. Once you've cleared the house out, there's also an infinite rocket crate outside if you need it. But there's a Combine forcefield blocking the bridge, so how do you get across it with the car?
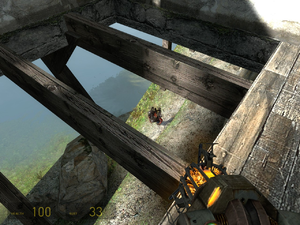
The answer is, you go across the bottom of the bridge, along the beams and scattered walkways, and take out the blockade yourself, then drive across. To get under the bridge you have two choices of path. You can either go round to the back of the big white house and walk down the cliff path (also the way you return by), or you can head to white building with the open roof and go inside. Look at the pulled-up floor at the edge and you can drop down to the cliff path from here. The first route is longer, but gives you more distance to the poison zombie; the second is quicker, but when you drop down you will need to quickly turn 180 degrees and dispatch the poison zombie. Once done, continue on up to the illuminated door in the side of the bridge. Go inside, pick up the medpacks and suit batteries from the desk, then open the door to the right to get a loading screen.
The Bridge[edit]
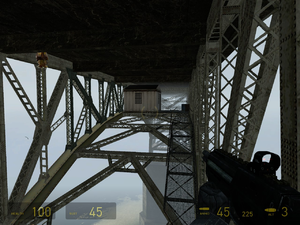
You'll have to make three trips across the bridge; back and forth across the bottom of the bridge, then once across the top. Walk straight to the infinite rocket crate in front of you. You've got two choices here; either go up the stairs and make a daring sprint-jump across a gap to a piece of metal walkway, or take the ladder on the lower level down and manoeuvre across the metal cross-braces to your destination. The sprint-jump is easier and quicker, so take that route. In the first shack, pick up the rockets and kill the headcrab. Use the walkway and cross-braces to get to the metal walkway on the outside right of the bridge, then go up that and down the ladder to the second shack. Use the crossbow to snipe the Combine soldiers that appear by the third shack, replace the ammo you used, then climb back up the ladder and use the metal walkways and cross-braces to get to the third shack. Kill the two headcrabs inside.
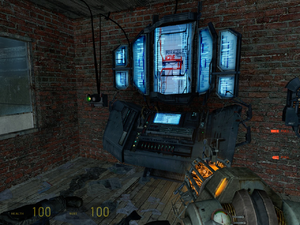
Use the right-hand door and go all the way along the metal walkway to the shack at the other end of the bridge. Go down the stairs and through the door at the bottom. Go along the concrete path and take out the Combine on the walkways to the right. Inside the next building, kill the soldiers and head through the junk to the door on the right. Follow the walkway, climb the ladder, then turn around 180 degrees, look up and kill the soldier on the tower. Head along the walkway into the building again, and take out two more soldiers. Head down the stairs to access supply crates on the balcony above the room you were previously in, and then go back to the other side room with the wooden staircase in it. At the top, you'll find two more soldiers at a control station behind a forcefield — throw a grenade in and wait, then clear up any survivors. Pull out the plug to disable the forcefield, use the health and suit rechargers, then press the green button in the corner. This will disable the Combine forcefields on the bridge above.
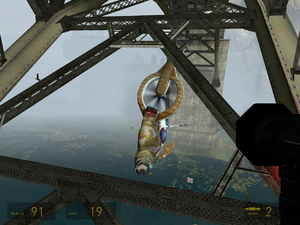
Unfortunately, it also alerts a gunship to your presence. You can fight the gunship here, using the windows, and if you're playing on Easy and all three rockets hit you'll destroy it. Otherwise, you'll have to fight your way back across the bridge and fire rockets at the gunship whenever you get them until it's destroyed. The infinite rocket crates along the bridge are there to help you when you run out. Head back the way you came, using the long metal walkway to access one of the shacks on the bottom of the bridge. In here, use the pieces of walkway scattered along the cross-braces to get to the shack filled with rockets below. A few careful sprint jumps should see you across safely without too much harm done by the gunship, then climb up the ladder. Once here, you can dart in and out of cover using the rockets available until the gunship is no more. Restock on rockets and health then use the ladders and walkways to get back to the other side of the bridge. Go through the building and loading screen, and you'll be back on firm ground.
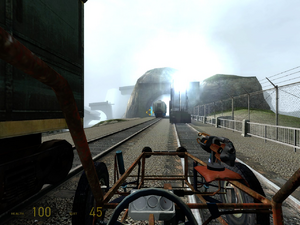
The cliff path is repopulated with a headcrab, a zombie and antlions, so kill them all and make your way back to the car. Back to the fork, then up the slope to the bridge. Build up speed and approach the train carts on the left-hand track. As you drive past them, turbo, because a train will start coming at you on the right-hand track. You should make it far enough to get back on the left-hand track before the train smashes you to pieces. Once past, drive off the bank to the left of the bridge, under the old bridge section, up the ramp and into the tunnel. Around the corner, you'll get another loading screen, and enter the next chapter - Sandtraps.