Welcome to Nova Prospekt, the ninth level of Half Life 2.
Antlions Take No Prisoners[edit]
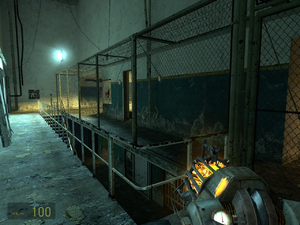
You're actually in Nova Prospekt now. Start by breaking the two supply crates by the door to get some SMG ammo. Through the door you'll get a look at just what state the place is in — it's been around for a long time, that's for sure. Head to the stairs at the far end and go down them. None of the open cells around here have anything in them, apart from the only lit one on the bottom floor which has a hole leading through to an old, battered control room. Jump into the hole, being wary of the headcrab that's just around the corner, and you'll come out in the control room. Out the door, you can see beyond the metal bars that a stationary Combine turret is killing your antlion friends as they come through the hole in the wall on the far side — do them a favour and knock the turret over with your crowbar or gravity gun. They still can't advance much further due to another turret up the stairs, but they'll either handle that themselves or you will in a moment. Follow the "exit" sign (don't worry, you're not leaving this place for a LONG time) and go up the staircase as far as you can go. You'll see the fence on the upper floor is bent, allowing you to crawl through the top of it. This is good, because there's nowhere else for you to go. Get onto that floor and knock over the two turrets up here for your antlions, then head down the corridor.
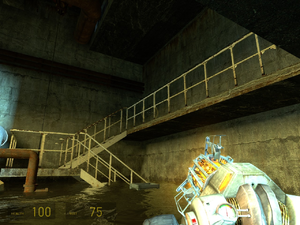
You'll be back on the opposite side of the room you entered in, in the fenced-off area. In the control room here is a health and suit recharger, as well as a surveillance monitor you can use to look at some of the areas you'll be travelling to soon. Go to the end of the fenced area and up the stairs as far as you can go. You can blast the door to the side room on the right away to reveal a supply crate containing some grenades. The side room to the left contains nothing, so turn left and take out the two turrets. Wait for them to stop madly firing, then go through the door behind them. The next room's floor is covered with water, and there are barnacles above the walkways you need to travel on, so kill them and proceed to the next room.
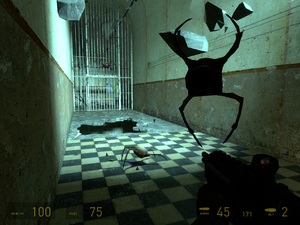
Climb up the rubble and open the double doors in front of you. As you walk forward, a load of fast headcrabs will drop from the roof, so deal with them. You'll be in the room your antlion friends were coming in from before; go around to the other end of the railings and drop down through the broken bit of walkway (be careful, as a turret beyond the bars in the next room may take a few shots at you). Once you've gone down you can enter the bottom of the next room. Use grenades to dispatch the two stationary turrets overlooking this room, then smash the boards by the side of the double doors you can't open. You can't go anywhere on the other side but there is a supply crate containing a grenade, and a lot of suit batteries and a medpack for you to get. Climb back out and head along the corridor at the top of the room (where the turrets were), and you'll be presented with a loading screen.
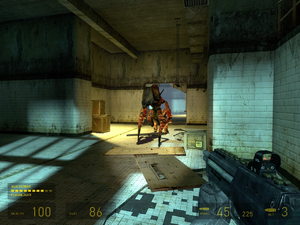
Pick up the SMG grenade on the table and kill the headcrab that emerges from behind the supply crate. Walk down the long corridor to the end, where there's a railing above a shower section. Leap over the railing, and prepare to do battle with another antlion guard. Treat this one like the one you fought before. If you want to quickly kill it, fire three rockets at it, use two explosive barrels in the room it came from, and finish it off with some SMG shots. If you want to challenge yourself, you can even try killing it using only objects thrown with the gravity gun (laundry carts, barrels, radiators, toilets, sinks and so on) — for best results throw the objects at the antlion guard as it charges. It's entirely up to you. Otherwise, find your way into the room the ant guard originally came from, and you'll see a double door behind a load of junk. Move it all, and open them (some antlions will join you here).
No Prison Without Wardens[edit]
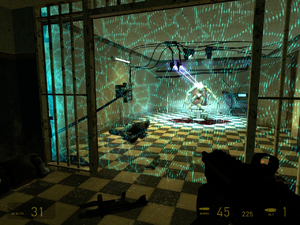
In the next long room, there will be a few Combine soldiers, manhacks, and, at the end, a pair of turrets to mow down your antlions as they get close. Your antlions should be able to deal with the soldiers, and you can use the gravity gun to destroy the manhacks by grabbing them and firing them into walls, and you can pull up and crouch behind an oil drum to safely advance on the turrets at the end before knocking them over. There is another turret beyond the metal bars which will continue to shoot at you and your antlions; ignore it for now. Once you've got rid of the turrets the bar gate a little way back will open and some more manhacks and soldiers will come out. Get rid of them, as well as the extra soldiers who hang back, then approach the end of this room where there is a Combine forcefield in front of a weird laser device that's currently being used on a dead vortigaunt.
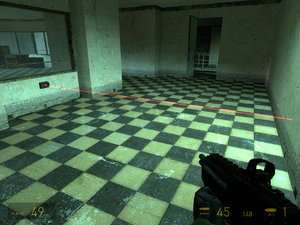
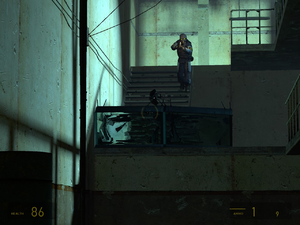
Kill the guards here, then use the gravity gun to pull the plug out and get past. Inside the office is some magnum ammo, and a switch you can throw to open the gate outside the office. Pull the filing cabinets away, and go out the door and through the newly-opened gate. Behind the two large boxes beneath the stairs is a supply crate containing a secondary AR2 charge (you now have the maximum 3 of these you can carry at any one time, so feel free to use one or two of them). Go up the stairs and at the top shoot the laser tripmine to get rid of it. Up here, let your antlions deal with the guards, then approach the switch in the corner of the room overlooking the one you were in earlier, and press the switch to open the gate. Use the door at the end of the tripmine hall to get onto a higher-up balcony in a previous room where you can pick up some assorted weapon ammo including a crossbow. Search the cell marked by the lambda sign, get rid of the new guards on the floor below, then hop down.
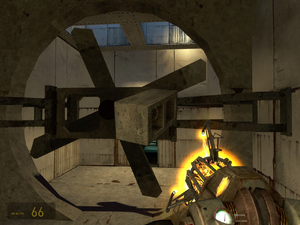
Go to the open gate and get close enough to throw a grenade and evict the turret. Around the corner, beyond the forcefield, are two more turrets and a group of Combine guards — kill the guards and fire objects to knock the turrets over. There are two ways you can proceed here; throw a grenade into the side room to knock out the plug for the forcefield, or go through a vent. Through the vent you will enter a fan room; use the shovel or brick and hold it in the fan with the gravity gun long enough to blow up the fan's motor. Afterwards, crawl past it and through the rest of the vent. Kill the other guard if he's not already dead, pull the plug out if it's not already out, then break the two supply crates for some assorted ammo and health, then head right.
After the loading screen, go up the stairs. Get rid of the tripmines around ankle-height here, as well as the soldiers dotted around the room. Snipe the soldier who tries to take control of the mounted gun at the end, and pick up the AR2 secondary charge on the desk to the left. Head right and along the corridor, and use the explosive barrel to take out the turrets. Go past where they were and up the stairs behind the fence you saw on the right when you first entered the room. Destroy the manhacks and work your way up to the mounted gun at the head of the room. When the guards nearby are dead, head up the stairs and along the back path around to the main section of the room, and then across the bridge to the office and gate on the other side. There is another AR2 secondary charge here, and a switch you can throw to open the gate opposite the office entrance. You can also listen to Dr. Breen berating the Overwatch for failing to apprehend you - an "ordinary human being". You're a little more than an ordinary human being though, aren't you?
The Bane of Sector Seventeen Overwatch[edit]
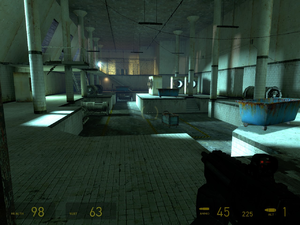
Through the gates that have now opened are some more Combine soldiers for you to take out, and at the end you will get a loading screen before accessing the next room. Use the health dispenser in the office, then go around the corner in the room and take out the Combine soldiers using the beds and stuff as cover. Around the next corner, use a grenade to knock over the pair of stationary turrets. Turn left, and in this large laundry room, take out the guards and the turret at the far end (some more guards will run in through the fenced walkway at the top of the room). Whilst you're here, check the disconnected walkway section on the top left for the stuff the Combine soldier drops, and there are two railings in front of paths leading to a side room on the right-hand side; in here is another dark side room which contains a grenade, and SMG grenade and some crossbow ammo, as well as a health dispenser. Watch out behind you, however, as there is a poison zombie in the dark room opposite.
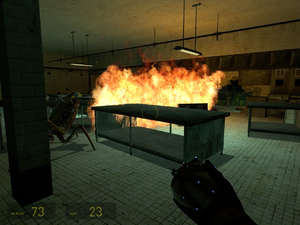
Return to the laundry room and go up the stairs to the walkway behind the fence. In the room beyond, take out the tripmine and the soldiers who run into the room (there are more around the corner) and knock over the two turrets at the end of the dark corridor to the right. You can pick up some suit batteries in the windowed room at the end, but be careful about opening the door as there is another window beyond through which another stationary turret will shoot at you. There's a slightly safer trip-mined corridor around the back of this room that you can use too. Either way, you'll be in the kitchen, where there are two turrets at opposite corners. Pull up a barrel to safely approach the turret then knock them over. When you move around a bit in here, something will explode and some flames will stretch out across the room — ignore these; they won't do anything unless you walk through them. Head through the door at the back, take out the tripmine and let your antlions get rid of the soldiers.
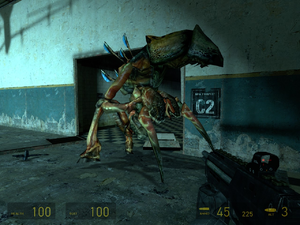
Take out the turrets up the stairs in the open gate across the room. You'll hear a train; the unloading platforms where you're supposed to meet Alyx are nearby! Up the stairs is an open room littered with various objects. You know that isn't good. Go through the open gate on the left and up the stairs on the right to a guard room. Up here are two soldiers, some grenades, and health and suit rechargers. Climb through the broken window to get into the large room below. This game has a lot of set pieces that can be used to predict what you're up against, and it doesn't fail to deliver yet again, as a group of Combine run through the open doors pursued by one more angry Antlion Guard. Use the same tactics as before, just be wary that you have less room to manoeuvre now and the space you have is more open and easier for your enemy to move around in. A few explosive barrels and SMG grenades will do it in nicely.
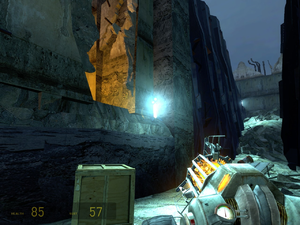
Ignore where it came from as the corridor has mysteriously become a dead end and there are no supplies down there; instead, go to the weird Combine wall at one corner of the room, and pull the junk out of the way of the gate there. Pick up the supplies in the next bit, and carry on through the gates to the section at the end. There is a broken staircase leading down to a dangerous section between two mobile Combine walls; kill the zombie at the bottom, then jump in. Keep moving down here until you see an orange-coloured cavern in some rock on the left; this is where you've got to go. But you don't want to stay here for too long; the walls will eventually come down on you, crushing you. Worse yet, the ledge that leads up to the cavern is too high to jump to. Thankfully, there's enough junk around so that you can make yourself a little platform to use to jump up. Once you're up, head inside, and go across the rubble to a drop which takes you into a loading screen and the next chapter - Entanglement.