Half-Life 2/Sandtraps
Welcome to Sandtraps, the eighth level of Half Life 2.
Lighthouse Point[edit]
Getting There[edit]
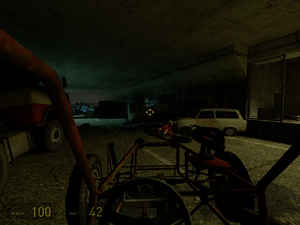
You'll start this chapter in a road tunnel leading through the hills. It's quite dark in here, and for some reason your car doesn't have headlights, unlike the airboat. A short way through you'll find that the tunnel is currently impassible due to the car wrecks, so get out. There are some normal and fast zombies in here as well as some headcrabs so deal with them (remembering to use the SMG - you still have an infinite ammo supply on the back of the car) before beginning to clear a path for you and your car with the gravity gun. The room on the right is accessible via the vent in the side path to the right, so climb through, kill the headcrabs and pick up some shotgun ammo, health and suit batteries. Punt the metal cabinet out of the way of the door before leaving the room to find one final zombie to kill in the tunnel. Once you've cleared a path drive your car through and out into fresh air again.
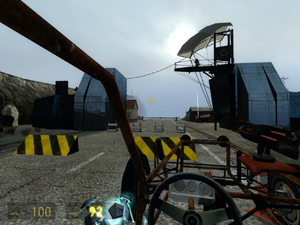
When you get to the overturned truck and boxes just ignore it and drive off onto the grass on the right, and follow this along to the house at the end. Kill the two soldiers, and go around the back to enter the house via a large hole in the back wall. Work your way up, but be careful; when you reach the prize of some suit batteries and crossbow ammo by the corpse on the top level you will be ambushed by two rollermines that fall through a hole in the ceiling. Knock out some of the sea-facing windows and use the gravity gun to fire them into the ocean to destroy them. On your way down, a few more will drop out of inaccessible areas of the upper floors, so just get rid of them in the same way. Alternatively, you can avoid all of the mines if you use the gravity gun to pick up the supply from a distance.
Head back to your car and carry on along the grass until you can rejoin the road. Follow the road until you come to a Combine checkpoint. This one is reinforced slightly, with a tower and a car trap which tries to flip your car, as well as some soldiers and rollermines. Once you've dealt with it all pick up the spoils (there's a health dispenser on one of the towers, too), drive past. Avoid the dip and the hole in the road as if you drive into this you are almost certainly going in the drink, and carry on up to the next roadblock.
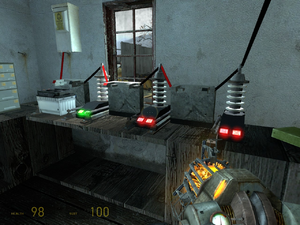
There's a grassy hill to the right of the overturned broken tanker, use that to get past the first obstacle. However, a giant wooden barricade is up ahead reinforced by Combine which you can't drive through. Get out and take cover as the dropships will shoot you on approach, and take out the Combine as they show up. If you go in the building where the power line from the gate leads to, you'll find you need two more car batteries to open the gate. There are actually four you can find — one is right next to the power device on the bed frame. The other three are a bit harder. One is where you would naturally expect to find a car battery — in the front of a car, so find the blue wrecked car propped up on cinder blocks outside the small building and pull the car battery out of it. Alternatively, closer to the gate is an overturned bathtub; punt this away to find your other car battery underneath. The last one is on top of the windmill, shoot the wooden pallet to make it fall down. Once you've put any two in the power slots by the other, the gate will open and you can carry on down the road. Through the long tunnel up ahead is another loading screen, and on the other side you can see the road begin to approach Lighthouse Point.
Farewell Car, Though I Barely Knew Ye[edit]
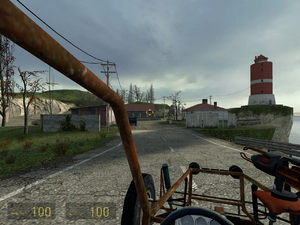
Sadly, once you get to Lighthouse Point you will be informed that this is the end of the road, so to speak, and that the Combine are looking for the car. You'll have to go on foot from here, so park it in the garage, restock on SMG ammo for the last time, and open the door to get back outside. The rebel will inform you of an incoming attack on Lighthouse Point, and you've been volunteered to help them fight it. Great. Sure enough, after a few moments some cool action music will begin and the dropships will start appearing. Take cover whilst they approach and leave as they will fire at you, then dispatch the Combine soldiers they drop. Stick to using the SMG, AR2 and shotgun, as they are the weapons used by the soldiers. You have to survive four dropships and four waves of Combine before a gunship shows up to top the battle off. Make your way to the lighthouse, and begin ascending it; the rebels mention that there are rockets for your rocket launcher at the top of the lighthouse, which is nice and conveniently the most EXPOSED and dangerous place to fight the gunship. Use the usual tactics to destroy it, and once it is, a rebel will show you to the secret cliff path you need to use to carry on to Nova Prospekt.
And Now, Why The Chapter Is Called Sandtraps[edit]
Stock up on rockets, ammo, health and suit power before following the rebel all the way to the basement, where he opens a secret door in the wall. This leads to a very narrow series of rocks jutting out from the cliff — it's very easy to misjudge a jump or a step and end up falling to a watery grave. There's a supply crate perched precariously along here, and also a headcrab below one of the ledges — it might not ever get close enough to jump at you, but you can kill it anyway if you want. Go through the passage in the rock to a loading screen.
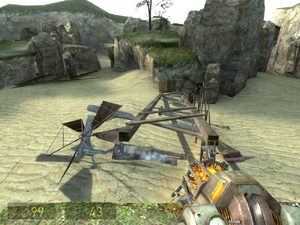
On the other side, take a leisurely walk up to the rocks, where you will meet two rebels; one in a state on the sand, the other crouching on the rock. After an antlion ambush he'll inform you of what they were trying to do, and you'll be told beforehand not to step on the sand. If you do, it will summon a load of antlions to attack you, and they will keep appearing until you're off the sand, or dead. Carry on along the rocks — you will have to use several carefully-placed jumps to navigate the various rocks and debris necessary to get across the sand without alerting the antlions. Keep heading along the rocks until you come to a contraption built out of wooden planks. Here, you've got to weigh down the side you're currently on so that you can sprint across the planks and jump up to the tall rock on the other side. There's a lot of junk just in this little area so use the gravity gun to pull it to you, then stack it on the side of the planks. If you alert the antlions be careful as they may manage to knock you off the planks, thus summoning more antlions.
Once you're across, kill any antlions that appeared, and carry on up the grassy rocks. There is a shack on the right-hand side up ahead, but be warned that if you choose to go to it to pick up the supplies you will have to use the debris on the beach below to make your way back (or you can just make a mad dash across the sand). There is a lot on offer, though; a full refill for magnum and shotgun ammo, a lot of suit power and health and some pulse rifle ammo. It's up to you as to whether or not the reward justifies the risk. Either way, once you're back on the rocks, observe the various shacks and boardwalks up ahead; drop off the rock you're on onto the rock below, almost at sand level. Use the debris to form a chain of platforms to the sloping boards up to the grassy rocks by putting something down, hopping across, then pulling up what you just jumped from.
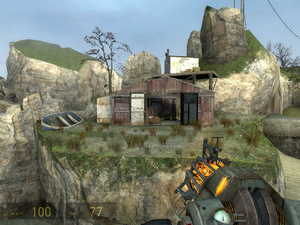
Once you're up, inspect the shack for some suit batteries. There's an infinite pulse rifle crate in the shack just back from here. You'll have to visit here if you want the lambda locator. Pile up some rubbish, climb onto the open-roof brown shack and then make your way up to the white shack above. If you choose this route, you'll have to make a run across the sand or make a chain of debris again to get back to safe ground. Either way, make your way to the shack with the generator. Turn the generator on to make the Combine thumper active again. You can pile up debris to get across to the rocks beyond the thumper or, now that you have some protection from the antlions, make a dash across the sand. Deal with some of the antlions once you get to the thumper, pick up some supplies, then dash across to the slope by the rock formation up ahead. Once on the grass, go and collect all the supplies in the crates along here and use the gravity gun to pull as many explosive barrels as you can find up to you for use in the next section.
Enter...the Antlion Guard![edit]
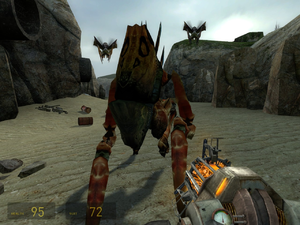
Once you've got all the supplies, turn around and head back to where you left the explosive barrels. Drop them over the other edge of the rocks and jump down after them. The creepy music will start to play, heralding a new enemy. Approach the centre of the area and here it comes…the Antlion Guard. This is one of the strongest enemies in the game, second to perhaps the Strider. It will occasionally call some normal antlions to assist, and can bash objects around its arena, or charge at you. The charge is particularly powerful and is capable of knocking you backwards quite far, but then, so is being hit by an explosive barrel; it's probably a good idea if you use up the explosive barrels by hitting it before it uses them against you. Blow it up with rockets, grenades or barrels, shoot it with the SMG or AR2; anything is good since you'll be able to use a more indirect form of attacking your enemies for a short while soon.
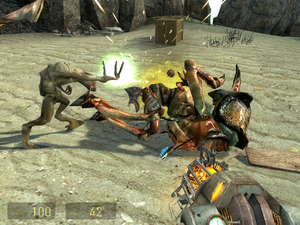
As an alternative, you can always go to the far end of the arena and get a little help from the rebel gunman above the doorway on your left as you approach the centre of the arena. You will still have to work for your kill, but this makes it a bit easier. If you keep running around, avoiding the charge attacks, you could even defeat the beast without firing a single shot or losing a single health point as the gunman will eventually take it out all by himself.
Once it's dead, a Vortigaunt will come out of the door below the rebel and greet you. Follow him, and he'll ravage the corpse of the Antlion Guard to extract some pheropods...otherwise known as the bugbait.[1] This will serve as another weapon for you to use, but its much more indirect than your guns, and only useful where there are antlions. Go inside the base once you have the bugbait, and when you get to the two Vortigaunts talking by "flux shifting", check around for supplies. Follow the Vortigaunt up to the main cavern, where you'll be greeted by another rebel overlooking the bugbait training area. Go inside with the Vortigaunt, and you'll be given a very brief training session in how to use it. Once you're done, you'll be able to access a long cave path which will lead you even closer to Nova Prospekt.
"Priority Warning: Perimeter Restrictors Disengaged"[edit]
Breaking into Nova Prospekt[edit]
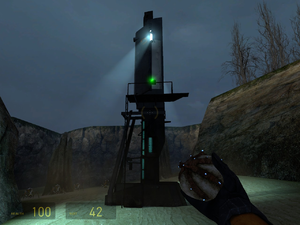
At the end of the long cave path will be a group of four antlions you can coax to follow you using bugbait. Once outside, head over to the thumper, and…turn it off. This seems a little weird doesn't it? Just a moment ago you were turning these on to save your life, and yet…never mind. Once it's disabled, get your antlions to follow you along the beach. Disable the next thumper too. Ahead, on the hill to the left, is a bunker with a mounted gun; throw bugbait up there to coax the antlions to go up and take out the soldiers in the bunker — you'll notice that these soldiers have subtly different-coloured armour compared with the normal Combine soldier. These are prison guards — they're not much different from soldiers apart from more of them carry grenades and they'll use them more often, and they prefer shotguns a lot more too.
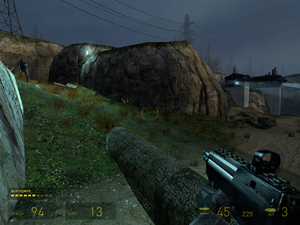
Once the bunker's been wrecked, collect the supplies behind it and deal with the Combine that appear elsewhere, then carry on around the next finger of rock. The next bunker is on a tower overlooking the beach, so unfortunately you or your antlions can't get up there to take it out. Use the rocks around the base of the beach to hide from the mounted guns and take out the Combine around here too. Make your way across the beach, then when you can see the hill to the right of the bunker with the two boxes on it, sprint across the beach and up here, and take out the Combine operating the guns. You can't go any further along the beach here, as there is a rock face and more bunkers with mounted guns. Instead, get the supplies and head inside the concrete bunker behind the one with the mounted guns. It's dark, so use your flashlight. Switch to the SMG or AR2 and work your way through, letting your antlion friends take out some of the guards. You'll emerge near some of the other mounted gun bunkers at the end of the beach.
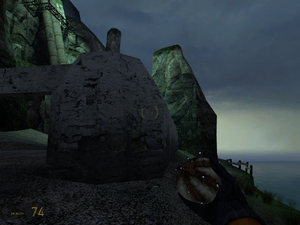
Take out the soldiers around here (watching out for the higher-up mounted gun attacking you as you approach the nearby bunkers). Go inside the bunker facing the sea and use the mounted gun in here to kill the Combine operating the mounted gun in the higher bunker, then go out and follow the cliff path up to it. Go inside the bunker and head around to the exit that leads into a grassy area at the base of the next cliff. Approach the path that leads up to where the dropship is to call forth a wave of Combine soldiers — sprint back and use the mounted gun facing that side to take them out, then once the initial few are dead deal with the rest using your SMG (they'll keep spawning until you push up). Once you've taken control of the next bunker the dropship will leave. Take out the remnants of the Combine and approach the path by the shoddy wooden barrier.
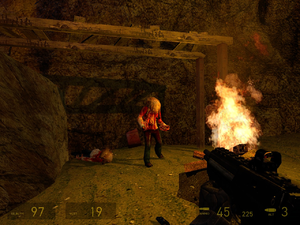
Up ahead, use the wooden pole to jump across the gap — below is a nice large body of insta-kill water that you don't want to go for a swim in. On the other side, approach the fire and kill the two zombies lying around under the wooden walkway. Use the crowbar or gravity gun to knock out the two wooden poles holding the walkway up, and you can then use it as a walkway to get up to the next level of grassy rock. Up here, use the crowbar to take out the soldier near you and just approach the one nearer the cliff face to have your antlions jump up and maul him to death. Find the ladder at the base and climb up yourself. Your antlions will probably leap up to the top of the cliff at this point and start attacking some more unseen soldiers up here; if they die, they'll find you again, otherwise they'll reappear at some point whilst you're making your way up there yourself.
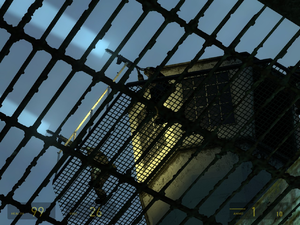
Leap across the gap over the grassy rock and the small fire you saw before, and follow the narrow, winding rock face path up to the large drainpipe at the top. Inside, walk further in for a loading screen. Move into the intersection, zoom with your crossbow and snipe the three Combine on the watchtower above the grate; move through the pipe to the next intersection and again snipe the Combine on the second watchtower. Find your way to the end of the pipes, break the supply crates, and then climb out of the water (note: water = bad for antlions). You should now only have to deal with the Combine on one of the watchtowers, but save your rockets as you'll need them in a bit. The moment a Combine sees you the alarm goes off and you'll have to fight your way through. Go up the stairs and deal with the Combine soldiers at the top.
Double Gunship Trouble[edit]
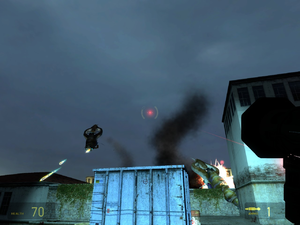
Unfortunately, the alarm will go off and a gunship will show up. Around here you can pick up an extra rocket or two to help fight it, but before you kill it, it might fly over the buildings and a second gunship will join the fight. However, if you are very quick and accurate, on Easy or Medium difficulty you can take one out before you even see the second one. Go around the buildings, picking up the first ammo you'll find for the AR2's secondary fire; a Combine energy ball that bounces off walls for a short while and spells instant death for anything vaguely human, antlion or zombie it touches besides you (although against striders, gunships and antlion guards, it doesn't). Keep going, a room in the corner of the building contains a health and suit recharger, and another secondary AR2 charge. Avoiding two gunships and the Combine soldiers is difficult; until you can get more rockets you absolutely must use every available piece of cover.
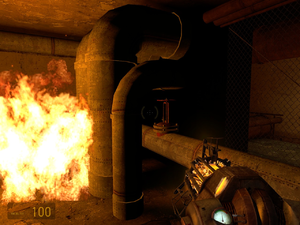
There's a dumpster around the back of the building, in front of some more stairs, that is essential for hiding from the gunships. Recharge your suit's power, then sprint up the stairs. You can try and find the gunship you were initially firing at, since by now you'll have enough rockets to take it down if you're on Easy or Medium difficulty. Otherwise, just keep moving to find the nearest piece of cover to the infinite rocket crate and stay there until both gunships are history. Don't worry if you're having trouble with this — on both Medium and Hard both gunships are extremely difficult and time-consuming to destroy, and cover each other remarkably well. Once they are both destroyed, collect up all the supplies you can find and head to where the large water tank was. Climb up to the hole and use the valves inside to turn off the gas fuelling the flames to get past. Once you reach the door at the end, open it and go through. The room you were just in collapses, and you cannot turn back. Time to enter the next chapter - Nova Prospekt.
- ↑ Do not put an explosive barrel in the Vortigaunt's aiming direction: this will cause the game to crash, losing any unsaved progress.