Welcome to Water Hazard, the fourth level of Half Life 2.
"Station 12, do you copy?"
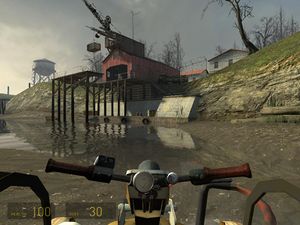
Continue to follow the river, and you'll go over an edge and fall to some clean water closer to the outside of the city. At the bottom of the drop, a short way along past the barrels, you'll find a lambda symbol sprayed on a wall to the right of the river. Get off here and you'll find a ladder that you can climb to reach two boxes of pistol ammo, yielding a total of 40 bullets. Head back down, get back in your boat and carry on outside (drive into the wooden planks to smash them). You'll see a large red barn up ahead — drive up to it and stop at the steps at the base. If you look carefully as you approach you can see G-Man looking at you before he disappears again. Once you're there, get off and head along the concrete until you reach a ladder up to some stairs, which lead up to the walkways outside the main entrance to the barn. At the top, inside you'll see the barn contains lots of barrels and two zombies. Shoot them in the head a couple of times with the pistol to kill both them and the headcrab (remember this with zombies, you don't want to kill a zombie only for the headcrab part to come off and start attacking you on its own).
Once they're dead, head up the side of the steps still intact and traverse the planks at the top of the barn. Be careful at the end, as a headcrab will drop out of the ladder and attack you. Head up the ladder and use the crowbar to dislodge the barrel blocking the wheel, and a group of supplies will plummet into the water for you to collect; some pistol and SMG ammo, and a medpack. Head back down to get them, then get back on your boat.
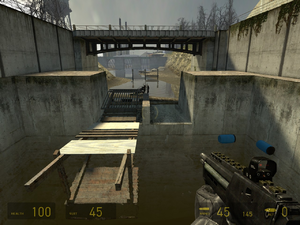
Carry along the river, using the wooden walkway section as a ramp to get over the fallen walkway, and drive into the wooden barrier to smash it. Once you reach the drainage section, stop and get off. A man on the bridge will shout to you and drop some more supplies. As you can see, there's a ramp here that you use to get up to the higher ground on the other side of the drain, but it's not in the right position — you need to tilt it up a bit more. Look to the left and you'll find a tunnel drain which you can get into. Follow it along and around until you're at the higher point of the tunnel in the main section with the ramp, and you'll see there are two blue barrels. Push both of these into the water beneath the ramp. If you look carefully you can see there is already one blue barrel inside a sort of catching box underneath; you've got to put the other three in there. The other blue barrel is in plain sight to the left of the ramp, on the concrete. Once all barrels are in position, the ramp will be useable. Get back in your boat, back up a bit, then use it to jump across the water up to the higher ground.
Dangerous Poetic Labels
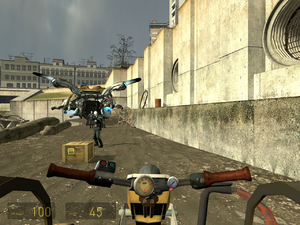
Break the wooden barrier by driving through it. As you turn the corner, Combine dropships will fly overhead — they're going to drop CP units up ahead to try and stop you from getting any further. Weave in-between the various piles of dirt and debris (the Combine obviously don't think much to keeping their canals and rivers in good shape) and when you get to the dropped-in metrocops just run them over with the airboat to kill them (you need to be travelling fairly fast though). You may also notice another lambda symbol on the right by another open drainage tunnel; pull a barrel up to jump on, and climb up. Follow the tunnel along (you have to go underwater along the way) and at the end is a small cavern with some supply boxes and a zombie for you to deal with. Head back out and get back on your airboat. Head around the sharp corner in the canal and make sure to plough into the metrocops as they rope down from the canal's bank on the right. Get up some speed again, turn the right-hand corner, and use the tall wooden ramp on the left to jump across the pit and smash through some wooden supports holding up a load of junk on a wooden ledge above the polluted canal.
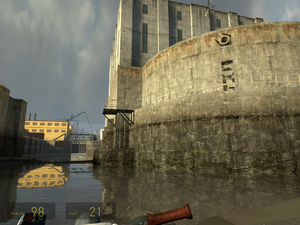
Up ahead, you'll see some more CPs trying to shoot at you from another wooden ledge — don't bother stopping to shoot at them, simply drive through the weak wooden supports beneath them and you can hear their typical death radio sound as they fall into the slime below. Carry on after the loading screen along the various turns, making sure to ram the CP off his wooden platform up ahead by driving through the supports. However, your progress from here is hampered somewhat by a giant concrete gate. Get off your airboat here, go up the steps and ladder and around the walkway to the door which leads into the gatehouse, as it were. Once you're inside, approach the door into the main section of the building and you can stop and listen to one of Breen's broadcasts about the "dangers of magical thinking" over the Combine monitor. Anyway, head on through. On the opposite side of this larger room (which is a garage of sorts), there is a small side room with a weird medical chair, but the table holds a few grenades and some SMG ammo. A second side room next door also contains supplies.
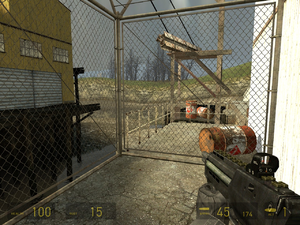
Back in the garage, head around and deal with the two CPs, then continue through the doors on the left, killing the CP and destroying the manhacks. Here you'll find a health dispenser and an infinite grenade crate. Open the door, and you'll be attacked by a CP with a mounted gun on the far side of a store yard outside the building. Sprint between cover approaching him until you can get close enough to displace him with a grenade. Alternatively, crouch down behind the cart on the left and push it along until you're in range of the CP. Inside the far building, deal with the three CPs; there is another health dispenser and a load of grenades in here for you to use, then head out the door to the left. The mechanism to open the gates is broken, but thankfully you have another way to open them; stand back, away from the explosive barrels past the wire fence to your right, then shoot them to release a giant swinging pack of girders which will knock the gates open for you.
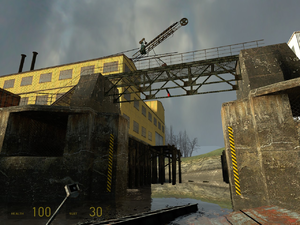
Unfortunately, this then triggers the alarms and the familiar sound of dropships will fill the air once more. Quickly head back through the building to the mounted gun. There are a group of CPs at the other end of the yard who will start firing at you, but thankfully you now have the mounted gun to use; this will quickly mow them down whilst keeping you in relative safety. Once they're all dead, head back across the yard and enter the building from before. Some more CPs will be set up in here, so use grenades and the SMG to deal with them; also watch out for the metrocop who has assumed control of the mounted gun in the corner — use a grenade to displace him. Gather up all the extra ammo and head back out the door to the outside. Climb down and get back in your airboat, and drive through the now open gates. Make sure you drive across the boxes in the water, as these are supply crates which contain some suit power.
APC Madness and More Gates
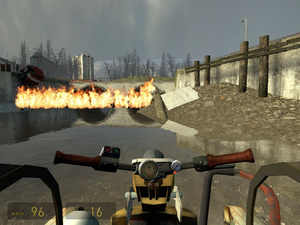
Carry on along the river. You will have to stay moving now, as there are a lot of things shooting at you from here on; there is a CP on the bridge which you can't kill without getting out so just ignore him and drive off the edge of the ground underneath. You will see an APC firing rockets at you on the far bank; just ignore it and keep moving to avoid its rockets. Follow the canal along and run over any CPs who decide to rope down in front of you. After the various bridges there will be another APC at the top of some large drains; ignore this too and swerve to dodge its rockets as they come towards you. As you approach the debris up ahead you'll notice that some fire starts to spread along it; quickly align yourself to use the dirt ramp to the right to leap over the wreckage and go through the tunnel under the bridge. Yet another APC will be waiting for you around the corner, and will be blowing cars and all sorts towards you. Dodge it and just make a dash for the tunnel beneath them. Once you're in there, just follow the river to the next loading screen.
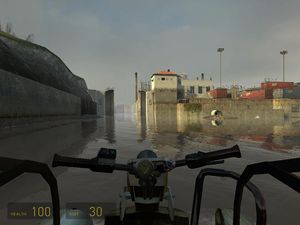
Up ahead, head to the right to get around the pillars and the wreckages and you'll find another lambda symbol — some more supplies. They're held in the cage just above the symbol, but out of reach. Opposite this cage, in the shade of the pillar behind you, is another cage with two cinder blocks in it. These are winched together, so if you take the two cinder blocks out of the lower cage, it will rise and the cage with the supplies will fall for you to collect. Once you've got them, hop back in your airboat and carry on along the canal. Around the next bend, past all of the dirt piles and through the next bridge tunnel you'll be outside again, approaching another large, but this time open, gate. Unfortunately, an alarm will go off as you get near it and it will close. Great.
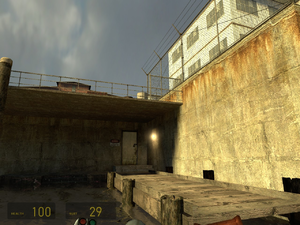
Ignore the CP firing at you for the mean time and drive your airboat to the right, to the shaded dock area. Get off here and run inside through the door (use the pistol or the crowbar to knock the padlock off first). To the left inside you'll find a desk with a new weapon, the .357 Magnum! This is a very powerful pistol, but it is slow-firing, very slow to reload, and ammo for it is pretty rare — so use it wisely. Thankfully, some CPs will run in through the door ahead, giving you some nice targets to try out your new friend on. As you can see, one shot to pretty much anywhere on a CP with this pistol will kill them. Once they're dead, head on through the door and around the fenced area to the stairs. At the top, kill the metrocop, and you'll find that all of a sudden there's a helicopter. This will manoeuvre itself around the various obstacles in this maze of shipping crates to get a clear shot at you, and every so often it will unleash a barrage of shots which will shred you in no time if you're in its line of fire.
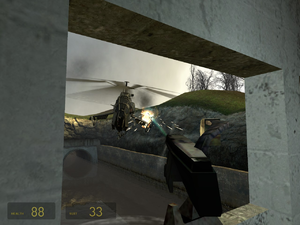
Find your way around this maze, dealing with the CPs as you go until you get to a warehouse. Deal with the CPs inside and the manhacks, collect the various supplies around the warehouse, then use the steps to get up to the top of the shipping crates inside. Use these to jump across to the doorway on the other side of the warehouse, and from here, head up through the rest of the building (avoiding the large windows where the helicopter can shoot you from). At the top, you'll find some stairs heading down and some more CPs to deal with. At the bottom of the stairs, you'll find a health dispenser and a suit recharger, so use them before heading back outside. Out here, the helicopter will begin chasing you again, but this time there's much less cover for you to use, so be quick. Follow the path around to the gate control building, killing the metrocops on the way. Once you get there, firstly climb the ladder and kill the guards, then use either of the two mounted guns to shoot the helicopter until it flies off and leaves you alone. Once that's done, hit the gate control button and use the path out to the balcony overlooking the docks to get back to your airboat.
Helicopter Dodging
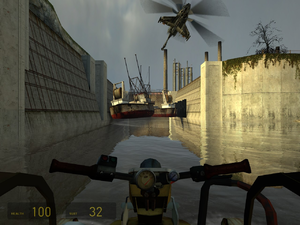
Once you're in your boat, drive back around the building to the gate you just opened and head on through. Sadly, only a little ways past it another helicopter will fly overhead — yet more harassment. This one will fly in front of you and drop mines to try and blow you up — and it hurts pretty badly if you drive into one by accident. Use the bank of the polluted river in the bridge section to get over the wall, and once the helicopter realizes you've survived its mine bombardment it will try to shoot at you as you get away. Go left and head into the pipe up ahead and round the corner to get away from the helicopter temporarily, and get a loading screen. After it's done, you'll be back outside, and the helicopter will be back to harass you more. Head left, and you'll get some cool chase music to accompany your dash along the river whilst dodging the helicopter's mines. If at any point you can't see the helicopter, the ring-waves its blades make on the water should be able to tell you where it is above you and can help you predict where its next mine is going to drop. When you reach the large pipes, head into them to get another brief respite from its mine bombardment and gunshot barrages. At the end of the pipe section you'll go through a small outdoor section, then back into some underground pipes for another loading screen.
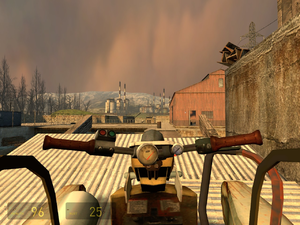
Once it's over, carry on through and you'll see that the helicopter is thoughtfully waiting for you outside the pipe. Head outside and it'll begin harassing you with mines and gunshots again; just follow the canal along, and use the logs on the left as a ramp to get over the large concrete steps. Once you get to an open area, head right, along to the bridges. Carry on along the channels, using the sides to avoid some of the mines that land in the narrow water section. At the end, head left, and a short way later, head right. You'll come to a left-hand turn at the base of a crane; there's a wooden barrier on the right-hand side that will serve as a turning ramp you'll need to clear some of the debris around the corner, and make it onto the concrete balcony outside the large shed. Once up here, drive your airboat inside and on to the lift thing. Use the health dispenser and suit charger in the corner, then use the wheel to lower your airboat into the channel below. When it's down, hop down yourself and get back in. Head along the polluted channel and through the gate. In the large open area up next, some headcrab shells will be fired from the bank in the distance; these won't hurt you but they will knock down one of the large chimneys; don't worry though, approach it with enough speed and you'll drive straight over it. Carry on around the bend and you'll see another pipe up ahead, being guarded by yet another APC. Weave between its rockets and head into the pipe. Around the bend, you'll get another loading screen.
"The Freeman will accept this weapon, or suffer greatly"
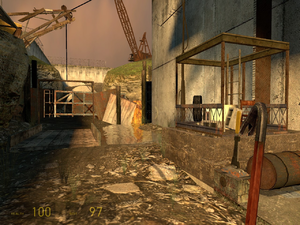
Once you've got control of the game again, head along a little way and stop the airboat and get out. This is a small, closed area in which a large metal barricade will stop you from getting any further. Fortunately, there's a ramp set up which will allow you to get past once you've solved the small exploration puzzle that comes with it. By the ramp and barricade you'll notice a sort of cage with a lever by it and a supply crate on it. Using the lever will release the cage and it will move up or down in accordance with the amount of weight in it, in turn raising or lowering the ramp you need to use to get over the barricade. First of all, dump all the junk you can find in it — this includes the chair and cinder block by the cage and the oil drum on the ramp. Next, head back to the pipe sections and you'll notice a ladder leading up in between two of them. There's a supply crate nearby with a zombie guarding it, so watch out. At the top of the ladder, drop down from the ledge onto the top of the pipe section and cross the wooden bridge to the ledges above the cage. Drop down onto the ledge with the washing machine on it. You can't lift the washing machine, so it should be suitably heavy to keep the ramp up, right? Shove it straight off the edge of the ledge and into the cage, which will plummet straight to the bottom. The ramp is now usable, so get back to your airboat and use it to get over the barricade. Past the barricade, go left and follow the junk-filled tunnel to a small rebel base gate. They'll let you through, so park up your airboat and head up the wooden walkway to meet your rebel friends, including a Vortigaunt who will greet you. Go inside, and you'll be given a small briefing on where you're going, and that you'll be getting a little more "firepower". Go outside and the Vortigaunt will finish attaching a Combine machine gun to your boat, the same weapon that the helicopter chasing you is using to try and kill you.
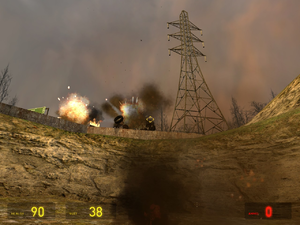
Once that's done, get in, and the rebels will say their farewells and let you through. If you are really interested then you can talk to the Vortigaunt using your action key, and you can listen to a long list of ambiguous phrases. Otherwise, head on along and the helicopter will be outside to greet you, just like before. Only this time it will go away pretty quickly when it receives a load of fire from your new weapon. Follow the polluted river around to the right, using the fence ramps to get around the steel gates that the CPs drop to try and stop you. Up ahead, there's another APC waiting for you, but now you can use your gun to shoot it — if you unload all your ammo on it (don't worry, it regenerates ammunition) you can destroy it. Follow the river along, using the gun to deal with any CPs along the way (it makes light work of them). Head into the tunnel for another loading screen.
When you get outside again (notice that a supply crate you run over on the way contains your first SMG grenade, which is secondary ammo for the SMG), shoot the next APC to pieces and deal with the CP nearby too. Drive towards the next tunnel, and once you're through that, you will see a dropship attempting to drop another APC up ahead. However, you can shoot this one down before it even has a chance to fire at you. Through the next tunnel, you can shoot some barnacles down off the bridges above you, and you can glimpse another appearance of the elusive G-Man on a metal walkway to the left. Carry on along the river until you get to a fork. Shoot the CP here, get off the boat and go right. Along here will be another lambda symbol and some supplies for you in the sort of shack up the ladder to your left, but you will be ambushed by a zombie and a load of headcrabs. Once you've got the goods and killed the enemies, go back to your boat and head left.
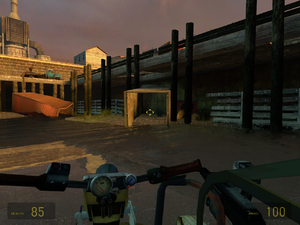
Head up the sharp banking corner, as there is a ramp at the end which leads into another tunnel. In here, mince any zombies you see with the gun, and in the next open area under the bridges kill all the CPs you see and dodge the explosive barrels that they roll down the slope. Once you're on the concrete, head around the corner and deal with some more metrocops, and then head into the next tunnel. In the next area, stop off at the shipping crates on the shore — the one with the white barrel in it contains some health and suit power. Along the river, past the beached ships, there's a small open water section with two APCs for you to deal with. Just focus on one at a time and circle around to avoid taking some of the damage from their rockets. Once they're both down, get out and find your way into the area under where the APCs were. Head your way along to the end of the water section, where you'll find a shipping crate with a pair of explosive barrels in. Shoot these to blow the doors off the crate, then drive your airboat through. Follow the water along to the ramp at the end that you passed a short while before and use it to jump across to the next tunnel. When through it, go to the left to the bridge, and keep going.
Helicopter Finale
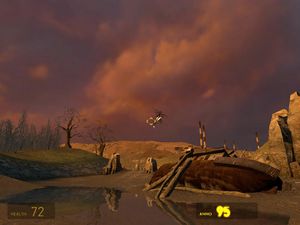
After the loading screen, carry on through to the large open water-and-dirt section littered with rocks, where your old friend the helicopter will be waiting for you on the landing pad at the far end. Now you have the means to deal with it, so approach it and watch out for the various explosive barrels and nasty debris in the water. This time the helicopter will show absolutely no mercy and will drop ridiculous numbers of mines down to get you — it's pretty much a like a sprinkler, only the water droplets are mines half the size of the helicopter itself…that's strange. Where does it get the room? Anyway, it's also quite tough, it takes about five or six full unloads of your airboat gun to bring it down. Your best bet to maximize damage is to wait for it to start dropping mines, then wait for it to get close and run out before firing, as the spread of the gun is quite large.Once the helicopter is destroyed, head over to the gate below the landing pad. Climb up the ladder and turn the wheel to open the gate.
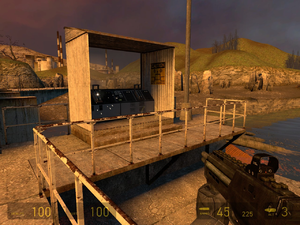
Leave the airboat behind momentarily and go across to the ladder by the wooden walkway. Climb up it and head across to the large barn/shed. Deal with the CPs inside and outside, and once you have you can raid the ammo stores in the shelves in the barn for pretty much maximum ammo for all of your current weapons, as well as using the health and suit recharger on the back wall. Head back outside once you're done, and around the back of the building you'll find a wooden walkway across to the dam/drain system that was originally on the right of the watery area where you fought the helicopter a minute ago. Once across, go along to the gate control mechanism and use the working switch to open one of the gates in the dam.
While the opening in the large watery area is well above the water line, there is a ramp in front of it. Head back to your airboat, and use this ramp to get through the gate and into the waters on the other side. Once you land, you will commence the next chapter.