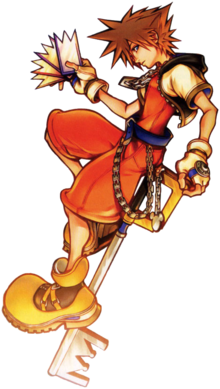
Guard Armor[edit]
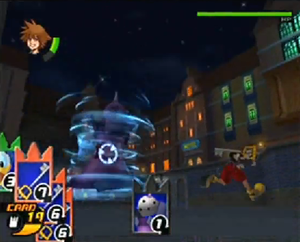
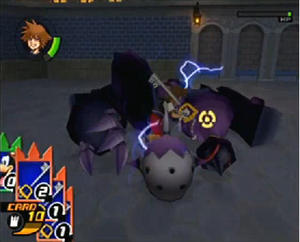
- HP: 200
- EXP: 48
The battle will begin in Traverse Town after Sora, Donald, and Goofy have a conversation with Cid Highwind. Cid tells them that when the bell rings three times, a large Heartless will appear and come to attack. Cid advises them to leave while they can and he leaves the three to speak among themselves. Sora believes they should stay to see the Heartless while Donald and Goofy wish to follow Cid's advice. The bell will then ring three times (whereas in Kingdom Hearts, Sora, Donald, and Goofy were actually the ones to ring the bell) and Guard Armor will show up.
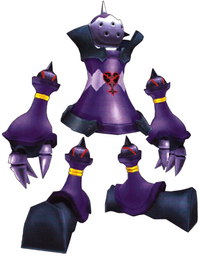
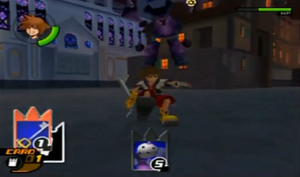
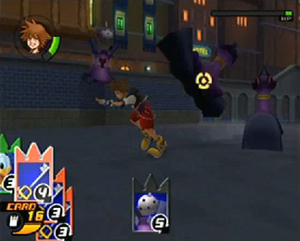
Being the first boss you battle, the worst shouldn't be expected. Guard Armor is split into three parts all put together on arrival: the Armored Torso, the Gauntlets, and the Hammerlegs. Pick off each part and the boss will be defeated. The first part to get out of the way should be the Gauntlets, or more simply, the arms. When it still has all of its body parts, its capable of pulling off a shock wave move. If Sora travels too far off, it'll jump after him and slam down to make a shock wave. Jump up and lock on to one of the Gauntlets, which shouldn't have much HP, until its out of the way. Once you're finished with the next, all the Guard Armor should have left are its legs and its torso. You'll have to be more careful when facing off against the Hammerlegs. They'll often split apart from the torso and come stomping after you. Dodge roll until they're finished attacking and then you can attack. Once the Armored Torso is the only one left, it'll start making use of a new attack in which it twirls around rapidly and bounces after you. Dodge roll, attack, and you'll obtain your reward.
Use the Gimmick Card in battle and the each part of Guard Armor that remains will split apart and fall to the ground in a clump. Take this chance to attack away until the Guard Armor can form itself again.
Axel[edit]
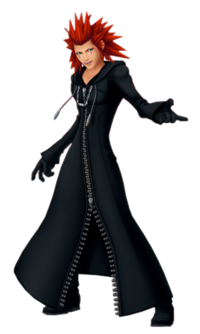
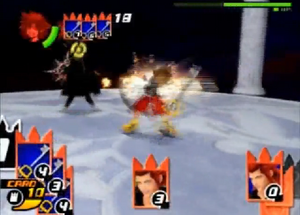
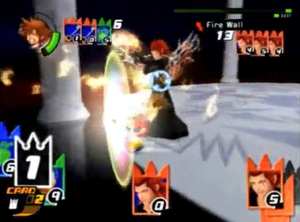
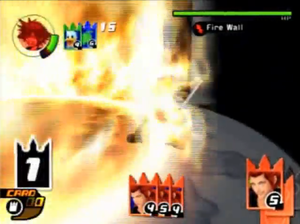
- HP: 420
- EXP: 75
When Sora, Donald, and Goofy arrive back to Castle Oblivion from their trip to Traverse Town, they are greeted by the mysterious hooded figure once again. Shortly after the reunion, another figure shows up - except they aren't donning their hood. He tells the man that he's hogging the "hero", referring to Sora, and wishes to test his skills himself. He introduces himself as Axel and calls Sora a quick learner when he answers his question with an uneasy "sure" (the question being Axel's catch phrase, "got it memorized?"). The hooded figure then leaves them to battle.
Axel is the first boss in the game to use a Sleight, although he only has one and it's not all too powerful. He's also the very first member of Organization XIII that you fight, not counting the tutorial fight against the other Organization member in Traverse Town. All of Axel's attacks have something to do with fire. As such, he has a resistance to any fire attacks - not only that, but he's actually healed by fire attacks. This shouldn't come off as much of a problem though since you obtain the Fire magic card after you defeat Axel. One of Axel's attacks will involve him throwing his Chakram at Sora when it's engulfed in flames. This move is hard to dodge, and so are his other attacks. Another one of his attacks is a simple combo, his chakrams giving this combo some flames as well. Axel's sleight is Fire Wall. It doesn't damage Sora too much, but the con is that it's unavoidable. You can't dodge it in any way, so your only option is to take the attack and then maybe use Cure. The sleight involves Axel putting his arms out and summoning a ring of fire, which moves out all the way to the end of the arena. Another annoying thing about the boss battle with Axel is his ability to teleport. It won't be too hard for one of your attack cards to miss him completely. Still, you'll be able to attack him once he's finished with one of his attacks or when he's doing a combo on you (if you card break). The battle shouldn't be too long since his health doesn't take many attacks to reduce either. Attack, card break, and obtain your Fire reward.
Genie Jafar[edit]
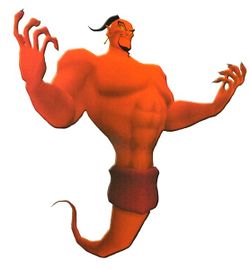
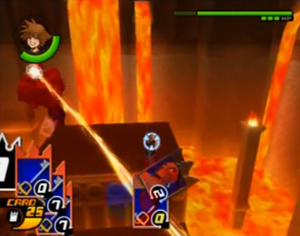
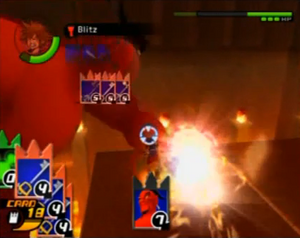
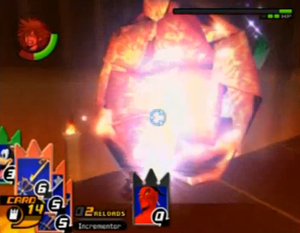
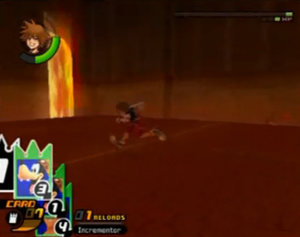
- HP: 550
- EXP: 233
When Sora, Donald, and Goofy come to stop Jafar and save Jasmine in accordance with the plan, Jafar believes that Aladdin doesn't care about Jasmine anymore. He decides he's going to face the three himself, as using a wish to defeat them would be a waste. Sora then gives Aladdin the cue, and Jafar, surprised, orders Genie to attack him. Genie then proceeds to attack Aladdin, with Sora, Donald, Goofy, and Aladdin then revealing that Jafar fell for the plan - the plan to make him use his second wish. Having only one wish left, Jafar uses it to become an all-powerful Genie. The arena changes and it'll be time to battle Jafar - as a genie.
The battle arena will be similar to the one in Kingdom Hearts, where the platforms are constantly shifting and you have to make your way to Jafar's bird, Iago, who happens to be flying around aimlessly with Jafar's lamp. Your main focus will be the bird, so lock on and attack it any chance you get to finish the battle. Unfortunately, Iago isn't the only thing to pay attention too. Genie Jafar will be spewing attacks mercilessly, with a full arsenal of both long-range and short-range attacks. Travel too far and Jafar will target you with his eye beams, get too close and Jafar will punch Sora with a powerful hit. Not only can Jafar openly attack at any given time, but the constantly-moving platforms can be a nuisance as well, considering Iago can sometimes fly pretty high up. The thing to watch for the most though are Jafar's attacks. Not only can he punch and shoot beams from his eyes, but he also has the ability to pick up large molten rocks and lob them at Sora. This often happens when you're on a higher platform, so when you see this one coming, drop to the lower platform with a dodge roll. Be sure to always keep Jafar in your sights, since blind-siding can sometimes cost you the battle. Aside from Jafar's consistent attacks, the battle shouldn't be too tough.
Using a Gimmick Card in this battle can make the battle much easier for a period of time. The platforms come together as one large platform and move according to Iago's movements. It'll be impossible to miss the lamp this way, so use the Gimmick Card if you have to.
Trickmaster[edit]
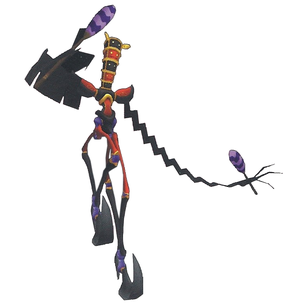
- HP: 600
- EXP: 372
When Sora, Donald, Goofy, and Alice enter the Bizarre Room, they're a bit surprised by the sudden change of scenery. Nevertheless, Alica suggests they look around the area. This is until she's stopped by the Queen of Hearts and her Card Soldiers once more. She's about to give Alice her sentence, but stops after she can't remember what she was about to say. Confused and frustrated, she decides to forget about everything and leaves. Sora suggests that it was probably her memory being stolen again. Suddenly, out of nowhere, the Heartless Trickmaster appears, and it's ready for a battle.
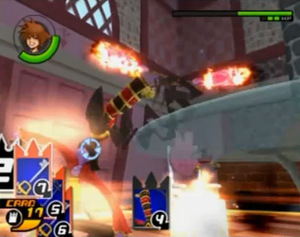
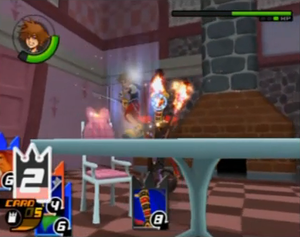
The Trickmaster, like a couple of bosses you've faced already, has a specialty that lies in fire. This battle will be a lot different from the one in Chain of Memories, considering the Trickmaster is much, much taller. To make up for this, a table has been added to the environment, and you can use it to get on an even level with the Trickmaster. Lock on to its weak spot and attack away. Eventually, it'll get stunned by your attacks and drop to its knees. This allows you to attack it from ground level for the short period of time that its frozen. It then rises back up and you'll have to start up the attack again by jumping up on the table. Locking on and using spells will be a bit easier, being projective attacks that don't involve Sora getting close. The Trickmaster will try to get you with its torches whether you're on the ground or on the table. While on the floor or on the chair, the Trickmaster will bring its torches down in a slam down on Sora. These slams often create a large blanket of fire when they land, so try to get away by dodge rolling when you have the chance. When on the table, the Trickmaster will put its torches together and out will come a couple of fireballs to try and get some damage on their target. Dodge rolling these will be a bit harder than the Trickmaster's ground attack, but it is possible. Other than these, the Trickmaster will juggle its torches and swing them around in a way to somehow attack Sora. As long as you're attacking its weak spot and are locked on to it, this battle shouldn't be all too hard, especially considering the fact that it isn't too hard to stun.
Cloud[edit]
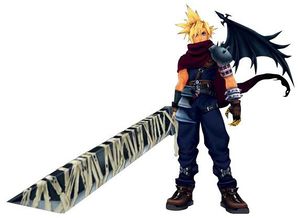
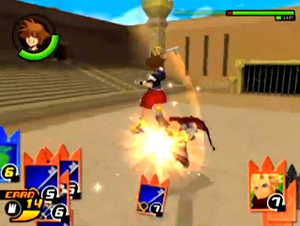
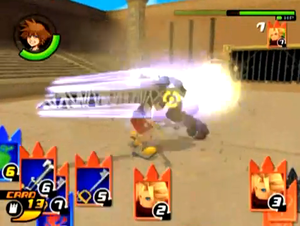
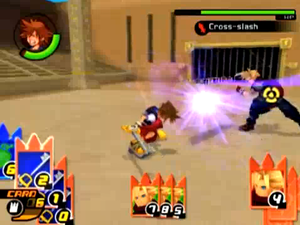
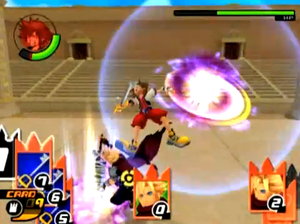
When in the middle of the tournament at Olympus Coliseum, Sora, Donald, and Goofy come across Cloud Strife. They expect a fight, but Cloud actually doesn't want to fight them. He wants to fight Hercules. Sora, Donald and Goofy decide it doesn't matter if Cloud doesn't want to fight - they want to fight. Sora tells him he's not the only one who wants to fight Hercules, and the battle begins.
Cloud will be hacking and slashing away with combos at you, and when he's not, he'll be using his sleights: Cross-Slash and the more dangerous of the two, Omnislash. Other than these sleights, he has plenty more attacks to go on. When you get two far away, he'll do one of two moves: he'll either jump at you and slam his sword down, or he'll dash with his sword in front of him. He usually chains the second move, and it isn't too easy to avoid since he can bring his sword in any direction and speedily. Jumping is the best way to dodge it, as dodge rolling may be too slow for this one. Another attack Cloud is capable of is another attack which involves him slamming his sword down, except in this one, the sword slams the ground vertically, forming a purple aura. He'll try to get you with this attack when you're jumping, since he'll be bringing his sword through the air. You should watch out for this one when you're on the ground as well though - the purple blast it creates shouldn't be too easy to avoid. Keep your distance when you have to reload your deck, since Cloud takes little space in between attacks, and also stay away when you have to use Cure. When Cloud is preparing his next attack or reloading, he can sometimes be seen dashing around the arena. Sora can't move fast enough for him, so instead of chasing after him, take this time to Cure or reload cards.
As annoying as this battle may be, finish Olympus Coliseum and you'll get the Cloud Summon Card, which allows you to form an Omnislash of your own.
Hades[edit]
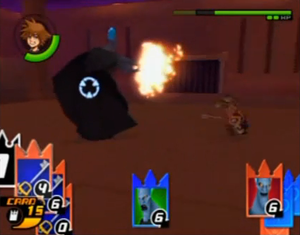
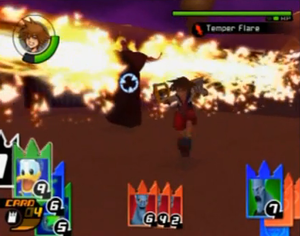
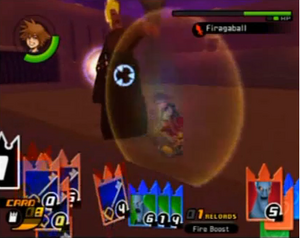
- HP: 520
- EXP: 512
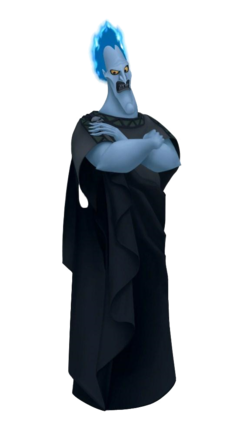
Sora, Donald, and Goofy arrive on the scene to see Cloud taken down by Hercules. Hercules makes it apparent that Cloud picked a fight with him and urges him to give it up, but Cloud will stop nothing to get his memories back. Sora, surprised at Cloud's newly-revealed motive, is even more surprised to see Hades come along to scold Cloud about letting the cat out of the bag. Then, after seeing Hercule's condition and that Cloud didn't finish him off, Hades fires him. Cloud is only frustrated further when Hades admits to him that the deal was never really real, and that Hades couldn't get Cloud's memory back in the first place. Hades then attacks Hercules, who is quickly defended by Sora. The battle begins.
Hades can be a pretty tough fight, but if you have the right cards, he should be stoppable. Hades has many attacks based on fire up his sleeve, one being a flame thrower-type move. Hades puts his hands out and a flurry of flames are emitted. He rotates on the spot to burn Sora. This is a move he performs constantly, but can easily be avoided by traveling a distance away from him. The attack has a short range, though it can provide lethal if you happen to be close by. This, unfortunately, isn't the most dangerous of Hades' attacks. He has a couple of sleights in his arsenal as well. One of these sleights is Temper Flare. When Hades changes from blue to red, he'll put his hands out and large chains of flames will burst from either side. He'll rotate from where he is standing so that these chains can hit Sora. Simply dodge roll at the right time through the flames to avoid this attack. Another sleight of his is Firagaball, a more powerful take on a fireball. Hades brings his arm back and then swings it to reveal a large ball of flames. Dodge roll or card break to avoid it. Overall, the battle with Hades is somewhere in the middle of the toughness scale. As long as you have control of the battle though, it shouldn't take too long to take him out.
Parasite Cage[edit]
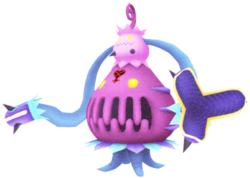
- HP: 770
- EXP: 651
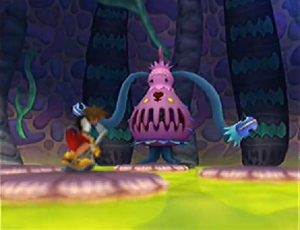
When Pinocchio wanders off, Sora, Donald, and Goofy eventually locate him. Jiminy confronts and scolds him, telling him it was a bad idea to wander off like that. After Pinocchio apologizes, Sora asks him why he wandered off in the first place. He answers by saying he was looking for treasure and his nose grows. After Goofy reassures Pinocchio that he can tell the truth, Pinocchio says he was looking for a way out because he believes that it's his fault they got stuck on in Monsto in the first place. The four then tell Pinocchio that he should tell his father and everything will be alright - he may even help find a way out. Pinocchio is about to go off and tell the truth when the ground starts to shake. Out of nowhere, the Heartless Parasite Cage comes to attack, landing right on Pinocchio.
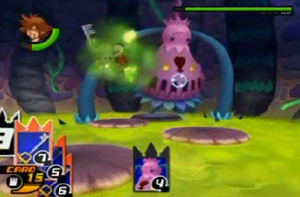
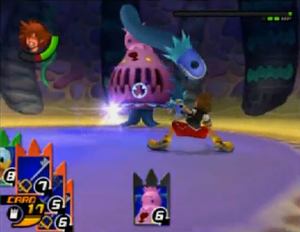
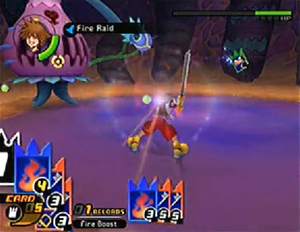
In battle, the arena takes a large change from when you were in the cutscene. There are now four revolving platforms and acid beneath them. Fall on the acid and stay there and you're looking at serious health loss. If you do happen to hit the acid, jump around a lot and try to avoid staying on it for too long - the platforms, as annoying as they may be, are there for a reason. Try to take advantage of the Gimmick Card. This changes the battle arena so that a large single platform replaces the four rotating ones. This lets you focus on attacking away and dodging the Parasite Cage's attacks rather than jumping from platform to platform trying to avoid the dangerous acid. As for attacking the Parasite Cage, projection attacks are usually best. Use Lady Luck, the Kingdom Key, and Fire to form the sleight Fire Raid. This attack comes in handy when facing off against a boss like this one, especially considering the dangers of getting too close. The Parasite Cage's attacks shouldn't be too big of a problem considering what else you have to look after. One of its attacks involve it planting its tentacles into the acid and then swinging its body at Sora as its target. Another one of its attacks is simply a swing of the tentacle if Sora comes close enough. Keep using necessary sleights and Magic Cards and Parasite Cage will be defeated eventually.
Oogie Boogie[edit]
- HP: 750
- EXP: 791
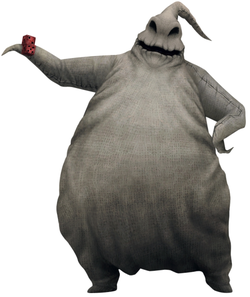
Sora, Donald, Goofy, and Jack finally reach Oogie Boogie in the Torture Chamber. They demand the potion back, but instead, Oogie Boogie drinks it. It's not long until the potion has its effect on him, and he starts to act strange by telling them to get back. He then attacks and the battle begins.
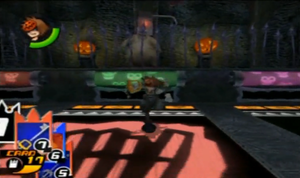
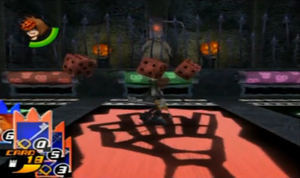
The arena for this battle isn't very big compared to arenas you've fought in before, mostly due to the fact that Oogie Boogie is being protected by an iron gate, making him impossible to reach. To get the gates lowered, you have to keep card breaking his attacks. The gate will lower with every card break you perform successfully and eventually you'll have the chance to unleash your greatest attacks on Oogie Boogie. Oogie Boogie has quite a few dangerous attacks to keep you occupied if you manage to miss a card break. One of these attacks involve Oogie throwing three large red dice from over the gate. The aim is horrible, so if you dodge roll or run out of the way, they'll most likely miss. If you have enough cards, attack the dice and they'll dissolve. For this, you'll get a prize: a Gimmick Card. Since card breaking is the basis of this battle, make sure you have an abundance of cards with values over 7. Most of Oogie Boogie's cards have values of 7, so this will make card breaking and even counter attacking much easier. Oogie Boogie, aside from throwing dice has a couple of other attacks up his sleeve. One of them will have him sending saw blades after you, and the other will have him summoning Heartless to keep you distracted. The blade attack is the one to watch out for. Card break as much as you can to prevent it from happening since its effect can cost you the battle.
Larxene[edit]

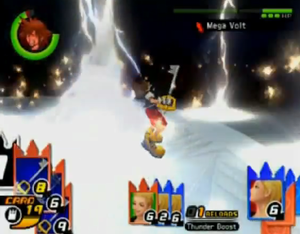
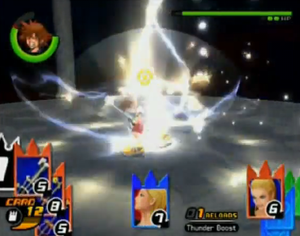
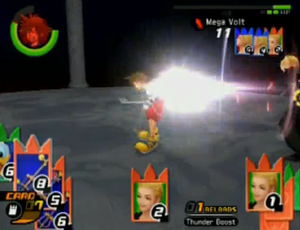
- HP: 920
- EXP: 1925
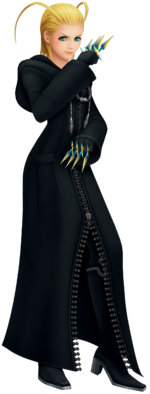
Larxene is the second Organization member you face (the first being Axel) and specializes in thunder-based attacks. Before the battle, she tells Sora about how Naminé is being held hostage in the castle and shows him the lucky charm she supposedly gave him. She then taunts him about how he forgot about her and that he probably doesn't care for her, which is enough to provoke Sora into a battle.
Larxene has quite a few attacks to throw at you, including quite a few sleights. One of these attacks is a simple slash combo. In another attack, she throws her knives at Sora. She also makes use of the Thundara card and the Elixir card, reloading every attack and magic card in her deck. Though these attacks can be dangerous, they aren't as powerful as the sleights. One sleight, Mega Volt, has lightning strike at random points all over the arena, making this one of the hardest to dodge. Thundara can also be dangerous; even though it doesn't strike all over the arena, she'd most likely use it when you get close to her since the lightning strikes all around her. Another sleight of Larxene's, Lightning Bolt, involves her throwing a bolt of lightning at Sora; not only does this hurt him, but it also temporarily stuns him. The Blade Storm sleight consists of Larxene using her knives to attack Sora by sending them all over the arena. If one hits Sora, it will cause damage and also stun him. The best strategy to use in this battle is keep high-valued cards in your deck, since dodging may even prove a bit impossible in this battle - card break her attacks and counterattack to stay on top of the battle. Larxene's final sleight, Teleport Rush, has her teleporting to Sora's location in the arena wherever it may be and slashing at him with her knives.
Larxene is also faced a later time by Sora on Floor 12, though never fought by Riku. She's finished off by Sora in the battle on Floor 12. Her HP is greatly increased to three bars (1570) and she is also much more powerful, though she uses the same attacks. The only added attack is the Teleport Rush sleight, which, like many of her other attacks, can also be a bit hard to dodge.
Ursula[edit]

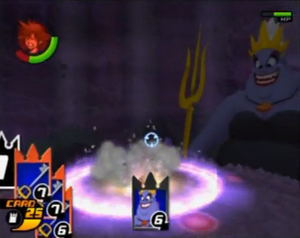
- HP: 640
- EXP: 1730
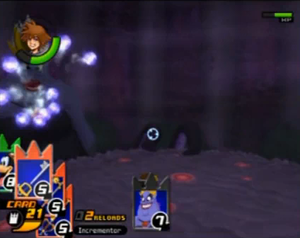
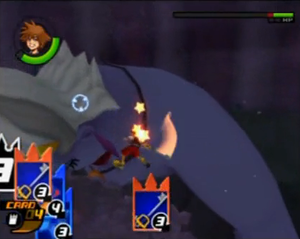
Sora, Donald, and Goofy enter Ursula's lair with King Triton's trident. Ariel tells Ursula to show proof of the deal and Ursula summons Flounder. With no choice left, Ariel gives Ursula the trident. Though Ursula does honor the deal and returns Flounder, the party now has bigger problems to worry about. Ursula claims that she will become ruler of the seas and uses the trident to become a giant. Like the second battle of Kingdom Hearts' Atlantica, you'll have to engage in battle with a large version of Ursula.
Lock-on to one of Ursula's visible tentacles and you'll notice that they have a small amount of HP. Attack them and be sure to card break, since they'll attack you back with a slam and a shock wave. Once both tentacles are out of the way, Ursula will come closer so that you have a clear view at her face. Lock on and attack it with projection attacks or aerial keyblade attacks. Watch out when it likes like Ursula's about to shoot something out of her mouth. A considerable amount of bubbles will come to attack you if the attack isn't stopped with a card break. Dodge the bubbles and then get back to attacking Ursula. Eventually, she'll switch positions again and go back to showing tentacles. Attack the tentacles again to repeat the cycle as many times as it takes to get her HP bar down, which may take a while considering she has two bars that aren't short. After the first two tentacles you defeat, every time the tentacles return, there will be four to defeat, which makes for a longer battle. Use your friend cards when trying to get the tentacles out of the way, especially Goofy and Ariel, and the time to defeat them will be reduced noticeably. Use the Gimmick Card and Ursula will be stunned. Use the sleights you've stocked now and only during this time. Unfortunately, the stun doesn't last very long, and Ursula will be back on her tentacles in no time. Use your strongest attacks and attack wisely when using the Gimmick Card. Recommended card numbers for this battle are 7, 8, and 9. Stock up Cure cards and for Riku, use Oogie Boogie and Search Ghost cards to help you out in this battle.
Captain Hook[edit]

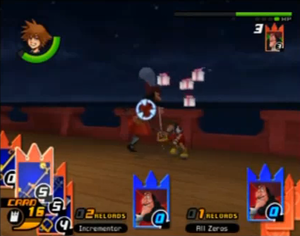
- HP: 809
- EXP: 1789
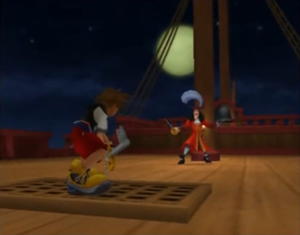
When Sora, Donald, and Goofy reach the deck of the ship, they barely have time to look around before being confronted by Captain Hook. Hook suggests that the three are working with Peter Pan, and Sora demands that he let them off the ship. Hook, apparently, is one step ahead. He directs their attention to Wendy, standing at the tip of the plank. It's not long until Peter Pan comes to the rescue, and Hook, made a fool of once again, is prepared for a battle.
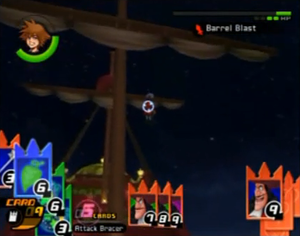
This battle can be fairly easy considering there isn't much to hinder it. Hook doesn't have many resistances and his attacks aren't all too great either. The only hard thing about this battle is that it can be a long one. Hook's HP stretches to four bars. You'll be fighting on the deck of his ship. Pretty straightforward unless his sleight, Barrel Blast, is considered. Hook jumps up surprisingly high and lands on a higher deck, making him hard to reach. He then kicks barrels out which seem to contain explosives, as they explode and guarantee damage if they hit Sora. Dodge roll or keep your distance and reload your deck when he prepares this attack. The sleights and attacks you can use here are pretty varied, though ones with reaction commands like Sonic Blade are recommended since they seem to be an easier aim then if a projectile attack misses. Just press ![]() at the right time every time and the attack will be long enough to give Hook a lot of damage. Other than the Barrel Blast, all Hook's attacks consist of are continuous sword slashing. This combo can be quite dangerous if you're caught up in it, so either stay away, dodge roll, or break it. Hook also retains his exploding gift attack from the original Chain of Memories in which Hook throws a total of four gift-wrapped explosives at Sora. It doesn't matter if Sora's far away or not, Hook will use this attack even at a close distance sometimes. Watch out for exploding barrels, exploding gifts, and a lot of sword-slashing when battling Hook.
at the right time every time and the attack will be long enough to give Hook a lot of damage. Other than the Barrel Blast, all Hook's attacks consist of are continuous sword slashing. This combo can be quite dangerous if you're caught up in it, so either stay away, dodge roll, or break it. Hook also retains his exploding gift attack from the original Chain of Memories in which Hook throws a total of four gift-wrapped explosives at Sora. It doesn't matter if Sora's far away or not, Hook will use this attack even at a close distance sometimes. Watch out for exploding barrels, exploding gifts, and a lot of sword-slashing when battling Hook.
Expect an easier battle in Reverse Rebirth, since Hook is encountered much earlier on. Otherwise, the battle requires the same strategy as Sora's battle.
Maleficent[edit]
- HP: 1080
- EXP: 2249
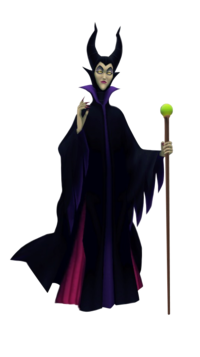
When Sora, Donald, Goofy, and Beast arrive at Maleficent's base, she tells Beast that, as a reward for making it so far, she'd tell him why Belle rejected him. She then talks about how the magic she uses requires beautiful hearts, and that her love for Beast shone with "uncommon radiance". She then goes on to tell him that Belle guessed Maleficent's plans and that she denied her love for Beast, putting her heart beyond Maleficent's reach. Beast, angered, demands her to release Belle's heart. Maleficent then explains her current plans, that by telling him what Belle did for him, his heart would shine and she'd be able to take his. It's clear that the four aren't going down without a fight though, and Maleficent transforms into a dragon to begin the battle.
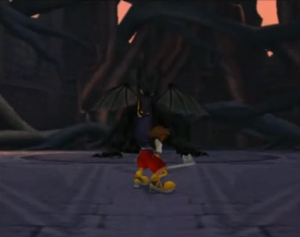
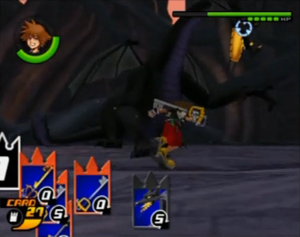
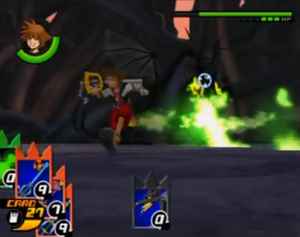
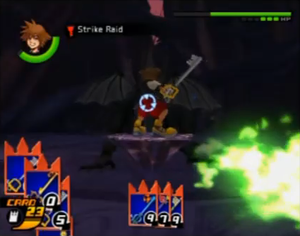
Here, like the second battle in Kingdom Hearts, you'll be fighting Maleficent in her dragon form. This fight will be quite a step up in difficulty from Hook, so be sure that you have plenty of Cure cards at hand. The battle in Reverse Rebirth, on the other hand, shouldn't be a problem at all. Riku fights Maleficent at the very beginning of the game. The arena is exactly the same as the one in Kingdom Hearts, not anything special. When the battle starts, immediately lock on to her head. That's your target throughout this boss fight. She has six health bars, but attack right away and the first will be reduced to half. One of Maleficent's most-used attacks is her stomp attack. These create shock waves which Sora has to jump over so his HP won't go down. Card break and counter-attack these to make the battle go quicker. Another one of Maleficent's attacks is one where she breathes green fire. Walk into it and expect to get caught up in the fire. The fire usually stays in the area in front of Maleficent so as to avoid getting attacked. Either do an aerial attack or wait it out. The fire will dissolve eventually. Those are the only attacks to watch out for in this battle.
Use the Gimmick Card and a floating platform will appear for Sora to have a better shot at her head. This can be useful when you need to recover or if you just need Maleficent to be defeated quicker. The platform also keeps you protected from Maleficent's stomp attacks.
Vexen[edit]
- HP: 1250
- EXP: 3252
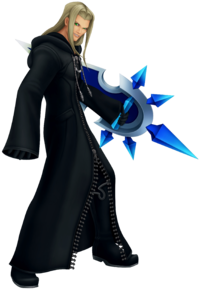
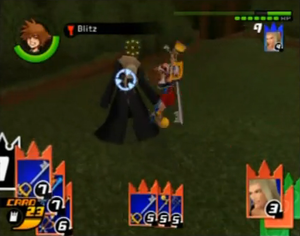
Vexen is a member of Organization XIII who is fought by both Riku in Reverse Rebirth and Sora in Sora's Story. When he fights Riku, it's for data on his creation: the Riku Replica. When he fights Sora during the first battle, it's at Castle Oblivion. He provokes Sora by telling him that he should thank him for reuniting Sora and Riku (which was actually the Riku Replica). Sora is angered and, during the battle, Vexen is able to make a new world card from deep within Sora's heart: Twilight Town. Sora visits the new world and fights Vexen a second time there, this time to eliminate him for good.
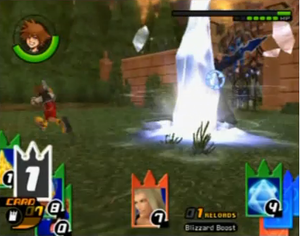
Vexen will definitely be the hardest boss you've faced so far, because of both his high HP and his ability to block all frontal attacks, so it's understandable to have trouble with him. The first step to this battle is to have Cure cards ready and take any sort of Blizzard cards out of your deck. Vexen absorbs all Blizzard attacks, so you're probably better off not bringing them into battle in the first place. Make sure you have many Fire-based cards in your deck, as Vexen is especially weak to this element (Firaga, Firaga Burst and Mega Flare to name a few). In-battle, you can use an abundance of Cure cards to make a Curaga sleight, thus making the battle much easier. On to the actual battle, a hit-and-run strategy is probably best for this. One of Vexen's attacks involves him slashing with his shield and then ending the combo with a burst of ice from the ground. This attack can easily be dodged, but it would be more to your advantage if you broke it. Card breaking the attack will cause Vexen to lower his shield, allowing you to attack directly without him blocking. Attack mercilessly in these moments (Vexen will also have to reload his deck eventually, and Vexen won't always be attacking).
In Reverse Rebirth, the battle should be the same as Sora's second battle, but a bit easier. Not only does the battle take place earlier on, but you can also take advantage of Dark Mode. Riku's attacks are also faster in general, so Vexen shouldn't be too much of a problem here.
Riku Replica[edit]

- HP: 1600
- EXP: 6225
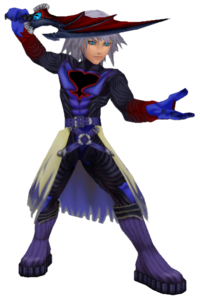
Sora encounters Riku Replica regularly throughout his story, with the running belief that he's his best friend, though he never actually does encounter Riku throughout his story. Riku himself also comes across his replica in the basement of Castle Oblivion. While Riku Replica usually battles Sora on account of their tampered-with memories, Riku fights Riku Replica because he's provoked. The Replica, because of the memories given to him by Naminé, thinks he's Riku and fighting the fake (who's actually the real Riku). His attacks are sometimes on-par with Riku's, which can make him a hard fight at times. Dark Mode should give you the edge you need in Reverse Rebirth, so card break as much as you can.
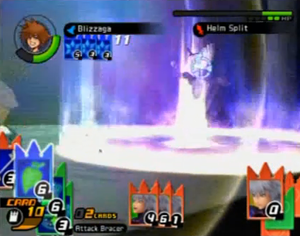
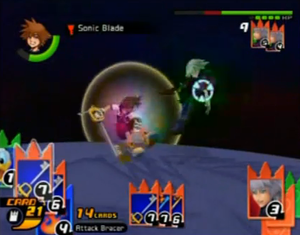
In Sora's Story, make sure you have the Sonic Blade sleight. This sleight can be made by stocking Kingdom Key, Crabclaw, and Three Wishes. Riku Replica has a few attacks and also uses the Elixir card. One of the attacks is a quick one-two slash combo in which Riku Replica uses the Soul Eater to slash at Sora once, and then follow it up with a dashing slash. This attack can only be seen in early battles, however. During the final face-off with Riku Replica, he instead throws the Soul Eater Sora's way and then follows that up with a slash. Needless to say it's a bit more powerful. Use Raids (like Strike Raid or Fire Raid) during the battle with Riku Replica, and try to card break his Raid-like maneuver whenever you get the chance; dodging it is a bit of a challenge. Riku Replica not only uses attacks, but also uses sleights. Dark Firaga and Dark Aura should be familiar in Reverse Rebirth, but Riku Replica also uses a sleight entitled Helm Split. In this sleight, Riku Replica jumps up into the air and strikes the ground, causing an eruption of dark flames. This attack, if it can't be broken, should be dodged. It's possible to be dodged and should be the attack to watch out for here.
In Reverse Rebirth, either use the card breaking strategy (make sure you have high-value cards in your deck) or get hit until you get enough Dark Points for Dark Mode. The latter is a bit more dangerous, and you'll have to make sure you have useful healing cards (the Oogie Boogie enemy card should be of use here). In Dark Mode, take advantage of the moves and dodge/break Riku Replica's attacks (this should be much easier, given the advantages of Dark Mode).
Zexion[edit]
- HP: 1120
- EXP: 6280
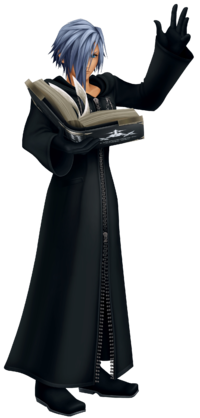
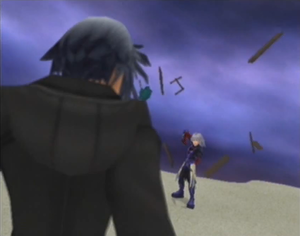
Zexion is a Rank VI member of Organization XIII and a Reverse Rebirth-exclusive boss, as well as a Re:Chain of Memories-exclusive boss (though he is encountered in Chain of Memories, he's never actually fought). Before the battle begins, Riku faces Sora on Destiny Islands, who calls him a creature of the dark. Sora supposedly defeats Riku with the light. Riku is about to face defeat when he sees Naminé tells him, through the form of Kairi, that Riku can be strong and use the light and the darkness. As long as he knows the darkness is there, he has nothing to fear. With that, Riku embraces the darkness and dons a new suit. He then appears back on Destiny Islands to stab through Sora, who is not actually Sora, but Zexion posing as Sora. Zexion, puzzled and angry, prepares for a battle.
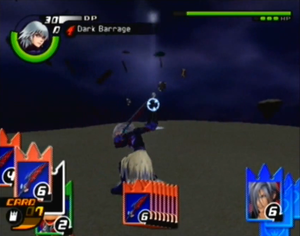
Despite the ease Dark Mode usually brings to the battle, Zexion can be quite a hard and frustrating boss. Fortunately, you'll have Riku's Dark Mode suit to use for the duration of the battle, granting you strength, speed, and the attacks that only Dark Mode could bring. Zexion's primary weapon is the Book of Retribution, which despite its non-intimidating appearance, can cause quite a hassle in battle. He throws it at Riku occasionally, and, if the attack lands, Riku loses three of his cards. Dodge this attack by using Quick Run, a move exclusive to Dark Mode. Of course, this isn't Zexion's only method of taking away your cards. Zexion also has a sleight called Cyclone Snatch. This sleight involves Zexion creating a giant cyclone in the middle of the arena that sucks Riku in. Every time it hits, Riku loses two cards. Try to avoid this by staying at the edge of the arena and using Quick Run until the sleight is over. One way to make this battle easier is by starting as many duels as possible. As long as your card values are high enough, losing the duel shouldn't be a problem, and winning duels is an easy way to land some major damage on Zexion.
Marluxia[edit]
- HP: 1740
- EXP: 12931
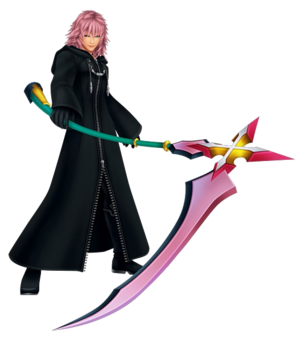
Marluxia is the final boss battle of Sora's Story and, as such, is also exclusive to Sora's Story. No doubt the hardest battle Sora has to face (and also a bit tougher than it's Game Boy Advance counterpart), this is one grueling and frustrating battle. If you have the right cards and strategies, however, it should definitely be possible. Marluxia's battle is split into three parts, each where you'll be fighting a different form.
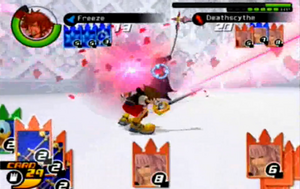
The first form, simply enough, is Marluxia in the form you've always seen him in. His attacks and sleights in this form include Full Bloom, Deathscythe, Blossom Shower, Drop Shot, Flower Storm, and Petal Blade. Full Bloom is an attack where Marluxia dashes toward Sora and slashes away with his scythe. When you see him get this attack ready, dodge roll away to avoid it. With Deathscythe, Marluxia slashes his scythe quickly at Sora, and repeats twice. Blossom Shower is a sleight that's practically unavoidable and could be the key to your death. Avoid having to start over by either using the Zexion Auto-Life card or a 0 card. Avoid the shock waves in Drop Shot by dodge rolling away. Don't stop rolling until the attack is over. Flower Storm: When you see Marluxia about to use this attack, keep your distance and try to find a card to break it. By the time he plays the card, you should be ready to break it. After this battle, brace yourself for Marluxia's second form.
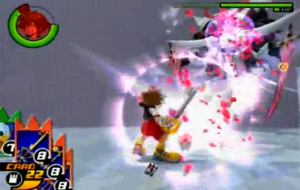
Marluxia's second form, contrary to his first form, is a bit easier than the Chain of Memories counterpart. This is mostly due to the fact that Marluxia is open for attack most of the time. The arena is also bigger than the one in Chain of Memories. This should make it easier for you to avoid Marluxia's attacks. Aside from that, the battle is much more similar to the one in Chain of Memories than the first battle is. Your first goal will be to knock out the two scythes Marluxia is constantly swinging at you. Avoid them by dodge rolling and take them out before they can take you down with their continuous Deathscythe-like attacks. After both scythes are destroyed, you'll be focusing on Marluxia. He'll start with a flurry of attacks (he'll shoot buds at you, ram into you, etc.) that will get faster and faster as his HP goes lower and lower. Take this form out and you'll come face to face with the Re:Chain of Memories-exclusive third form.
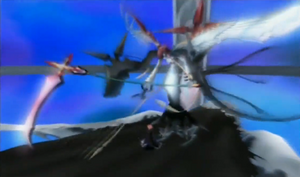
Going into the third battle, you should bring with you Jafar or Trickmaster cards. These will either make your attack cards invincible or diminish the value of Marluxia's attack cards. Marluxia's sleights in this form are pretty deadly, starting with Doom. Doom (unlike the similarly named attack in the Final Fantasy franchise) will give you six seconds to card break a set of cards shown by Marluxia. You'll know this attack is coming when he stocks three attack cards, each with a value of six. Gale of Severance is one of Marluxia's less-threatening attacks, and involves him sending a whirlwind at Sora to direct him away. This is not to be confused with Whirlwind to the Void, where Marluxia sends a whirlwind at Sora that will make him drop all of his cards upon impact. Omni Laser is a laser-based attack in which Marluxia surrounds Sora with lasers, and Circle Reject is a shock wave that stretches to a far distance. All of these sleights are deadly in one way or another, but use dodge roll at the right time and you'll be able to avoid a good deal of them. This is no doubt a long battle, but definitely possible.
