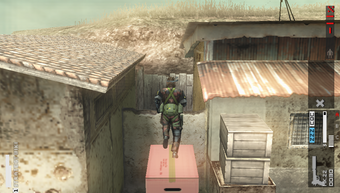
The enemy has blocked your path to their base within Irazú. The only path you can take now is through the prison facility at Aldea Los Despiertos. A barricade stands in your way, but it can be destroyed with C4 explosives that you must set and detonate at a distance.
- Approach and destroy the barrier at Aldea Los Despiertos.
Mission Prep[edit]
You must have ★1 C4 equipped to participate in this mission. None of the soldiers in this mission are reliably worth extracting, though there is a prisoner of war and one soldier who may have a C-rank randomly distributed to him. So bring the ★2 Fulton Recovery System and consider bringing the Analyzer to identify the soldier with the random C-rank. You should also bring the ★1 Love Box to get over an obstacle quickly and safely in order to secure the Desert Auscam uniform. The tight quarters of Aldea Los Despiertos return in this mission, so the ★1 Surround Indicator or perhaps the ★1 Sonic Eye will be useful here. While it will only be useful in Aldea Los Despiertos, the Squares uniform will make setting and detonating the C4 without being seen much easier than other uniforms.
Cafetal Aroma Encantado: Mill[edit]
You will begin outside the Coffee Factory at the base of the stairs leading up to the second floor. Approach point 1 without crouching. You won't run into any enemies unexpectedly, but be sure to angle your camera south as soon as you cross the threshold of the door at the top of the stairs.
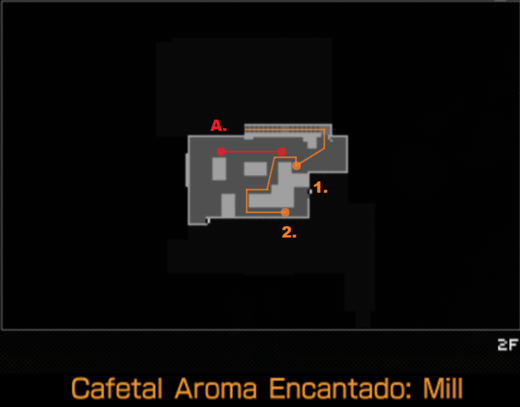
- 1. Observe Soldier A
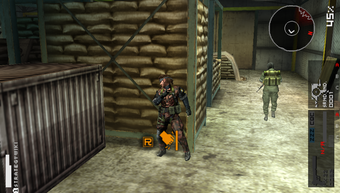
Wait behind this stack of coffee for Soldier A to gain some distance before moving around the stack. Move at full speed through the stacks of coffee to point 2.
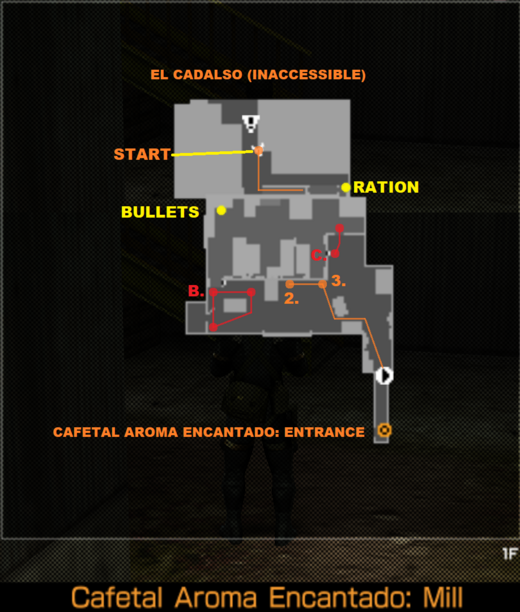
- 2. Vault Over the Rail; Observe Soldier C
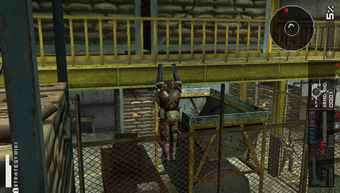
Face the rail and press ![]() to vault over the rail. Observe Soldier C beneath you as he approaches the ladder. He will stop and turn slightly south - at this point, it is safe to begin moving. While hanging, move to the southeast corner of the mezzanine at point 3.
to vault over the rail. Observe Soldier C beneath you as he approaches the ladder. He will stop and turn slightly south - at this point, it is safe to begin moving. While hanging, move to the southeast corner of the mezzanine at point 3.
- 3. Observe Soldier B
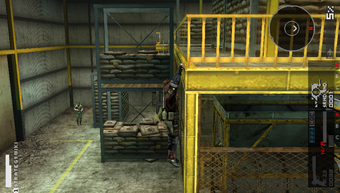
While hanging at point 3, angle the camera with ![]() to face Soldier B to the west. He should be walking by now. When he turns to face the north, press
to face Soldier B to the west. He should be walking by now. When he turns to face the north, press ![]() to let go of the rail and drop down from the mezzanine. Immediately move south toward the exit of the building and into the next area; don't worry about the enemy seeing you.
to let go of the rail and drop down from the mezzanine. Immediately move south toward the exit of the building and into the next area; don't worry about the enemy seeing you.
Cafetal Aroma Encantado: Entrance[edit]
There is very little security this time and it is easy to rush past almost all of them. As soon as you have control, make sure you're standing and immediately start running along the orange line.
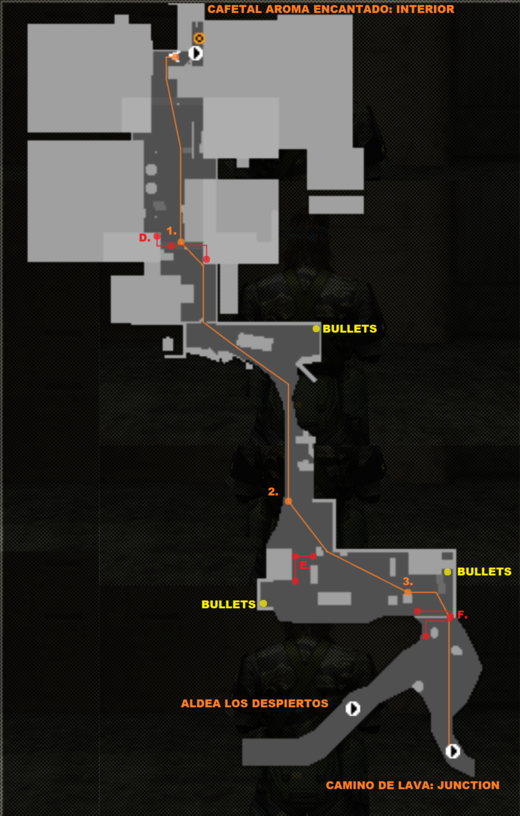
- 1. Don't Stop Running
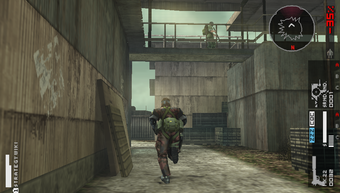
The best solution to Soldier D on the catwalk is to rush past him while hugging the east wall. If you stop or crouch or slow down at all, you risk Soldier D seeing you. Just keep moving. From there, move past the gate, past the truck, and downhill to point 2.
- 2. Do Not Stop Running
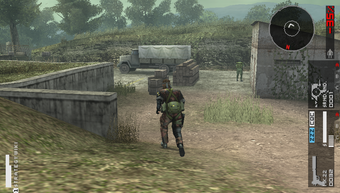
Once you reach the container staging area, you will likely find Soldier E's back turned. Immediately angle yourself southeast toward point 3. At this point, it might be a good idea to tap ![]() to crouch while on the move.
to crouch while on the move.
- 3. Stop. Observe Soldier F.
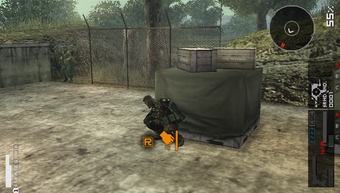
Stop at point 3 and press yourself against the container with ![]() and watch Soldier F move from the other side of the chain-link fence. Once he reaches the other endpoint, release
and watch Soldier F move from the other side of the chain-link fence. Once he reaches the other endpoint, release ![]() and run through the hole in the fence, keeping some distance between you and the Soldier. Once you're past the fence, you can tap
and run through the hole in the fence, keeping some distance between you and the Soldier. Once you're past the fence, you can tap ![]() to stand up while on the move.
to stand up while on the move.
Ignore Miller's instructions to go west to the village. Instead, go south to Camino de Lava: Junction whether or not you plan to rescue the prisoner.
Camino de Lava: Junction[edit]
There are two snipers now, but no patrollers. Getting past them is actually fairly easy. Crouch and hug the east wall as you move south. Once you're past the container, you can get up and move at full speed to the next area.
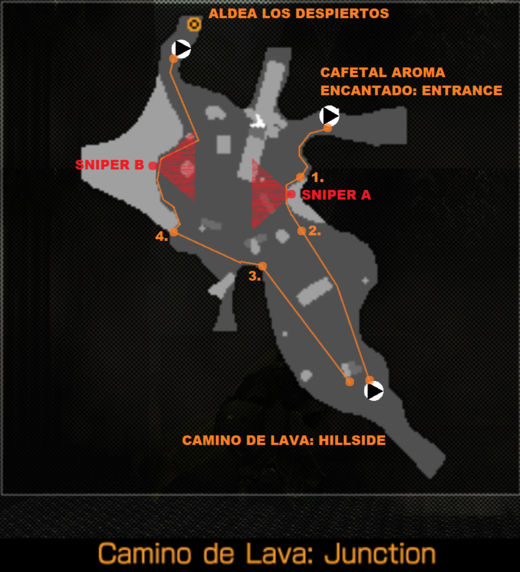
- 1. Bypass Sniper A
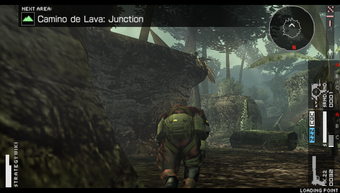
To get past Sniper A, you just need to keep low and hug the wall, moving directly under Sniper A on the eastern wall. Continue south against the wall until you are aligned with the large tree.
- 2. Stand up and Sprint South
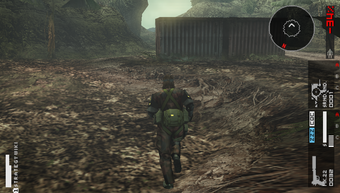
Once you reach point 2, neither of the Snipers can see you, so you can move while standing up. Stand up and make a beeline to the southern exit to Camino de Lava: Hillside to rescue the Prisoner.
Once you're in Camino de Lava: Hillside, know that there are no enemies. Don't let the scarecrows psyche you out. At the southern end of the map is a C-ranked Intel Prisoner. Approach him how you wish, but the fastest method is to just run on flat ground. Once he's in the air, turn around and return to Camino de Lava: Junction.
- 3. Get Down
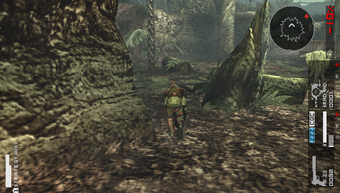
At point 3, you need to start crouching again. From here, cross the rail to point 4.
- 4. Hug the Wall, Bypass Sniper B
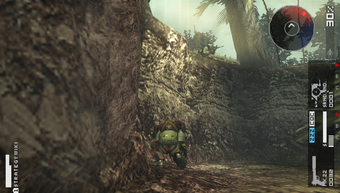
Keep low and stay near the wall while moving north. As usual, elevated enemies cannot see directly beneath them. Go along the wall, loop around the tree, and head north to the exit to Aldea Los Despiertos.
Aldea Los Despiertos[edit]
There are four soldiers here, each with higher Life and Psyche than the previous patrollers and are each equipped with helmets to stop your headshots. Even a shot from the Mk.22 can knock a helmet off an enemy soldier, but they will enter the Caution Phase immediately. Three of the soldiers are patrolling the main street running down the middle of the village. A fourth soldier is patrolling the west lane with the north outlet blocked by the barricade you must destroy with the C4.
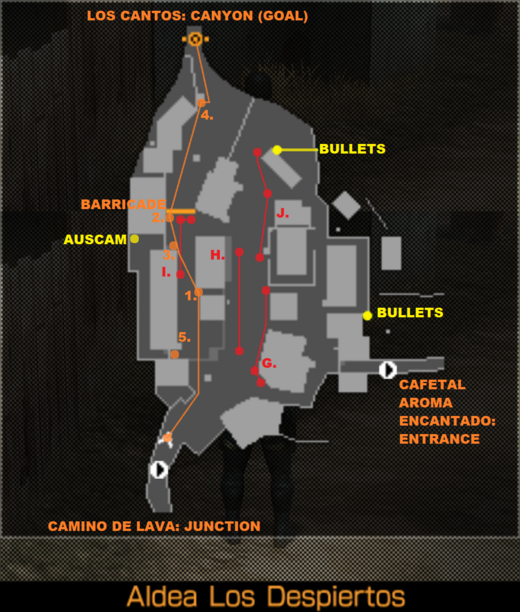
Before you make your approach to the target, consider the opportunity to acquire valuable camouflage for the next mission.
- 1. Approach the Blue Door
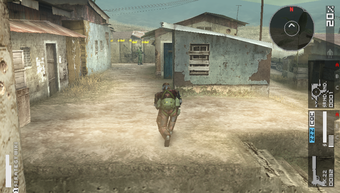
After rounding the first corner, line yourself directly north with the blue door near Soldier I. Run against the ledge near the stairs to climb it. Do not divert to climb the stairs or Soldier H will see you. Once you're up the ledge, try to keep yourself aligned with the blue door while moving straight north. If you feel this is too risky, it is okay to wait at the southwest corner of the house immediately south of point 1. Either way, you want to press yourself against this corner to maximize your camouflage. When you're at point 1, Soldier I will likely be moving south. If you did everything correctly, he won't see you.
Do not approach when Soldier I turns around and reaches his north endpoint. After a few seconds, he will face west, then south, then east before walking east a bit. When he reaches the east endpoint, he will stop for long enough for you to act.
- 2. Set the C4 Charge
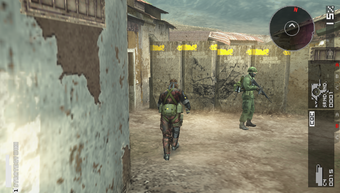
Run to the east wall near point 3. Once you reach the point, stop, stand up, and stalk toward the Barricade. Equip the C4. While facing the Barricade, hold down ![]() and while facing a wall, press
and while facing a wall, press ![]() to place the C4 onto the Barricade. You will hear a loud beeping drone once the C4 is set. The enemy soldiers won't hear the beeping or be aware at all that a C4 charge had been placed.
to place the C4 onto the Barricade. You will hear a loud beeping drone once the C4 is set. The enemy soldiers won't hear the beeping or be aware at all that a C4 charge had been placed.
- 3. Detonate the C4 Charge
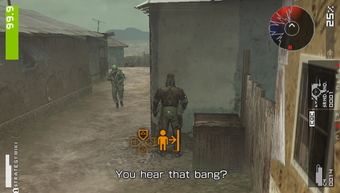
Keep the C4 equipped. Angle the camera toward point 3, keeping an eye on Soldier I. Stalk to point 3, making sure not to pass Soldier I. Once you reach the wall at point 3, continue to watch Soldier I. Once he stops at his southern patrol endpoint, press ![]() to detonate the C4 and destroy the Barricade. You will not take damage from the explosion or shrapnel, even at this distance. Upon detonation, the enemy will immediately enter the Caution Phase. The enemy will radio their command post for reinforcements. Soldier I will take a knee and briefly observe your direction before backing away to cover. The second he turns, you need to start running to point 4.
to detonate the C4 and destroy the Barricade. You will not take damage from the explosion or shrapnel, even at this distance. Upon detonation, the enemy will immediately enter the Caution Phase. The enemy will radio their command post for reinforcements. Soldier I will take a knee and briefly observe your direction before backing away to cover. The second he turns, you need to start running to point 4.
- 4. Hide From the Clearing Team
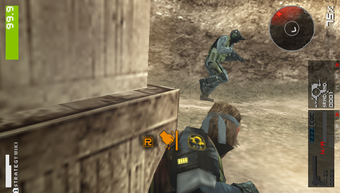
There is one final threat to bypass before you're done with this mission. Past the Barricade are niches where you can hide from the Clearing Team called in to back up the guard here. They will arrive any second, so pick a niche, face north, and hold down ![]() to press against a wall and maximize your camouflage. When you see the Clearing Team arrive, you should hold down
to press against a wall and maximize your camouflage. When you see the Clearing Team arrive, you should hold down ![]() to lock on to them and watch their movements. When they stop at the barrel, get off the wall, and quickly move north to your goal.
to lock on to them and watch their movements. When they stop at the barrel, get off the wall, and quickly move north to your goal.
Completion[edit]
If you skip rescuing the prisoner in Camino de Lava: Hillside, you can complete this mission with an S-Rank if you followed the directions of this walkthrough.
After the mission is complete, Miller will call and ask what to do about Amanda, who wishes to get back into action despite her injuries having yet healed. Be advised that until Chapter Five, Amanda's wounds will never heal, no matter how long she is in Sickbay. Put her in the Combat Unit, where her Skill will raise the Morale of the Guerrillas in the Combat Unit. Put the prisoner you picked up into the Intel Team. If your Intel Team is LV 7 and you can develop the ★2 Surround Indicator, you will be in good shape.

