Boards 17 and onward use layouts that should be familiar. Many of the techniques and terrain advantages can be used again. However, be ready for a more difficult battle as the Axis power will have superior forces. Using factories to restore damaged units will be critical to your success.
Board 17[edit]
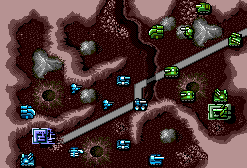
Board 18[edit]
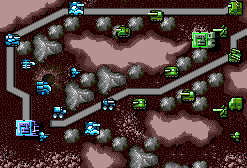
Board 19[edit]
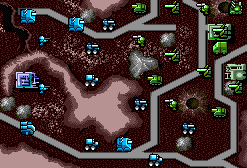
Board 20[edit]
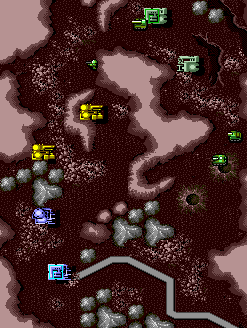
Board 21[edit]
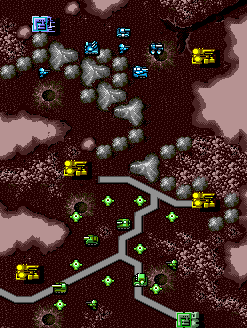
Simultaneously take the closest two factories as quickly as possible. Escort your Charlie south with maximum support. The first unit out of the factory should be a Mule with an Atlas inside. Travel as far south as you can go in one turn and place the Atlas. This will give you excellent artillery coverage of the front line.
Build your defensive line around the south factory. Make every effort to eliminate enemy artillery pieces.
Be careful not to leave your prison camp unguarded. The enemy has a pelican which can transport an infantry and end the game.
Board 22[edit]
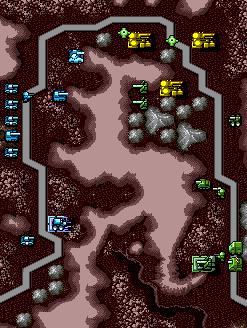
You have no hope completing this board unless you take the closest factory. Use your Hadrian(s) to take out the top Atlas and distract Axis from taking out your only Charlie. Move quickly, before the enemy deploys all of its forces.
Board 23[edit]
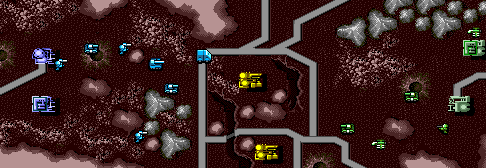
Do everything you can to eliminate the opposing Eagles. Use your many infantry to pin and surround the Eagles. Reducing their movement allows you to use weaker anti-air units to eventually kill them.
Board 24[edit]
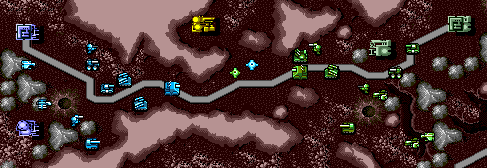
Maximize your Hawkeyes to eliminate the onslaught of enemy aircraft. Use you Atlas to hold off the land forces until you finish the air battle. A good emplacement is two hexes directly below the starting point of your Bison.
Use your Eagle as bait. Axis finds it irresistible.
This is the only board where Allied forces start with a Hunter. Enjoy it while you can.
