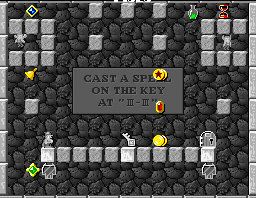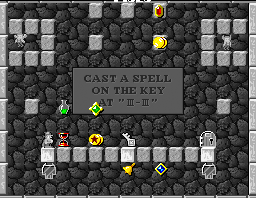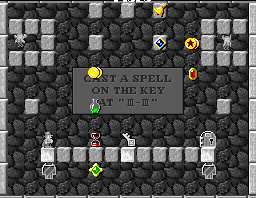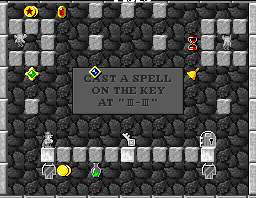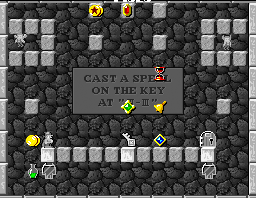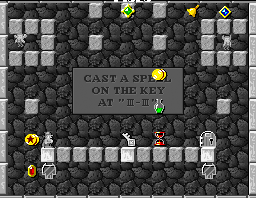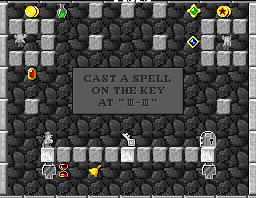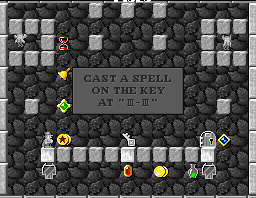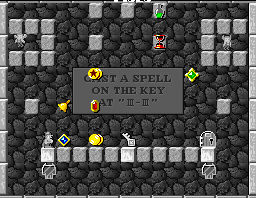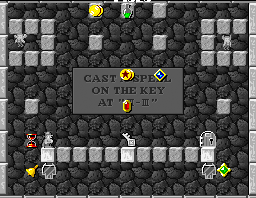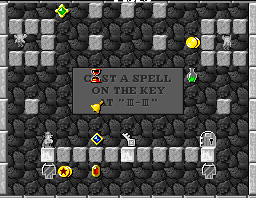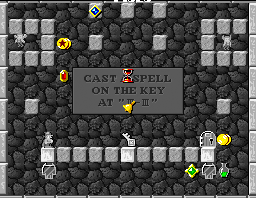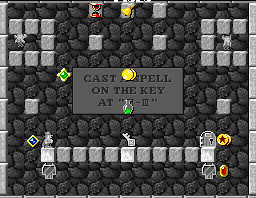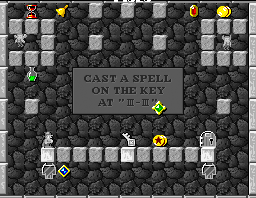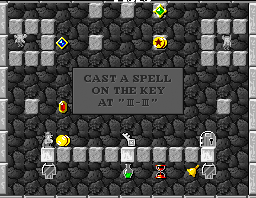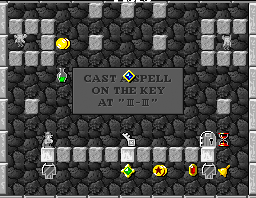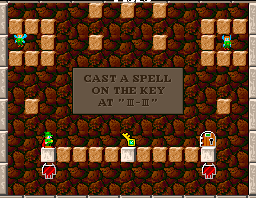
The arcade bonus stage occurs in stage 4, 12, 20, 28, and 36. At first glance, it may appear as nothing more than an opportunity to gain two easy fairy captures, and a challengeless key and door collection procedure. However, hidden throughout each bonus stage is a myriad of objects that can boost not only your score, but Dana's power as well. If you search hard enough, you can uncover and collect a number of valuable items. The same set of items are always available in every bonus stage.
Again, at first glance, the position of these objects may seem somewhat random and arbitrary. The truth is, they are not. Not only will they occur in specifically positioned squares throughout the stage, it turns out that there are 16 specific patterns in which the items can be arranged. Below are the layouts of all 16 patterns. You will have to investigate by testing a number of blocks until you are able to correctly identify which pattern has been presented (and you don't have a lot of time to do it in unless you happen to collect a half full hourglass just as time is about to run out).
Note that a message will be presented to you in two of the bonus rounds. They are hints about things to come. If you follow their advice, you will find even more secrets throughout the game. Also note that the exit in stage 20 can lead to one of the secret hidden stages if you use your wand on the key before you collect it.
