Solomon's Key/Console 33 - 40
Stage 33[edit]
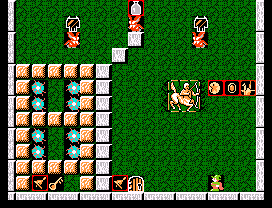
The important thing here is that you do not release the sparkies, and you move quickly.
You can make their chambers smaller by deleting a far left block, dropping into the space, and creating a new block down inside the sparky chamber. In general, build the block as the group is moving to the right. If you find it impossible to build inside the chamber, you may have to "reset" the chamber. But beware, this will take a big bite out of your time.
Do this enough, and you'll limit them to a much smaller area, leaving you the necessary two block column available to descend to the key and return to the door.
Stage 34[edit]
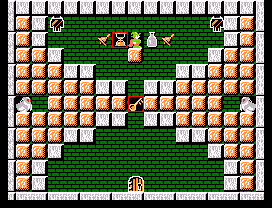
- Fall down.
If you want to collect the two fairies, take the following steps:
- Collect the fairy bells and the silver vial (not the gold hourglass).
- Wait for the ghost to break the gap and reveal the key.
- Time your fall so that you drop through the center of the stage in between the ghost and just before the two demonheads spawning from the top.
- Push to the left (the fairies tend to move to the left) and quickly build blocks to the second level to avoid the demonheads.
- Wait for the fairies and jump through the door.
Stage 35[edit]
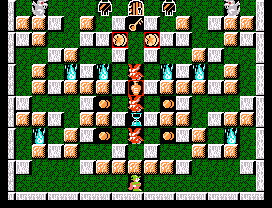
- Climb up one side and cover the gap where the 1-up potion is.
- Climb up to the top and dispatch the closest Gargoyle.
- While it may be difficult while receiving fire from the other Gargoyle, drop into the chute to collect the key while timing your drop to avoid the bat. However, it may be worth your while to dispatch the other Gargoyle before proceeding through the chute.
- Climb up again and exit.
Stage 36[edit]
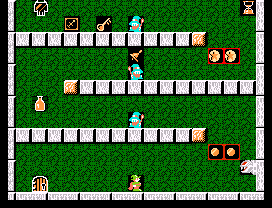
- Move to the right and carefully climb above the panel monster.
- Keep a space in between yourself and the breakable ledge. Lure the Willie to the ledge and drop him.
- Run across the path, jumping the skulls along the way.
- Grab the orange vial which will buy you time to build up to the next Willie and drop him like before.
- Moving across the next path to the right you must way for a gap in between the skulls to build up to the final ledge.
- Drop the Willie like before jump across to the key and the constellation sign.
- Quickly make your way back down to the door.
Stage 37[edit]
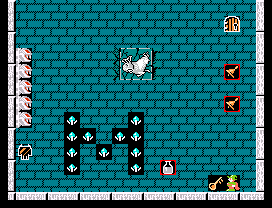
If you have a super flame, fire and make your way to the door. Otherwise, as you make your way to the door, always build a block to the left of the block you're standing on and to the left of Dana.
Stage 38[edit]
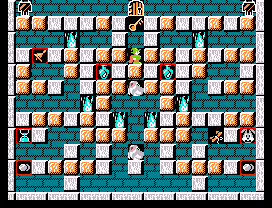
- Move to the bottom floor. You may want to remove the ghosts with those hidden fireballs, but take out the upper one first.
- Move to the right side and drop the second block beneath the lower blue flame, then place a block right below that so that the flame can be dropped by exactly two blocks.
- Move to the left side, and do the same to both blue flames on the left.
- Place a block between the center blue flames, move to the right side, and drop the upper right flame by exactly two blocks.
- If you have eliminated the upper ghost and taken the right fireball, place a block below the fireball.
- By this time, each side of the top floor shall have three gargoyles. Drop them all with the only available blocks.
- The key and exit are not far away.
Stage 39[edit]
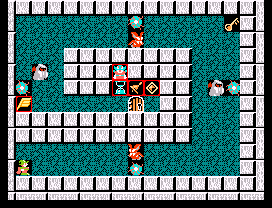
If you want to collect as many fairies as possible, keep your fireballs and ignore the key until you have collected Bomb Jack.
- Place a block on the right to let the spark ball cling on that. Once the ball moves upward, destroy the block.
- Run to the right shaft and start climbing upwards. Beware of enemies.
- Once you are at the top floor, the path is almost clear.
Stage 40[edit]
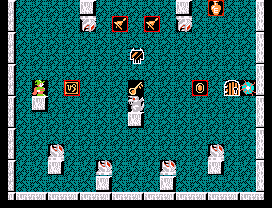
- Jump to avoid the sparklie flying straight at you from the right.
- Allow the sparkly to make one complete trip around the room, after it passes you once, place a block to your left, connecting your location to the wall. Yes, this will put you in danger.
- Destroy the block you just made as soon as the sparkly makes contact, and jump to the right. You should pass over the sparkly, and avoid the fireballs. (That's why we let the sparkly make 1 full trip around the room) Sparkly is now nicely contained, spinning around the block you were just standing on.
- The rest of the room is standard fare.