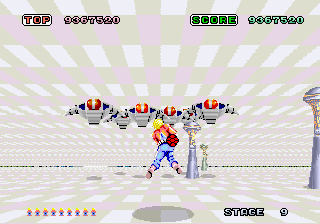
This stage is very similar to the fourth stage in that a ceiling descends on this level, and the inanimate objects you must dodge are pillars, and the icosahedrons known as Binzubins. In fact, it shares a lot with the fourth stage, including its speed and its shortness.

- A set of Binzubins will appear on the top, followed by a set on the bottom. Then three Mukadensu ships will appear from behind you on the right and fly forward.
- A set of Binzubins will appear on the top, followed by a set on the bottom. Then three Mukadensu ships will appear from behind you on the left and fly forward.
- The next occurance is the same as the first: Binzubins on top, Binzubins below, three Mukadensu from behind on the right.
- After another set of top and bottom Binzubins, six Mukadensu will fly out from behind you, three on the left, and three on the right. They will fly out, cross past one another, and then fly back towards you.
Boss: Dom

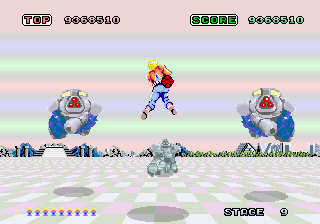
The boss of this stage is an unusually powerful Dom. He appears on the screen escorted by two blue Doms who fly in from the background and continue to fly past you on either side of the screen. Once he arrives, the super Dom will begin to flash colors. He will hop around to various points on the screen, squat down and fire a barrage of missiles at you. He will do this a couple of times, and if he is not destroyed, he will eventually leave and you will advance to the next stage. If you wish to destroy him, you must shoot him continuously before he has a chance to escape.
