Star Wars Jedi Knight: Dark Forces II/Descent into the Valley
| Objectives |
|---|
|
| Secrets: 7 |
Warning: This is a very confusing level. It is easy to get turned around, stuck on repeating circuits, or fall to your death in certain areas.
Safe entrance to sub level 2[edit]
Once the elevator arrives, proceed across the room and into the hallway. Head into the small room and take the lift down. In order to enter the next area, step on and off of the lift in order to send it up, then drop through the floor.
Control room[edit]
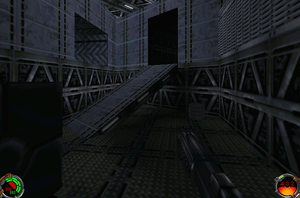
Follow the hallway into a room with a couple crates and a ramp leading into another hallway.
Secret Area 1/7: Jump up onto the high ledge above the doorway at the top of the ramp.
Secret Area 2/7: Enter the room with the zigzag pattern on the walls and jump up into a cubbyhole with an armor vest.
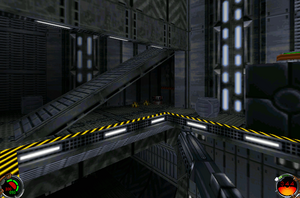
Go up the ramp, down the hallway, and up the stairs to the room directly ahead. Go through the next door and follow the hallway to a ramp leading onto a ledge.
Secret Area 3/7: Across the way, there is a small room with an elevator. Jump up onto the roof.
Secret Area 4/7: Blow up the wall behind the aforementioned ramp.
Proceed into the cargo area across from the ramp and call the lift; ride it down to the ledge below. Jump up into the room across the way. Either call the lift or simply fall down the shaft and into the room. Grab the control room key and exit the room, cross over to the lift, and ride it up. Jump up onto the ledge and drop into the tunnel with the zigzag pattern. Travel up the ramp and down the hall from earlier, but this time, enter the control room to the right. Throw the switch to open the cargo doors and send down the payload.
Cargo staging area[edit]
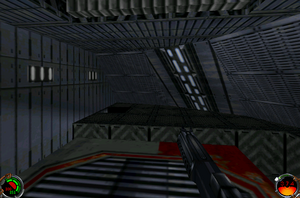
Exit the control room and follow the same route from earlier. In the cargo area, the payload is now ready to be sent through the next set of doors. Hit the switch on the wall to send it down, then drop on top of it and jump over to one of the two ledges with holes in the floor; it doesn’t matter which. Follow the corridors to a dark room with health packs and shield recharges lining the left wall. There will also be a lift across the way.
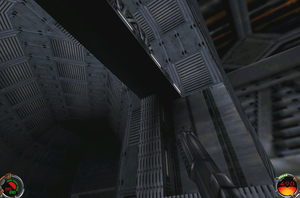
Call the lift and ride it down into the next control room. Hit the switch on the right-hand wall to drop the payload down and start it rotating. Exit the room and cross the bridge to the ledge overlooking the payload. Alternatively, jump to the ledge just to the right (pictured), before crossing the bridge. Ledge-hop up into a hallway and round the corners to the edge overlooking the payload. It is much easier to take the latter route because Force Jump isn't needed.
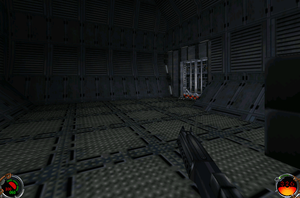
Regardless of the route, jump onto and run across the payload and then drop down to the floor on the opposite end. The goal is to make it to the room pictured. It is likely that you will be on the ledge above your destination, in which case you will need to carefully make your way down to said room. Once across, go through the door.
Ventilation system[edit]
Follow the hallway to the right and round the corners to a room with three door controls on the wall. Throw all of them and run along the ledge to the hallway on the far end. Ride the lift down, traverse the room, and go through the hallway to a down-sloping ramp.
Secret Area 5/7: To the left of the entrance to the down-sloping ramp, there is a wall to blow up.
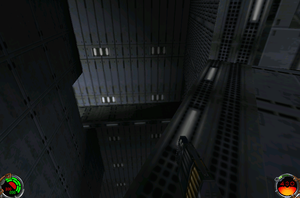
At the end of the ramp is a ledge to jump to; to the right is a locked door. Run along the ledge until Stormtroopers open the door and begin attacking.
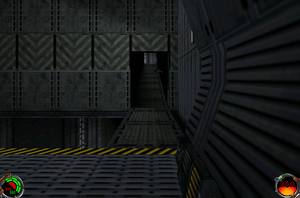
Secret Area 6/7: Further along the ledge is a room atop a ramp. Blow open the wall in the room.
Enter the room the Stormtroopers opened and take the lift down. Go through the door to emerge onto a ledge. There are two ledges across the way; one is higher up than the other. Run to the end and jump across to the lower ledge. Carefully cross the top of the wall to the right and hit the switch on the wall. To the left is a lift that will be called. Drop down onto it and run forward into the room. Go through the following rooms to a set of ramps to the left; while climbing the second ramp, turn around and jump up to the ledge. Jump up onto the roof of the room, and then up onto the top.
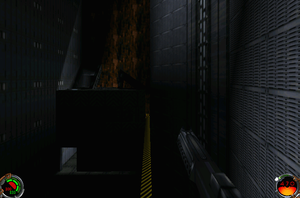
Carefully cross the top of the divider (yellow and black stripes) and jump up onto the roof across the way.
Secret Area 7/7: Continue along the top of the divider to the room at the end.
Go around the hole in the roof and enter the hallway in the back wall to emerge at the ventilating system.
Air shaft[edit]
Hit the switch to shut off the vent, then enter the air shaft. Fall down the shaft and follow the next shaft to a grate. Cut the grate and drop down to end the level.
