Star Wars Jedi Knight: Dark Forces II/Into the Dark Palace
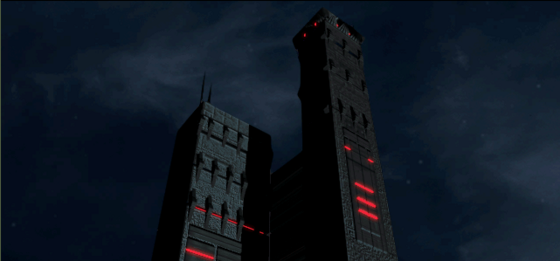
| Objectives |
|---|
|
| Secrets: 1 |
Ruins[edit]
Note: The ruins are defended by probe droids and sequencer charges. Exercise caution.
Head through the building just ahead; continue on to the stone path. Head around to the right and down the stairs to the next building. Go through and up the far stairway. Shoot open the jammed door to continue.
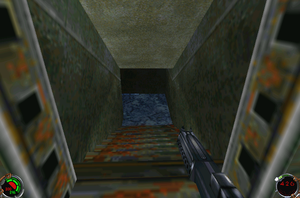
Work your way through and exit to the top of the rubble. Squeeze down the corridor to the collapsed building. Crouch to maneuver under the fallen beam, then jump to clear the woodwork and fall through a hole in the floor. Continue to the flooded staircase and swim down into the lower part of the building.
Secret Area 1/1: Turn left at the stairway and swim into the room on the right. Swim up into the hole in the ceiling.
Continue straight ahead until the building exits into a waterway. Swim down through the hole into the channel and turn left. Climb out of the water, follow the channel, and jump onto the right-hand bank.
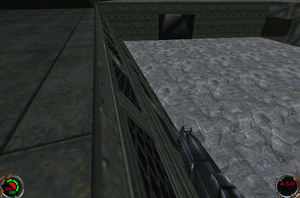
Head up the staircase and across the bridge, then continue on to the elevator. Ride it to the top and jump off to the left, into the probe droid docking area. Run through to the hallway at the opposite end and go through the door to the palace plaza. Slide down the sloped wall and into the plaza itself.
Upper plaza deck[edit]
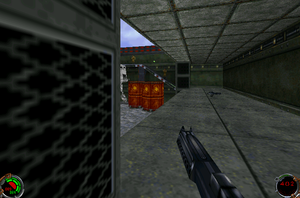
It is possible to go either left or right from here; there's no right or wrong way to go. The basic goal at this point is to get to the opposite end of where you're at right now, so go forth and conquer. The world is your oyster.
Keep an eye out for patrolling AT-STs and avoid them by hiding under the bridges. Also watch out for turrets; they have massive range and dead-on accuracy. The best way to take them out while simultaneously hiding from the AT-STs is to use the lightsaber to reflect their shots back at them.
AT-STs are most efficiently taken out by large-scale explosions, so keep an eye out for ways to disable them.
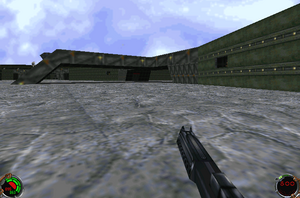
The goal landmark is the retracted bridge. There are two halves, controlled by switches located in control rooms opposite one another. The best strategy is to first clear out all the enemies, then hit one switch. Hold the run key and tear like heck to the other switch. Activate the second switch and activate Force Speed to run up into the building and across the now-extended bridge to the upper plaza deck. The bridge will only remain extended for a very short period of time, so you'll have to be quick.
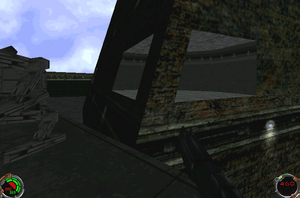
From the upper plaza deck, turn right and run along the deck to the far bridge. It is also possible to turn left and use Force Speed to jump across retracted bridges. There are two areas where the deck runs very close to the building, but the one that requires the lesser amount of travel and AT-ST confrontations is the one concealed by the palace's shadow. Take a running leap from the edge of the deck and land in the turret alcove.
Bulkhead doors[edit]
Turn right and head down the hallway, then take a left at the next hallway. Continue through the room, to the end of the hallway, and up the slope. Go through the room and turn left onto the ledge.
Control room[edit]
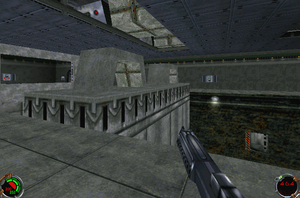
Hit the switch on the wall to lower the outer bulkhead door, then run across the top of it to the other ledge. Hit that switch to lower the middle bulkhead door. Jump down and crawl under one of the tabs to avoid getting squashed between the door and the ceiling, and ride it to the top. While holding the crouch key, scamper out from under the tab and around the corner, or else the door lock will crush you. Slash the grate to get into the air duct, then slash the grate on the other end to end up in the control room.
Main anteroom[edit]
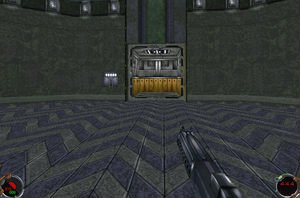
Destroy the grate in the floor and hit the switch to lower the innermost bulkhead door. Ride it down and enter the palace. Fight your way across the room, then call the elevator and board it to finish the level.
