Much of the ground is moving in this stage, but tapping will make it freeze for a moment. If you want the stamp, you'll need to play as Mario.
Before the checkpoint[edit]


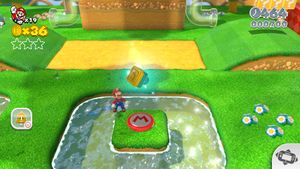
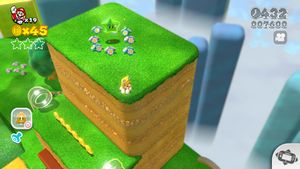
Ahead from where you start is a block formation with a ? block. An invisible block directly above it holds a bell, so grab that and head right past the first rolling hill. Up the cliff behind you is the first green star of the level, and towards the camera is a M-Switch: Make Mario press it to acquire the stamp.
To the right is another bell power-up and a valley full of rolling blocks. Look under the lower-rightmost one for a 1-up, and get all the red rings for another bell. Up the big hill is the stage's checkpoint.
After the checkpoint[edit]


The boxes to the right of the checkpoint hold microgoombas, so don't break them unless you want a fight! Go forward and past the mice to reach a pipe to the second half of the level.
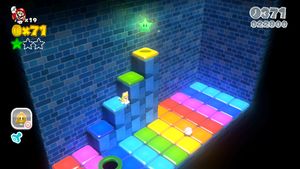
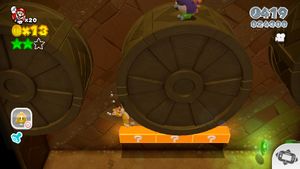
Underground, the path splits into an upper and lower section. The upper section holds a power-up, and at the end you can climb the wall for more coins. Down below, a green pipe will take you to the second green star. After grabbing it, there's a series of platforms, but if you drop below them you'll find a hidden area with the third green star. Take the pipes out of the cave to finish the level.

