The Legend of Zelda: The Wind Waker/Forsaken Fortress
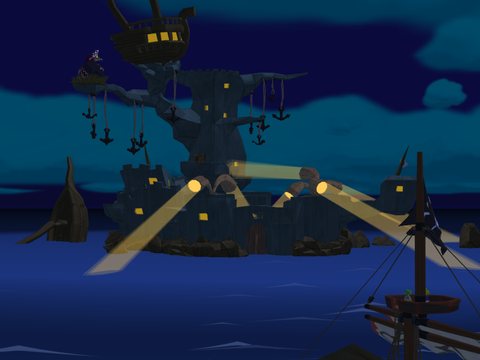
The Forsaken Fortress is located in the northwest quadrant of the Great Sea. It is where your sister is being held prisoner, along with two other characters: Mila and Maggie. When you reach the gloomy island, you will learn that the Helmaroc King has made his home in the Forsaken Fortress as a servant of the great evil. Additionally, the stone fortress is well-guarded with cannons, searchlights, and hordes of Miniblins and Moblins who patrol and attack any would-be invaders... and unfortunately, your means of entry caused you to drop your sword near the top.

After being launched into the fortress, turn right as if to go up the stairs. You will hear a voice coming from your pocket and soon find out that Tetra slipped a ![]() Pirate's Charm into your pocket that allows you to communicate with her over long distances. When she finishes talking to you, head up stairs until you come to the fortress' large, open courtyard. Run into the middle of the courtyard and get caught in a searchlight. You will subsequently be thrown into a jail cell by the guards.
Pirate's Charm into your pocket that allows you to communicate with her over long distances. When she finishes talking to you, head up stairs until you come to the fortress' large, open courtyard. Run into the middle of the courtyard and get caught in a searchlight. You will subsequently be thrown into a jail cell by the guards.
To get out of the jail cell, hop up onto the table and run toward the empty shelf. You will jump up onto the shelf. When you do, lift the pot and throw it away from the wall. Doing so will reveal a small crawlspace. Crouch down on your belly by holding ![]() and moving
and moving ![]() then crawl through the hole until you emerge on the other side.
then crawl through the hole until you emerge on the other side.
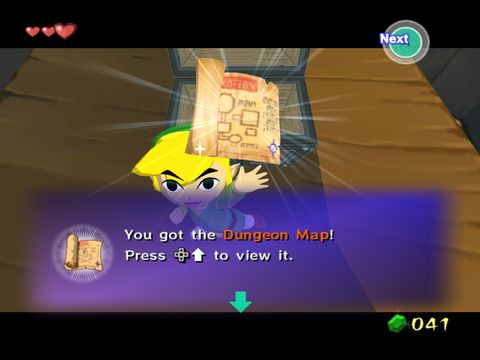
After freeing yourself from the jail cell, head down the ramp leading out of the room. When you get to the next room, you will notice a large treasure chest in front of you. Open it up to obtain the ![]() Dungeon Map for the fortress. Once you have the map, use the rope to swing across the room, landing safely on the other side, just like you did in for for Niko's minigame on the Pirate Ship. Once you get across, exit the room through the door on the left.
Dungeon Map for the fortress. Once you have the map, use the rope to swing across the room, landing safely on the other side, just like you did in for for Niko's minigame on the Pirate Ship. Once you get across, exit the room through the door on the left.

Outside, take the first left. You'll see a ladder pressed up against the wall. Climb up it and prepare yourself to fight a Bokoblin manning some searchlights. The Bokoblin is armed with a ![]() Boko Stick, which is what you will need to kill it. To get a Boko Stick, you can either use your shield by holding
Boko Stick, which is what you will need to kill it. To get a Boko Stick, you can either use your shield by holding ![]() while locked on to block the Bokoblin's attacks, causing the Boko Stick to fly out from its hands, or you can break open a nearby pot that is filled with Boko Sticks. Either way, you will need to pick up a Boko Stick and use it to kill the Bokoblin. Once it's dead, hop back down the ladder. Take a left and keep following the corridor. When you get to the end, enter the door (it's opposite the door you came from).
while locked on to block the Bokoblin's attacks, causing the Boko Stick to fly out from its hands, or you can break open a nearby pot that is filled with Boko Sticks. Either way, you will need to pick up a Boko Stick and use it to kill the Bokoblin. Once it's dead, hop back down the ladder. Take a left and keep following the corridor. When you get to the end, enter the door (it's opposite the door you came from).
Note
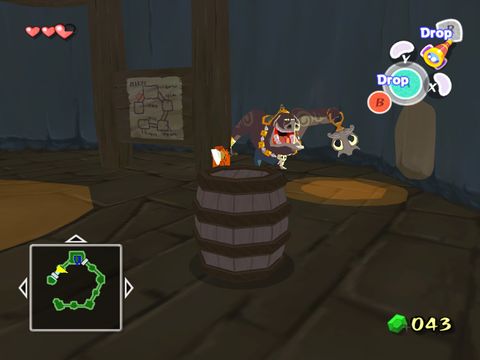
Warning: you will want to disable all three searchlights by killing the Bokoblin operators. This will make it much easier to get your sword later on. If you get caught by a searchlight that hasn't been disabled yet, you will be thrown in jail again and have to walk all the way back to where you were. Also, if you get too close to a guard while using a barrel to hide under, you will hear sudden, intense music to alert you that the guard is about to catch you. Because of this, it is wise to only move while a guard is looking in the other direction from where you are heading.
Turn left, go up the ramp and defeat the Bokoblin the same way. Go back down the ramp and continue along the counter-clockwise path.
In this room, get the ![]() Dungeon Compass, swing across the torch rope to the other side, and go through the door. Turn left again and go up the ramp and up the ladder, and defeat the Bokoblin the same way. Go back down and continue counter-clockwise. Again.
Dungeon Compass, swing across the torch rope to the other side, and go through the door. Turn left again and go up the ramp and up the ladder, and defeat the Bokoblin the same way. Go back down and continue counter-clockwise. Again.
Hop over the gap the same way. If you want around 40-50 rupees, push the block to your left down, grab the rupees below, and push the block under the ladder to get back up. Continue going counter-clockwise again.
This is probably the hardest part of the dungeon if you don't have patience. Find the barrel to your left and pick it up. You will put it over your head. Now head the only way you can that isn't off a ledge. When you get close to a Moblin, it might see you if you're moving, so stay still in the barrel. If you get caught, you'll be thrown in the cell and have to find your way back here again. Head towards the big door and open it (not while you're still in the barrel).

Head up the stairs and do the same thing with this next barrel, avoiding the Moblin. When you are out of his sight, continue up the path. You'll encounter a gap in the floor with a narrow ledge to the side, but just sidle across by walking into the wall and holding ![]() and then moving
and then moving ![]() to cross it. Do this for the next gap too. Continue up the path for a short mini-boss-esque fight.
to cross it. Do this for the next gap too. Continue up the path for a short mini-boss-esque fight.
Run over and grab your sword off the ground, and use it to beat this guy. Be mindful that he has a shield, but you can beat him pretty easily. When you do, the door will open, and you can enter. This will begin the next cutscene.