Until Dawn/Chapter 5
Mike[edit]
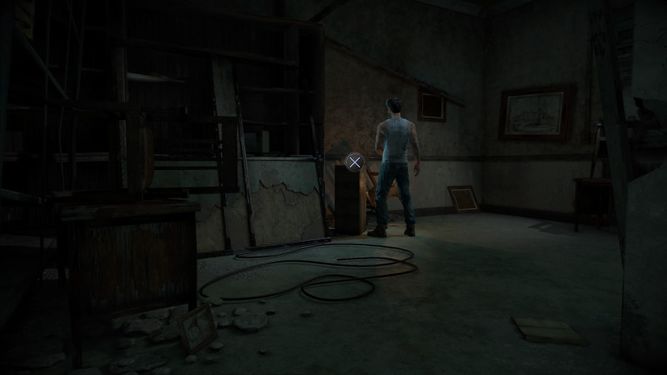
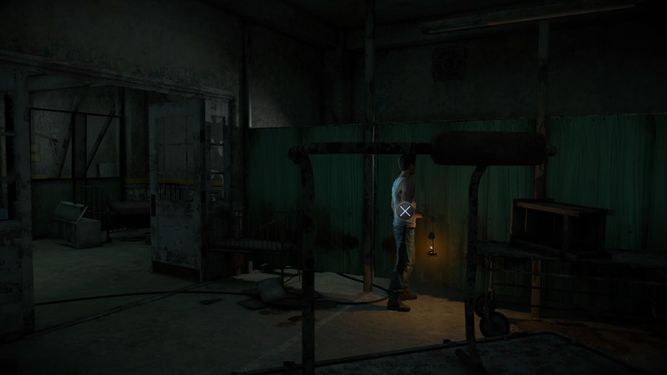
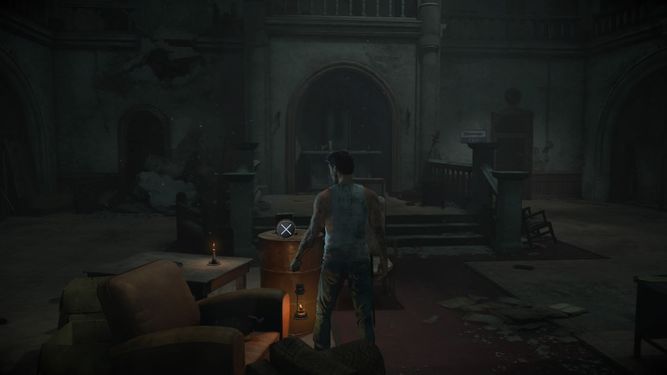
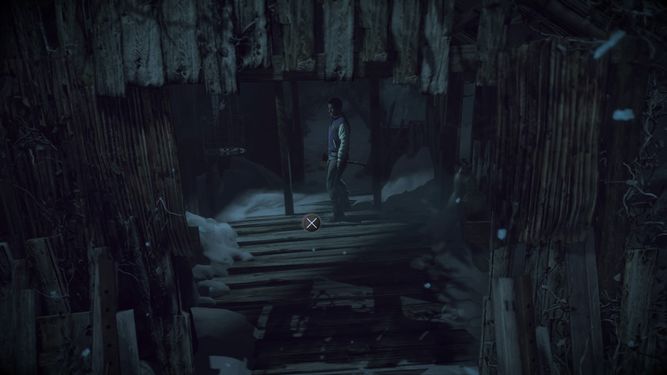
For the first totem, head left of the fountain, toward the front gate. This is Fortune Totem #2. Now head right of the fountain towards the sanatorium, where you saw the mysterious figure enter (take a left at the front doors and head down the stairs to find the secret entrance into the basement). Pull the board out of the way and Mike will drop into the basement. From here, head towards the screen and the camera angle will change. Through the gate, you should see a barrel, but don't interact with it just yet. Pick up the totem a short distance behind it. This is Loss Totem #4. You can now push the barrel and climb it to reach the upper deck. At the end of this path is a hole in the floor above that Mike can climb through. If you missed either totem, don't worry; you can just exit through the front door and go around to the basement again.
-
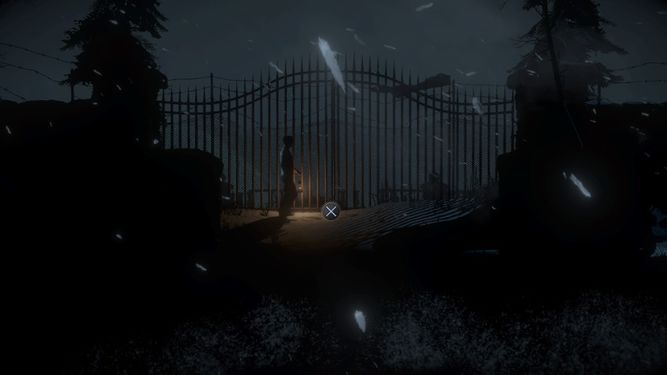
As soon as you have control over Mike, head left of the fountain to find this totem by the gate.
-
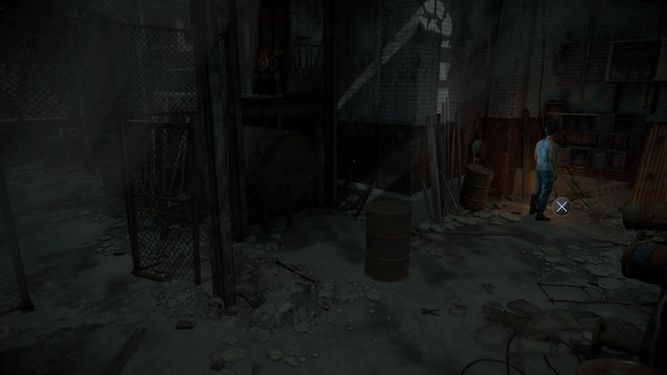
Once inside, pick up the totem behind the barrel you have to push.


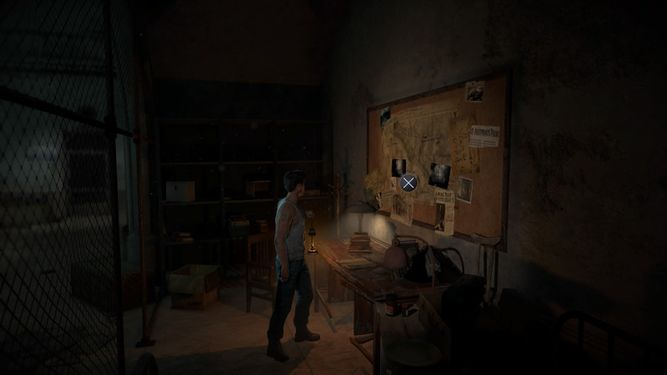
Mike walks to the chapel door during a scene, but as the door is locked and the man's wolves are on patrol, there's nothing you can do here for now. Turn back around towards the front door. On your way, you should see a door to the left marked "admin," but before heading through, take a left as soon as you reach the front door. On a table is a note that you can pick up and turn over for 1952 Clue #3. Return to the admin door and head through. As soon as you enter the new area, make a left into an alcove. Hidden here is a safe. Interact with it and follow the onscreen prompts to find 1952 Clue #6, a stack of clocking-in cards.
-
To the left of the front door is a table with a note on it.
-
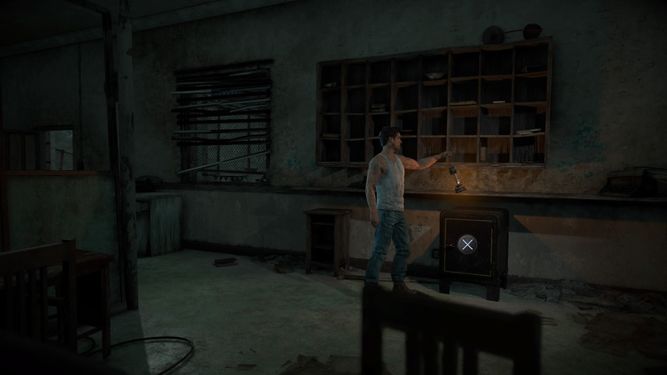
Inside a safe to the left of the administration room is a hidden clue.


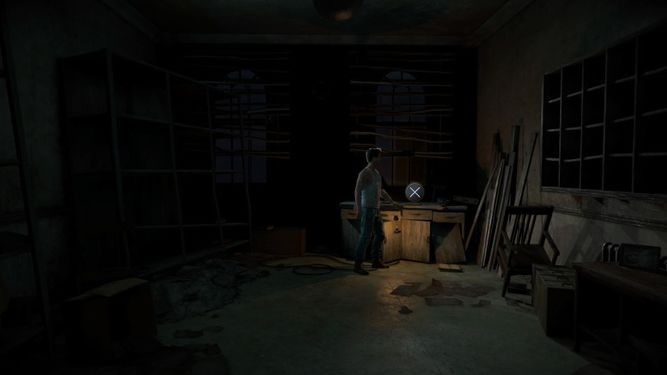
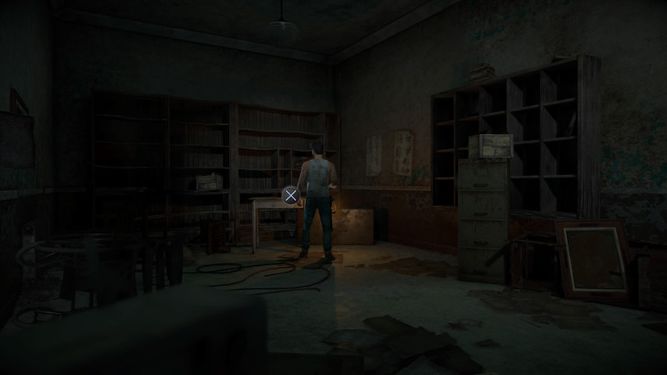
Exit the alcove and walk forward a short bit before heading left again. To the far left, atop a filing cabinet, is 1952 Clue #4, a camera with a cracked lens. You can now continue forward through the door marked "morgue." Instead of going straight down to the morgue at the fork, head right. An open door leads into an office, so head right on in to find a couple more clues. A newspaper on the back desk is 1952 Clue #8.
-
To the far left of the administration room, outside the alcove, is a filing cabinet holding a mysterious camera.
-
After exiting administration, make a right to find an office. On the desk is a newspaper.


Turn back and head towards the morgue, but before heading down the stairs, you should see another open door on your way, to the right. On a desk inside this small room is 1952 Clue #5, a medical report. Make sure you read both sides of the paper before exiting and finally making your way down the stairs and into the morgue. Descend two flights of stairs and you should come across a door that you can interact with. Move it aside to gain access to the machete, which you'll need to pull out of some gore.
-
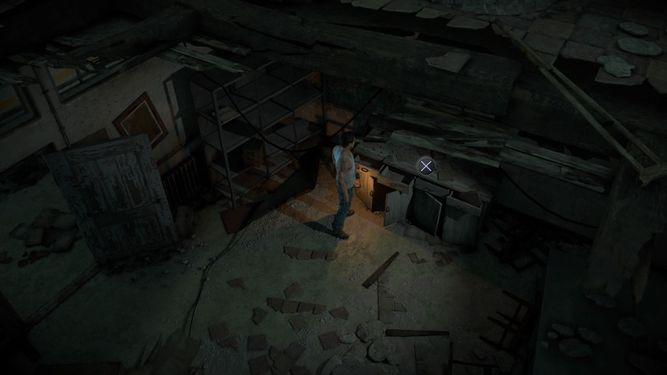
Make a right before heading down the stairs to the morgue to find a medical report on the desk.
-
As soon as you enter the morgue, you should find a useful tool.


Now that that's done, head toward the camera to come across a curtain. Pull it aside to find 1952 Clue #9. Turn back and follow the only path forward. Out in the hall you should see the shadow of a wolf pass by, but ignore it for now and head through the door in front of you. On the table is a 1952 Clue #10, a telegram. You can now head out into the hall and follow the path forward. Enter the next room and the camera will focus on a hand sticking out of a table, swinging back and forth. This is a butterfly effect.
-
Head toward the camera to find a curtain; pull it aside for a sinister clue.
-
Before following the wolf out in the hall, head through a door to the right to find a telegram.


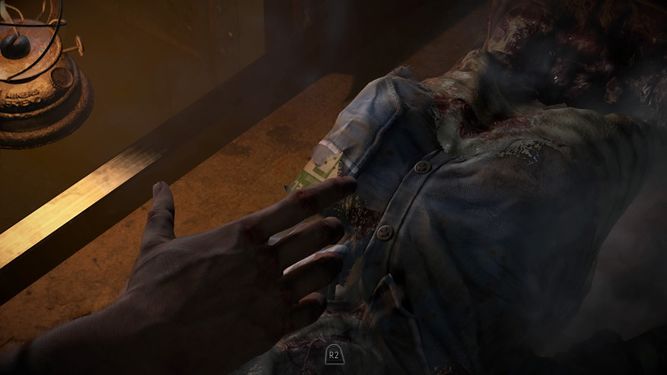
Choosing not to interact with it at all will bring you the safest outcome, but if you do choose to do so, you will be presented with a tough choice: amputate two of Mike's fingers or attempt to pry the bear trap open with the machete. Choosing to cut off his fingers will net you a silver trophy, and ultimately won't have any effect on the story aside from some of Mike's friends showing concern. Choosing to pry the trap open will damage the machete beyond use, forcing Mike to ditch it though it may come in handy later. With this information in mind, the best choice if you do interact with it is cutting off Mike's fingers.
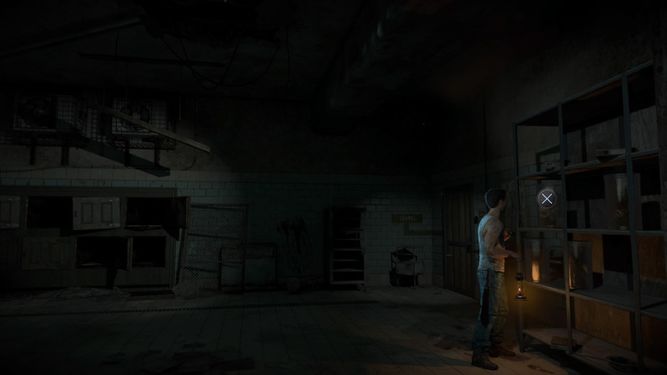
With that out of the way, proceed forward through the double doors. To the right is a jar that you can examine for 1952 Clue #12. Now head to the left of the room to find a body storage area. Interact with the left-most door to pull out a body holding a chapel security pass. Before exiting, open the door to the right to pull out 1952 Clue #13, a registration of death, and one on the other side for 1952 Clue #11, a name tag. You can now head to the door marked "chapel" to the right and use the chapel security pass to head on through. Head up the stairs to trigger a scene.
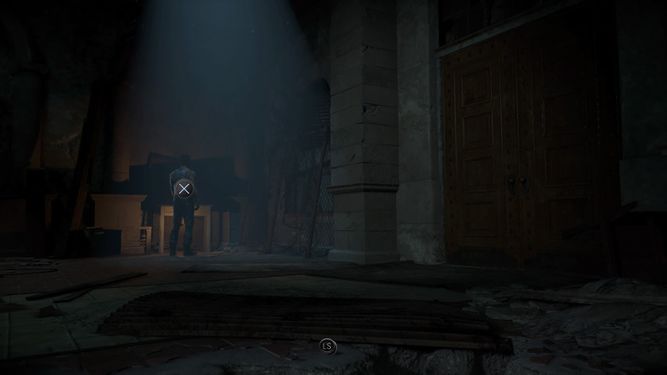
Now that the man is leaving the chapel, you can finally make your way down.
-
After interacting (or not) with the hand, proceed forward and examine the interesting jar to the right.
-
Two storage containers in the morgue hold clues, and one holds the chapel security pass


Head towards the camera to see a short set of stairs. Descend them and drop down from the ledge to end up back at the entrance of the sanatorium. Head to the door marked "chapel" and use your security pass to enter. Doing so initiates another butterfly effect: will you hit the wolf or stay calm? The latter is recommended, though if you hit it, your relationship can still be repaired by bringing it a bone from the trunk at the chapel's alter.
Head to the center of the room to find a barrel by a couch. Atop the barrel is Mystery Man Clue #12, a lone cigar. To the right is a room in which you can find a corkboard. Examine it for Mystery Man Clue #13. To the right of this room is another. Though it's locked, you can pick up a jacket and a gun from here. If you want, you can open the aforementioned trunk to find a bone and bring it to the wolf, but otherwise, there's nothing else to do here, so you can follow the mysterious man through the exit at the end of the room, to the right. Just shoot the lock and head on through.
-
In the center of the chapel is a barrel holding a cigar.
-
To the right of the chapel is a room with a mysterious corkboard.


Head through a door to the left of the screen (Mike's right) to find a long staircase, but before descending it, head around it. By the windows are some well-hidden collectibles: Death Totem #3 to the left and 1952 Clue #7 to the right. After picking those up, make the trip down the stairs. Follow the path forward and make a turn around a corner to find a locked gate and a barrel. Interact with the barrel to move it, then shoot the lock. The following scene concludes Mike's segment of the chapter.
The perspective will now switch to Matt, accompanied by Emily, as he makes the trip to the cable car station.
Matt[edit]
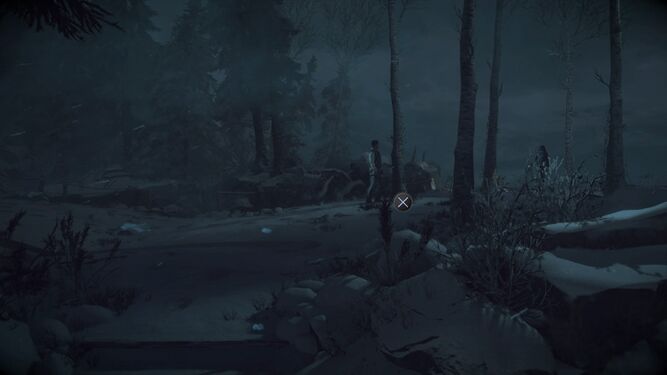
Follow Emily down the path, but before heading toward the station, make a left toward the table. A short walk from here, right by the fence, is Death Totem #2. Now follow Emily toward the station and yank the axe, Mystery Man Clue #16, out of the door. You are then presented with a choice: help Emily through the window or smash open the door. The outcome is the same either way, but choosing to smash the door will slightly improve your relationship with Emily.
-
There's a totem to the far left of the station.
-
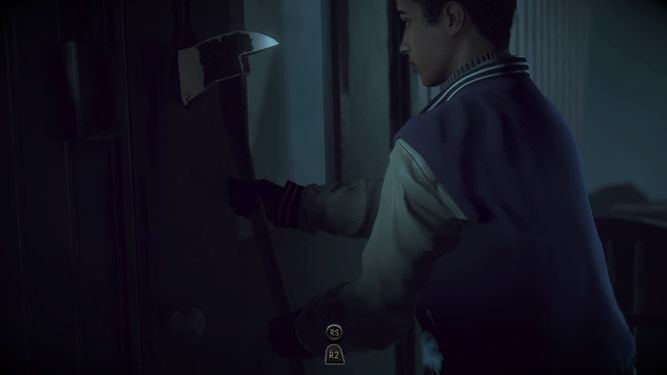
The previously-missing axe counts as a clue.


Head up the stairs and into the small room. Interact with a map in the left corner to lift it up onto the wall. This will bring attention to the fire tower. Across the room, examine the control panel to discover that you'll need a key to operate the cable car. This leads into a butterfly effect decision: Emily suggests you go to the radio tower, so do you agree with her or disagree? It is strongly recommended that you disagree here if you're going for the good ending, as agreeing will cause Matt to perform a crucial action differently when playing as Emily. Either way, Matt will give in to Emily's demands, and it's off to the fire tower.

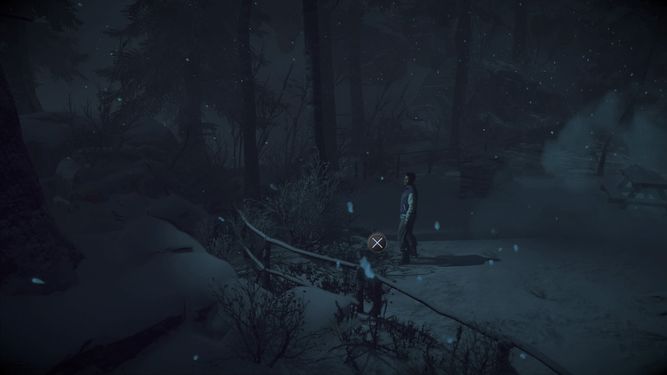
Exit the room and follow Emily to the ladder. Interact with her to help her pull it down, then continue to follow her down. You can then begin to shimmy across the side of the building. Press ![]() to save Emily from falling before continuing on. Now head up the stairs and go left before following Emily to find Guidance Totem #5 among some branches. After picking that up, follow Emily all the way up the hill, past the scaffolding, and you should come across an eventual fork in the road. Head left when she heads right to find a worn-down shack. Inside, you can interact with one of the wooden planks on the floor. Lift it to find Twins Clue #10, Beth's phone. Return to the fork and head right, but make sure you pick up Fortune Totem #3 by the base of a tree as soon as you do.
to save Emily from falling before continuing on. Now head up the stairs and go left before following Emily to find Guidance Totem #5 among some branches. After picking that up, follow Emily all the way up the hill, past the scaffolding, and you should come across an eventual fork in the road. Head left when she heads right to find a worn-down shack. Inside, you can interact with one of the wooden planks on the floor. Lift it to find Twins Clue #10, Beth's phone. Return to the fork and head right, but make sure you pick up Fortune Totem #3 by the base of a tree as soon as you do.
-
Head left at a fork in the path to find a loose floorboard hiding a clue.
-
Head right at the fork to spot a totem by a tree.


Continue to follow Emily towards the edge of the cliff, then turn back to trigger a scene. The perspective then switches once more.
Sam[edit]

Feel free to examine the lone sock to the right; aside from this, Sam's clothes are all gone. Exit the bathroom, then proceed to follow the balloons through the double doors and down a narrow hall. This will lead you back to the mansion's main area, where balloons have been scattered all about in order to lead Sam to the basement. Head down a couple of flights of stairs to make it to the mansion's main floor, but before following the balloons all the way down, head into a room to the right. On a small table is Mystery Man Clue #14, a business card. You can now return to the main room and follow the balloons down into the basement.

Head toward the open theater room and Sam will pick up a flashlight before entering. After a scene, a chase sequence begins. Note that you can only be successful if you follow all choices indicated, hit all buttons successfully, and chose not to shoot the squirrel as Chris in the first chapter. Escaping will allow you to collect all mystery man clues. To escape successfully, do the following:
- Throw vase (aim with
 and throw with
  ).
). - Jump (press
 to avoid falling on the stairs).
 - Run. If you choose to hide, press to cover the flashlight and don't move, then choose to run. If Sam picked up the baseball bat in the second chapter, she'll be able to use it with
 .
. - Pull (
 to lock the door). Afterward, push through the door (
 ). You can take your time here.
 - Hide (press to hide the flashlight, then don't move).
If you did not perform this sequence correctly, you will be locked out of the clues, but Sam will still have a chance to escape in one of the following chapters. A session with Dr. Hill in which you are given no choices concludes the chapter.