At the same moment, near the base of Stonetalon Peak…
Mission Objectives[edit]
- Main Quest - Stonetalon Peak
- Destroy the Human base guarding the peak
- Optional Quest - Wyverns
- Find the Wyverns
- Save the Wyverns from the vile Harpies
- Optional Quest - Defiled Fountain
- Kill the Centaur Khan
- Return the Glyph of Purification to restore the Fountain
Strategy #1, Steady Expansion[edit]
Preparations[edit]
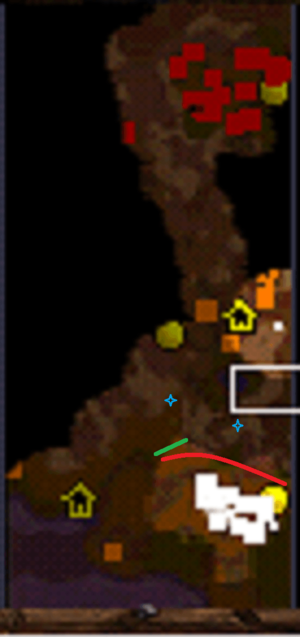
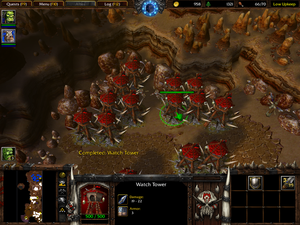
First of all, fortify your base by building Watch Towers. For Hard mode you will need 9 Towers at the main entrance and 9 above your Great Hall (protecting the path to the gold mine from air strikes). The Humans will cycle through several army layouts when assaulting your base. Groups with Mortar Teams or Hero Wizard are the most dangerous. Take these units out first. Use Cairne’s War Stomp ability to interrupt Blizzard. Deploy Sentry Wards along the approach routes to give you more response time. You can also use Zeppelins for this, but the attackers can and will shoot those down.
When fighting grey, lure enemy melee units into following your army deeper into the base while Towers are softening them up.
Wyverns[edit]
Saving the noble Wyverns of Kalimdor and enlisting their aid is optional. Wyverns aren’t your top pick for assaulting the Stonetalon peak, but the quest is still worth doing for items you’ll find along the way. Assemble an army of 3 Grunts, 3 Raiders, a Shaman, a Witch Doctor, and both Hero units. This quest can be squeezed in between Human attacks if you act fast. Use Zeppelins to get your troops to and from the action quickly.
Turn west just as you exit your base. Continue past the Goblin Merchant (no time for shopping) and butcher a pack of Quillboar Hunters. Keep an eye on Healing Wards during the fight within Razormane camp; they must be destroyed quickly. Medicine Man drops Health Stone and Chieftain has Periapt of Vitality. You can use the Raiders’ Ensnare ability to bring down Harpies, and collect Pendant of Mana off their Queen. Harpies guarding caged Wyverns at the end of canyon have no leader and no treasures. Instead of mucking around with Ensnare, you could simply use a bunch of Trolls; it works just as well and is simpler.
Saving Wyverns will double the size of the army and may even force you into High Upkeep. Get back to your base immediately.
The Lordaeron Brigade & Fountain[edit]
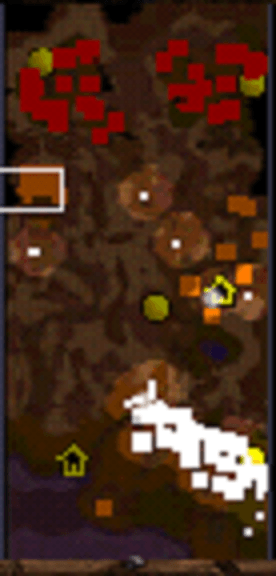
Grab five Peons along with all of your army and proceed to the north. Clear out any Centaurs you meet and set up an outpost at the second gold mine. Build Watch Towers first. Follow the same layout as with your main base fortifications. In between human attacks, try to lure some of the Centaurs from NE into your new base. Centaur Khan will drop Glyph of Purification. Return it to the Fountain to complete the quest. Once outpost is established, assault the Lordaeron Brigade base to NW.
Bring 3 Grunts, 3 Raiders, 2 Catapults, 2 Witch Doctors, a Shaman, a Kodo, and Wyverns from the previous quest. Use Healing Wards. Set Bloodlust on auto-cast. Focus fire on enemy Hero Wizard and interrupt his Blizzard spell, while catapults hit enemy Towers and unit production buildings. Ensnare flying units with Raiders. Protect your siege weapons at any cost.
Stonetalon Peak[edit]
The blue base is located high up in the mountains and can only be reached using flying units. You already have one Zeppelin; buy at least several more at the Goblin Laboratory. Your army needs to be slightly bigger now due to complications with delivery of fresh troops: 4 Grunts, 3 Raiders, 3 Catapults, 3 Witch Doctors, 2 Shamans and a Kodo. Bring some Wyverns as well.
Before you start the attack, there is a particularly nasty trick that you can use. Build Watch Towers south of the Human Expedition base (right where the mountain starts). This will ensure that enemy Zeppelins will be destroyed as they pass overhead. Inappropriately unloaded units are unable to move or attack for a few seconds and are an easy target for your Towers. The Towers will also lure down Gryphons that are guarding the mountaintop. Trap them with Raiders. This trick relies on the fact that the AI is not permitted to avoid your Towers, or to deploy artillery against them from the mountaintop. It's like spawn camping - hilarious if you do it to someone else, not so funny when they do it to you.
You can and should use this trick at your first base as well, but there it is topography that creates the killzone, not a deficiency in the program.
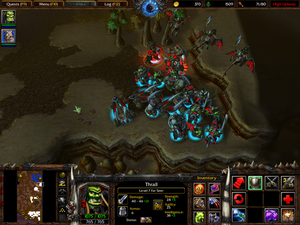
You may now board Zeppelins with your army. Leave only Peons behind. Land as far away from the Human base and as far to the right as possible. There’s a tight spot between the edge of the mountain and trees. Wait for the Humans to send down their Zeppelins or Gryphons. Counter attack. The best moment to hit the Human forces is when their hero is still being revived after a previous attack, but the Gryphon force only just left to attack your base.
Strategy #2, "Rush"[edit]
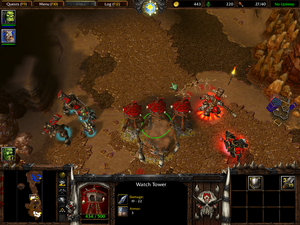
Technically, this is not a rush, hence the quotes in the caption. It shares some of the characteristics of a Tower Rush and a Fast Expand. (See glossary, for example.)
Warning: This strategy depends on full clairvoyance (knowing where everything is) and prescience (knowing all future events), so you will not be able to implement it on a first play-through of the scenario without first reading the walkthrough.
Once the mission starts, take all of your troops and three Peons north to the gold mine in the middle of the map. Continue producing Peons at your first base. Ignore Harpies. Destroy Centaur camp and start building Watch Towers right above the second gold mine. First human attack will arrive by the time you finish your third Tower. Stay within no-upkeep limit. Build reinforcements only if your army grows thin. For hard mode, 6-7 units (not including Heroes) and 9 Towers is enough to defend against any threat.
This is your main base of operations now. You may set up unit production here to save time. Right away, start researching every upgrade available and building army for the assault of Stonetalon Peak. You can ignore the Wyverns quest and any items found within the canyon along the west map edge. However, if you want the Pendant of Mana, which is a very important item, you will need to kill the Harpy queen, and that will almost certainly complete the Wyverns quest. Ignore Lordaeron Brigade base. Ignore Fountain quest too, although Centaur Khan needs to be killed anyway. He will prevent you from luring down the Gryphons that are guarding the mountain. Buy Zeppelins. If you don't have Wyverns, you will need to figure out some other way of securing your landing, such as the Tower trap described above.
Treasures[edit]
- Health Stone from the Razormane Medicine Man within the canyon leading to Wyverns
- Periapt of Vitality off the Razormane Chieftain in same canyon
- Scroll of Protection in same canyon
- Potion of Mana in Harpy base
- Pendant of Mana is dropped by Harpy Queen
Only items 1, 2, and 5 are worth anything.