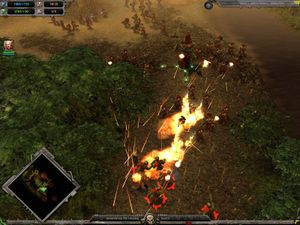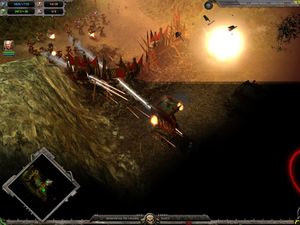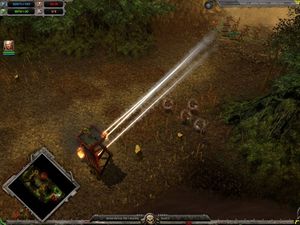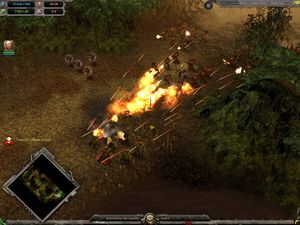
The real objective of this mission is to destroy some more Ork bases again, but you start with an infiltration part where you control only a few Scout Marines.

Infiltrate your scouts right away as there are Orks close by. While infiltrated, you can move freely for now - there are no leader units who could detect you. Move south and then east; ignore the Guardsmen in trouble, there's no way you can help them. Reach your first objective to gain another Scout Marine Squad, this one with sniper rifles. Reinforce both squads to 4 men. Around the first Strategic Point there are some Orks you must kill. Do this with your snipers (stay at maximum distance). Capture the SP while you're at it. Go stealth again; don't bother attacking any more Orks, it's easier to come back later with bigger guns.

A bit northeast there's a small Ork camp with a Slugga Boy patrol. This squad has a Nob Leader so stay away, he can detect you. Sneak past clockwise; i.e., wait for them to move east to sneak up, then wait for them to move west to sneak out. After the camp, kill the indicated Nob on the ramp.

When the Nob is dead, some Tactical Marines and the Commander are dropped in. Move up the ramp and use the heavy bolters to take out Ork buildings (they outrange structures if you position them carefully). Capture the SP's and build a base (need only 1 Plasma Generator). Take your Commander, 1 flamer squad and 2 heavy bolter squads to capture the SP by the south ramp. Build a fortified Listening Post, put the Commander attached to flamer squad in front of it and the heavy bolters behind. This defense will put down any Orks coming down the path so you can concentrate on clearing the map with other troops (start by clearing the area your scouts came from).
Then the rest of the map. Starting from the south ramp, take 2-3 squads north to help some allies, though what you really want is to blow up some Ork buildings you can see over their wall here. Then go northwest (from the ramp again) to kill the lone Killa Kan (1 missile squad with infiltrated scouts). Then take the southwest SP and build the same defense you did before. Now the Orks have to choose one to attack, so when they do, you advance from the other side. Missile their buildings from afar and let any counterattacks wither to the flamer/bolter combo. The first base will be gone in no time.
After the first base, there's a crossing with a Strategic Point (look out, you'll be rushed by tons of Orks). Here you have a chance to make your life a lot easier. You can once again see some buildings over their fence south of the SP. If you move Scout Marines as close as you can, it's possible to missile their Da Boyz Hut and Da Mek Shop, stopping the constant attacks - and especially the Killa Kans - coming from the southern base. Now you can focus on the north base, and they only send infantry attacks.
So - make 2 Skull Probes from your frontline Listening Post, infiltrate them and send one to each base to see what's there. Then advance with Scout Marines to spot targets, a missile squad to blow up buildings and flamer/bolter squads to wipe out any infantry. It's quite simple from here and there's no way you can lose. On to the next mission.