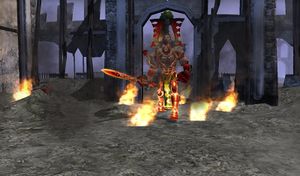
This is actually easier than the previous mission. The attacks on your base don't start so early, and while you have a big fight in the end, you'll have way more space to maneuver instead of attacking a funnel kill zone.
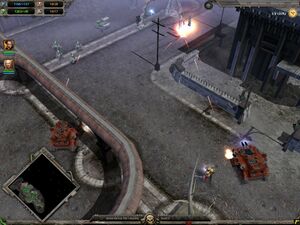
The map is divided by a river and the only bridge is closed, so the mission as two distinct parts. First of all, turtle. Take the two Strategic Points right in your base and don't go out. This way you can build and tech up for quite a while. Make several generators, tech toward vehicles as soon as you can. You also need one missile squad in case you get tank-rushed before that, and some anti-infantry (like one flamer squad and one heavy bolter squad). Build turrets.
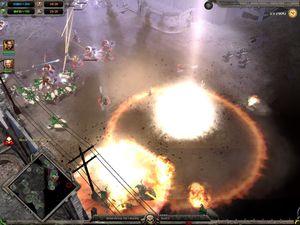
You will eventually be attacked from all directions except below, but the big ones (with vehicles) come from the left; only 1–2 infantry squads at a time from the other entrances. In addition, there will be the Avatar, who's not really so tough; he will run away after receiving surprisingly light damage. Let him go until you think you can finish him, then rush after him for the kill (don't do this when he runs west, as you'll run into tanks and stuff - wait for him to go north or east). When you can spare the troops (say one Dread and one squad), go get the SP on your right. Also get the Relic; it's unclaimed. These will be left almost completely alone. When you get the left SP it will draw tank attacks and the like so don't go there until you can handle it.
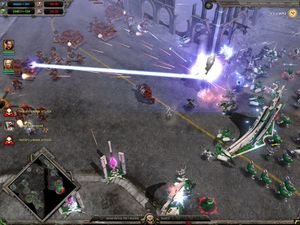
When you have two lascannon Predators, you should take out the left side (minor Eldar base, Slag Deposit, Relic) without trying. Then send Skull Probes to scout the main base. Note that you can attack it from behind if you want, right where the production buildings are. They don't have decent anti-vehicle so Preds and Dreads will own them. Then clean your side of the river (lone squads will keep appearing at certain locations throughout the mission, you can't stop those). Before taking the gate-opening Strategic Point, stop.
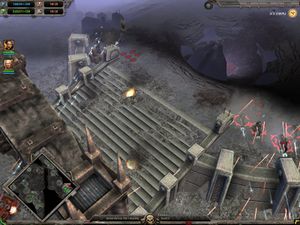
When you take the SP and open the bridge, two things happen: you will be rushed by swarms of Eldar and two builders will appear on your side of the river. For the latter, have a squad/vehicle ready to search your side (the builders may have been at the square and crater south of your bottom Relic and SP) until you find two Bonesingers. For the former, have a good main force in position to hold the bridge when it opens. Use four Predators lined to block the bridge with four Dreadnoughts ready to drop when needed and heavy-weapon infantry behind the tanks. This is the first time you can get Terminators so maybe you want to try out those; have one Terminator Squad with assault cannons and one Assault Terminator Squad. Attach your commanders to these. One Assault Marine Squad may also be useful.
When you have this set up, open the bridge and start pushing forward. If they bring lots of anti-infantry units to the front then lead with vehicles and vice versa. Drop Dreads where needed, teleport Assault Terminators in and out, use your special abilities liberally (especially Orbital Bombardment). Build a secondary base at the other end of the bridge to replace any units you (may) lose. When your main force advances by the main street, you can take one Tactical Squad and one Assault Squad south to take out a couple of Webway Gates.
There is some heavy fighting in this final part, but you shouldn't have major difficulties. Just use your units logically - who should be shooting at what, who do you move up front to absorb that, and so forth. Press on slow and steady, and soon your tanks will be shooting at their production buildings. You will win the mission when you can move to the dig site.
Alternative strategy[edit]
If you don't mind being cheap, 5-10 Land Speeders with a similar amount of Assault Marine Squads jumped over the river can reportedly clear out the north side before you even open the bridge (on any difficulty level). It may not be as satisfying as winning "like you were supposed to", though.