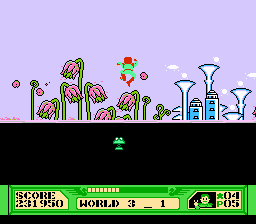
Description: The first thing you will see are the Junior Jumpers. Don't hit them yet, however, because you should stay on the ground and use the poles beyond them to power up. The first row of poles alternates between tall and small. The small poles have nothing. One tall pole has a Potion while the other has a Mushroom. The second row is just like the first, only instead of a Potion, there's a Rocket in the opposite tall pole. Once you're powered up, feel free to run into the Jumpers and let them take you across the stage. You have enough time to take this stage at normal speed, but if you like, you can hold forward to skip every other jumper and double the pace. However, you will miss a few stars by doing this, and it is not recommended that you let go of forward, especially over a chasm, because it will mess up the timing between Jumpers. The end of the stage contains an extra long chasm which you cannot cross without the aid of the Jumpers.
Key Feature: Using Junior Jumpers to make it over chasms.
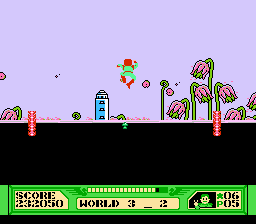
Description: This level starts out with a set of Jumpers. Hit them and be prepared to use them to cross another giant chasm. This time, the line you pick will not remain safe. Eventually, you will have to move left or right to avoid flying into a fire pole, and so that you can continue on your way across the gap. After a while, the fire poles will stop, but the chasm will be filled with Venus Die Traps. You shouldn't worry too much about them, just stay on course and you will make it to land. Shortly after that, you will embark on another Jumper filled trip over a chasm while avoiding fire poles in the process. This chasm is much longer than the first, so you will have to move laterally more often. Be sure to position yourself over the Junior Jumpers by stopping when they are in the center of your screen.
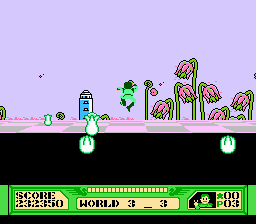
Description: As soon as you start, you must jump over a long chasm while the area fills up with Venus Die Traps. When you land, there are two green poles, one of which contains a Potion, and the other a Rocket. Collect them if you need before moving on. After a couple of short hops, you will arrive upon a row of Warp Balloons which take you to World 3-B. Like the bonus worlds before it, this one allows you to collect Stars, only you must make use of the Jumpers to collect them. There's no time limit, so there's no rush. The pole at the end contains an Extend Heart, but the rest of the poles are empty. When you return, you will see two rows of Junior Jumpers. Avoid the first, and hit the second at normal or full speed. You'll have to make it across another fire pole filled chasm. On the other side, you will encounter Meanies, followed by a single pole which contains an Extend Heart. Jump over the gap and hit the Junior Jumper on the other side. Use the Jumpers to get over the final gap to the end of this section.
Key Feature: Forced running through enemies and fire poles.
Description: After you start, you will be forced to run at top speed through some Meanies, and come upon a series of small green poles between fire poles. After two rows of these, you will find larger poles which contain items. The right one contains a Rocket, but the left one contains Invincibility. Collect it and run through more Meanies. After the Meanies come a series of Venus Die Traps, along with a chasm that you must jump. That is followed by more Meanies mixed in with several fire poles. Eventually the Meanies will be replaced with Venus Die Traps while the fire poles keep coming
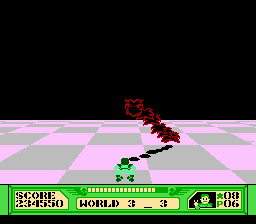
The boss of world 3 starts out with an advantage that none of the other serpent beasts have: It starts out completely black. This means until you shoot it enough times to change its color, it blends in completely with the upper background. Once you hit the head enough times, a red outline will appear on it, making it much easier to target. Eventually it will turn yellow, to indicate that it is close to defeat. Once again, you will have to fight two such beasts, so when you defeat the first beast prepare for another fight. This beast doesn't move too quickly, so it's fairly easy to get off a burst of shots while staying in one position before you are forced to move out of the way.