 | |
| Collectables | None |
|---|---|
| Unlisted Collectables | None |
| M-COM Stations | None |
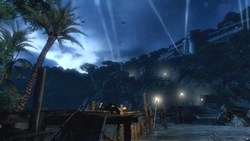
Autumn 1944, Sea of Japan
Not long before the atomic bomb would bring an end to World War II
A small group of US commandos were sent in to extract
A Japanese scientist with war-decisive information
On the 6th of October, at 0600 hours, Operation Aurora commenced
Twenty minutes later it was over
The fate of Operation Aurora was kept from the public
All records were destroyed. It became a myth
This is what really happened that day
Locate Defector[edit]
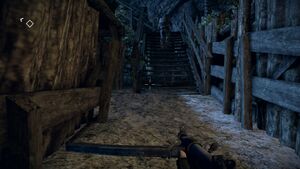
The game begins not in the era of the original Bad Company, but rather during 1944, near the end of WW2. For the duration of this mission, you'll be in control of Thomas Wyatt, a member of a US commando team sent to infiltrate and recover a Japanese defector with war-changing information.
After watching the very lengthy introductory cutscene, navigating past a series of extremely oblivious guards, and witnessing the demise of the second team, you'll gain control. Note that it is impossible to skip the intro cutscene.
At game start, you'll have nothing more than a knife. Crouch under the fallen log and knife the guard in the back while your squad leader unceremoniously drowns the other.
Follow the path, as there's nothing else to explore here. Keep your sense of exploration if you have it, however, as subsequent missions will have various collectable weapons and M-COM stations that you can destroy for achievements. For this mission, however, stick to the path. Sarge will throw you a Type 100 Japanese submachine gun as your starting weapon. This is the only time you'll be able to use it in-game. It's a complete reskin of the Thompson from multiplayer, though it has different sights.
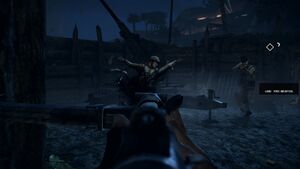
Your squad will eventually split up. Continue down the path. A Japanese guard charges your teammate with a sword, but is defeated. This is your cue to be ready for the first enemy you'll have to kill to move on. Follow the trenches and mow down anyone who's in front of you. Don't worry about friendly fire; your allies are invulnerable.
After defeating the first set of enemies manning the AA gun, look around on the ground for a Type 5 Garand copy. This is the only other weapon you'll have, and is a reskin of the M1 Garand that players can use in multiplayer if they own another Battlefield game.
There is no map or ammo counter but you'll still receive a notification to reload when you're low on ammo. It's generally a good habit to reload after each engagement. Don't worry about running out of ammo; all the fallen enemies here will drop ammunition.
Choose your choice of weapon, though either is effective; you can clear the mission without switching weapons.
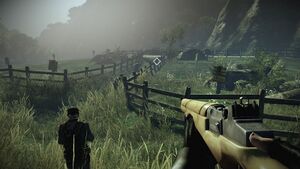
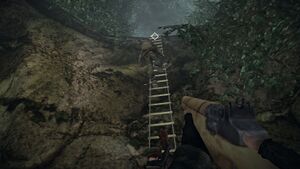
After clearing the two guns and mowing down enemies in the trenches, you'll manage to rejoin with your squad just in time for everyone to rudely interrupt a Japanese strategy meeting. Once all the enemies here are defeated, run up to the cliff. Let the rest of your teammate up the ladder first, then follow them up through the jungle.
Eventually you'll encounter a large minefield, but don't worry; the Japanese have laid mines everywhere except the large, fenced in path that they should have.
The Japanese continue to be oblivious to your obvious presence, marching alongside their tanks right past you and your team. They don't get far, however, as a wing of F4U Corsairs will fly in and destroy everything. Mop up the survivors, and then you'll finally gain the ability to sprint. Sprint across the field to the jungle, and continue to follow the team across the bridge.
The Escape[edit]
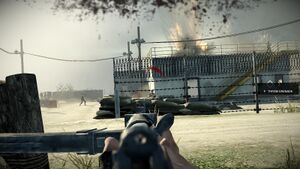
You'll finally encounter the Japanese defector, while the situation becomes more dire and mysterious. Your team will knock out the bridge used to cross the ravine, so follow the path right to a large Japanese airfield. A pair of enemy jeeps will arrive just in time for you to commandeer them.
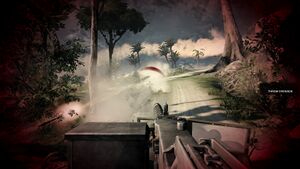
Clear out the enemies around the airfield. There are enemies everywhere; in the open and in the building. The daring can try to sprint up to the building for cover, using the Type 100 to clear the building out. You can finally use grenades now, but they won't be necessary to clear the area out. There is another set of enemies closer to the vehicle.
When the area's clear, man the machine gun on the jeep and gawk at your squadmate's terrible driving skills. Hold down the fire button for the whole ride and defeat as many enemies as you can. Pay particular attention to other Japanese vehicles that will attack you - the other infantry are either too busy running around or too inaccurate to be any threat to you.
When you reach the sub pen, clear out any enemies here. As soon as you round the corner from the vehicle, however, an enemy machine gun nest will need to be cleared first. It can cause quite a bit of damage if you're out in the open when it fires, but it often chooses to conserve its ammunition. You can use a grenade thrown in behind it or skillful shooting to neutralize the machine gun. There will be one or two enemies left along this walkway before you enter the sub pen.
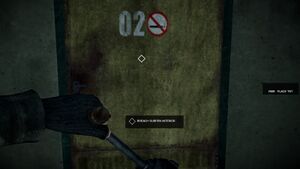
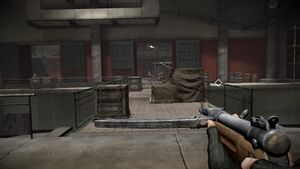
Sarge will give you some TNT to use to blow the door open. Peculiarly, for PC, the controls for laying and detonating explosives are reversed; the right mouse button is used to put the dynamite down, and the left mouse button to detonate. This is the only time this control scheme is used; every other time, the left mouse button is used to lay explosives, and the right is used to detonate.
The sub pen is large and appears to have many branching paths that can confuse a new player. However, destruction will eliminate the other dead end routes and leave the one you need to go to. The path during this stage is a zig-zagging like pattern as you make your way to the third submarine dock. The Type 5 can perform better here since there will be enemies on the opposite pier of the docks as well as some on walkways above, but burst-firing with the Type 100 can also prove effective.
Despite what your teammates are shouting about, the sub will not leave without you, so take as much time as you'd like to neutralize all of the enemies. Once you're clear, hop onto the sub to complete the mission.