Also known as the Marianas Turkey Shoot, the Battle of the Philippine Sea is an air-heavy battle, and one of the few times you can command a Bogue-class escort carrier.
Primary Objectives
- Destroy all attacking planes.
- At least one Allied carrier must survive.
- Sink two enemy carriers.
Secondary Objectives
- Sink the Kongō.
Hidden Objectives
- The USS Albacore must survive.
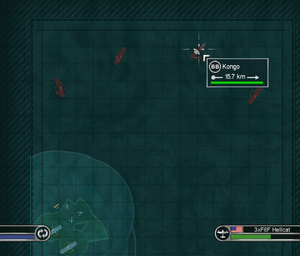
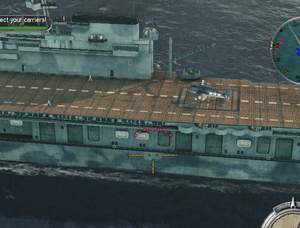
The enemy has a lot of firepower on this map, and you must take full advantage of your own to succeed. As with the First Battle of Guadalcanal, however, the enemy has a tendency to spawn in different locations every time. This is generally not a problem for most playthroughs, but it can make sinking Kongō very difficult.
Start the game by setting up a barrier CAP around your carriers, consisting primarily of F6F Hellcats. F4U Corsairs are also acceptable, but they are best used for rocket strikes in the future if necessary. Hellcats are dedicated fighters and should be used and treated as such. The enemy starts by sending a large string of planes at your position, composed of B5N Kates and A6M Zeros. None of these planes are a match for your Hellcats, but take charge of a squadron and personally down as many enemy aircraft as possible. After repelling the first wave, a second wave of flying boats attacks from the north; deal with this threat as well.
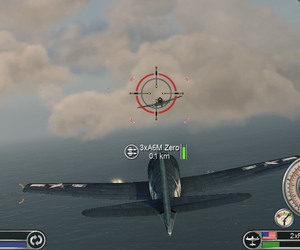
Upon destroying all the enemy flying boats, your carriers gain the ability to launch four aircraft each instead of just two. Begin landing your fighters and keep your fleet close together - you'll need as much firepower as possible to perform surgical strikes against the enemy fleet. The enemy has roughly five carriers on this map, but you only need to sink two. Each carrier is escorted by a pair of destroyers, but one of these contains the battleship Kongō. Which one seems to vary from mission to mission, but it seems to be with one of the two closest fleets. Also, on Veteran, if your really unlucky, three or even four carriers might get together and send a force of at least 30 planes at you. To find these fleets, use the Recon Sweep support power you've just obtained.
Land or crash your fighters into the ocean and bring your fleet together. The USS San Diego is an Atlanta class light cruiser, boasting a formidable broadside of 7 dual-purpose, double 5" guns, giving her the capability of firing 14 anti-air flak rounds into the air almost at one with rather quick reloading, so she in combination with your destroyers and the Enterprise's decent AA fire should be adequate for protecting the fleet on its own. Put up eight TBF Avengers. Once all the planes are in the air, sling them en-masse to the first enemy carrier. Personally take command of the lead flight to aim your torpedo manually, then switch to a squadron that hasn't dropped yet - you must ensure that as many torpedoes connect as possible. The enemy has a relatively small CAP, but it is very much present; since several of your bombers will likely be shot down before they release, it's imperative that you make your shots count. Also consider taking control of a bomber squadron that is behind another and have it shoot down any pursuers. Have as many surviving squadrons pull back as possible; if necessary, have a wounded squadron of one member stay back and hold off pursuing enemy fighters to ensure the rest get back safely. If this is your subsequent playthrough and you have unlocked the TBM Avengers, however, simply have eight squadrons of them head straight for the fleet with the Kongō and the battleship (and the carrier with it) will be down in no time.
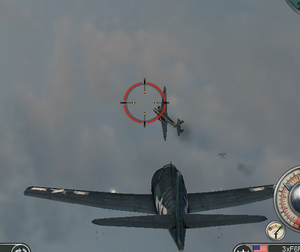
Once all your planes are landed, begin putting them in the air again. Around this time, however, you'll receive news of a flight of enemy land-based bombers closing in from the east. These bombers can cause you some headaches, but since they must dive close to your fleet to attack, they are sitting targets for the San Diego. The exception to this may be the single squad of G3M Nells, which you'll likely need to shoot down using planes of your own. Don't bother putting up fighters; use your torpedo bombers' forward guns to down these large, slow targets.
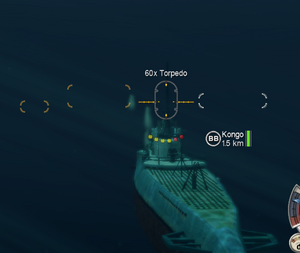
Also around this time you'll receive reinforcements in the form of the USS Albacore, a Narwhal-class submarine (or a Gato-class if you chose the upgrade). This submarine is quite powerful, and spawns very close to one of the enemy fleets. Unfortunately given the large number of destroyers on this map, it is very easy to lose it and fail the hidden objective. Coordinate quickly with your torpedo bombers and give the enemy something else to aim at aside from the Albacore - try having the Albacore hit the enemy carrier while your air squadron hits the Kongō. Four torpedoes is generally enough to sink a carrier via leaks (six is ideal, but may not be possible due to the sub's limited firing arcs). With luck, you'll overwhelm the enemy CAP again with a wave of torpedo bombers and sink the Kongō. With the Kongō down, simply destroy a second enemy carrier through any means necessary to win the mission.